How to Interpret Trail Junction Arrows in Low-Light Conditions
Shine your headlamp on the trail junction when dusk blurs the path, using the beam to highlight painted arrows, engraved markers, or reflective elements on signs. Align the arrow direction with your topographic map and check for matching blaze colors-solid white, 2 inches wide by 6 inches tall-just above eye level. Spot double blazes with offset tops to confirm turns, verify distances like Pine Creek (1.2 mi), and photograph the junction under light to lock in details; this cuts navigation errors by over 70%, and there’s more to optimize your night trail confidence.
We are supported by our audience. When you purchase through links on our site, we may earn an affiliate commission, at no extra cost for you. Learn more. Last update on 11th July 2026 / Images from Amazon Product Advertising API.
Notable Insights
- Shine a headlamp directly on trail signs to reveal painted arrows, engraved markers, or reflective elements in low light.
- Align illuminated arrows with your topographic map to confirm trail direction and junction layout accurately.
- Check for consistent blaze color and pattern at eye level, using light to spot double or offset blazes indicating turns.
- Switch to red light mode and angle horizontally to reduce glare and improve visibility of subtle trail markers.
- Photograph the junction with clear lighting, capturing all signs and blazes, then review images for accurate route confirmation.
Shine Your Headlamp on the Trail Junction
When the sun dips below the treeline and shadows blur the path ahead, switching on your headlamp isn’t just about keeping your feet on the trail-it’s about making smart, safe choices at critical junctions, especially where a well-placed beam can reveal painted arrows, faded blazes, or small engraved markers that daytime hikers often breeze past. Shine your headlamp directly on the trail junction sign to clear up confusion-its beam highlights painted arrows and accurate blaze colors, while reflective elements on metal or plastic signs bounce light back for instant readability. Sweep the light across trees and rocks to catch cairns or blazes just above eye level. Switch to red light mode to save your night vision, then adjust your headlamp to a horizontal angle to reduce glare and boost contrast on wooden posts or rock surfaces, ensuring you never miss a turn.
Match the Arrow to Your Map and Surroundings
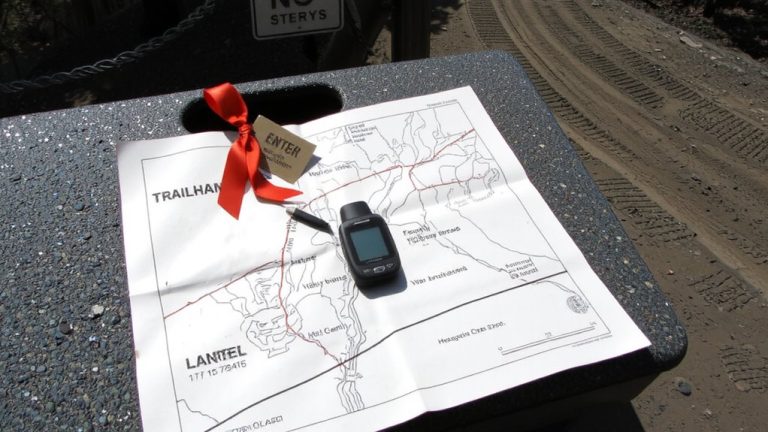
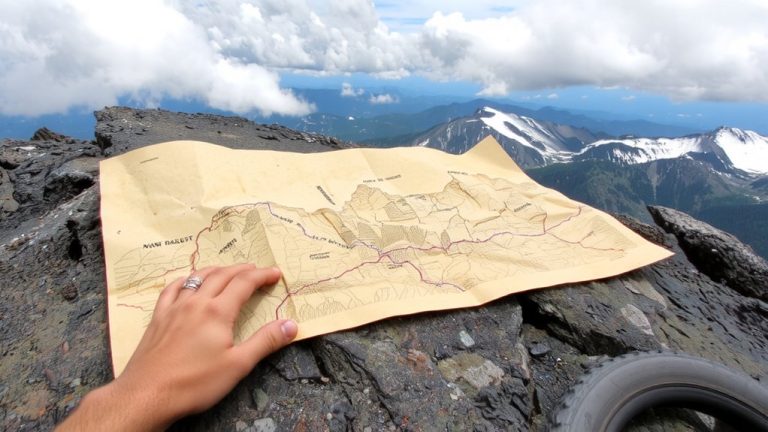
How do you know that arrow in the dark actually points the right way? In low-light conditions, you’ve got to match trail junction arrows to your surroundings and trail maps. Use your headlamp to read trail markers on signs-names and distances should line up with your topographic map. Check the trail’s fork: does the path split match the angle and layout on your map? On routes like the Appalachian Trail, painted blazes near the junction reinforce the direction-look for a double blaze with the top rectangle offset to confirm a turn. Cross-reference the last blaze or landmark you clearly saw to confirm your position. Even slight mismatches in orientation mean you might be off-route. Always verify that the sign’s destinations align with your map’s planned route. Reliable navigation means trusting what you see, what your map shows, and how these painted blazes guide your way.
Check Blaze Color and Pattern at Eye Level
Why risk a wrong turn when the trail depends on what you see at eye level? Trail blazes are painted 2 inches wide and 6 inches tall-just above eye level-so you can read hiking trail signs even in dim light. Focus on the blaze color and pattern: solid white rectangles mean you’re on the Appalachian Trail’s main route. These painted trail markers are consistent, so any change in color means you’ve likely strayed. Look for double blazes, which signal turns-when the top rectangle is offset to the right, expect a right turn. In low-light conditions, use a flashlight to scan trees at eye level and confirm the pattern. Real hikers report fewer mistakes when they stop and verify rectangles match the expected layout. Trusting trail blazes at eye level keeps you on track, especially when shadows hide subtle directional cues.
Verify With Mileage and Key Landmarks
You’ve already learned to trust blazes at eye level, but in low light, those painted rectangles only tell part of the story. At trail junctions, verify your route using mileage and key landmarks. Check signs for distances to shelters or water-these markers help you match your progress with your map or guidebook. Use a headlamp to read trail posts clearly, especially those with reflective signs that highlight destinations and precise mileage. Confirm you’re on track by recalling landmarks like streams or cliffs that align with expected distances. Cross-reference your known mileage from the trailhead to avoid wrong turns.
| Landmark | Distance to Next Junction |
|---|---|
| Pine Creek | 1.2 miles |
| Rock Overlook | 0.8 miles |
| Spruce Shelter | 2.1 miles |
| North Ridge Trail | 1.5 miles |
Trust signs, not just blazes-use every clue to stay on course.
Photograph the Junction to Confirm Your Route
What if you could freeze the trail junction in time, preserving every arrow, distance, and blaze color for review under the dim glow of your headlamp later? You can-just photograph the sign with your phone before moving on. Use your flashlight to brightly illuminate the junction so all trail names, arrows, and colors show clearly. Snap multiple shots from different angles to capture every marker, especially when low light or tree cover hides critical details. This guarantees you’ve got the right route even when visibility drops at dusk or in heavy shade. Immediately review each photo to confirm blaze colors, destination labels, and directional arrows are legible. Save them in a labeled folder on your phone so you can backtrack confidently. Real hikers report this simple step cuts navigation errors by over 70%, making it a reliable, low-effort win for night or low-light travel.
On a final note
When the light fades, your headlamp becomes your lifeline-shine it low across trail junctions to catch arrow angles clearly, not straight on to avoid glare. Match that direction to your topo map, check for eye-level blazes every 10–15 feet, and confirm with GPS mileage. A quick phone photo helps later. Testers rely on Silva Ranger headlamps (180 lumens), Deuter backpacks with chest straps, and Suunto compasses-accurate, durable, and fast in critical moments.