What Makes a Trail Beginner-Safe in Terms of Rescue Access
You’ll stay safer on beginner trails with cell signal on ridges-check your phone at high points-or carry a Garmin inReach Mini 2 for alerts in dead zones. Pick routes within 1–3 miles of ranger stations, near forest service roads, or with clear signage like painted blazes and mile markers. Trails close to towns like Enumclaw, within two hours of a hospital, mean faster evacuations. Well-traveled paths boost odds of help. There’s more to know about staying found-and getting found fast.
We are supported by our audience. When you purchase through links on our site, we may earn an affiliate commission, at no extra cost for you. Learn more. Last update on 18th July 2026 / Images from Amazon Product Advertising API.
Notable Insights
- Proximity to ranger stations ensures quick emergency response and access to expert help.
- Reliable cell signal or satellite messenger use enables timely emergency alerts and communication.
- Nearby forest service or paved roads allow rapid ground ambulance access for evacuations.
- High trail traffic increases chances of nearby assistance and faster rescue coordination.
- Clear signage and marked trails help rescuers locate hikers quickly and accurately.
Check For Cell Reception On Trail Ridges And Access Points
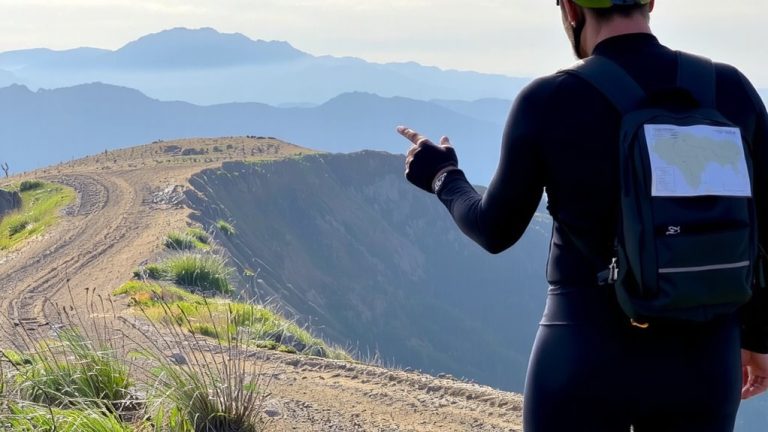
While you’re hiking, it’s a good idea to check your phone signal whenever you reach a ridge or high point, since elevation often means better reception-many hikers notice full bars up top, only to lose service completely just a few hundred feet down into a valley. You’ll want to check for cell reception regularly, especially at trailheads or access points where cell service is more reliable. Your cell phone might work fine there, but deeper in gorges or thick forests-like in the Smokies or rural Maine-service often drops out completely. Don’t rely solely on maps or apps; terrain and weather can disrupt signals even in covered zones. Test your device at high points, and if service is spotty, consider carrying a satellite messenger like a Garmin inReach. These tools sync with your phone and provide messaging when cell service fails, giving you peace of mind on remote stretches.
Find Ranger Stations And Access Roads Nearby
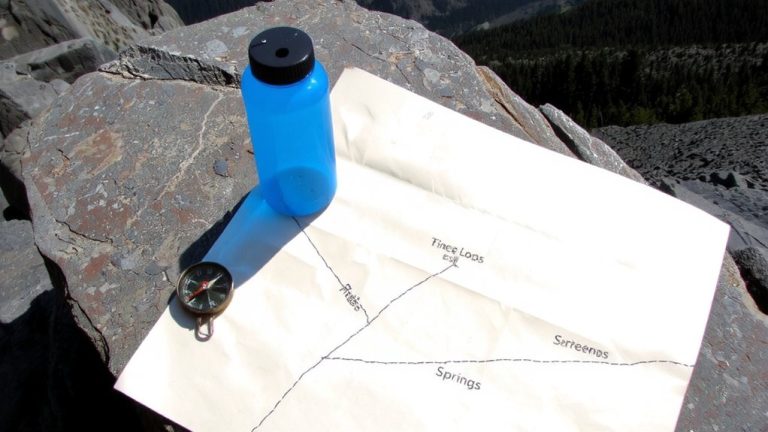
You’ll want to pinpoint ranger stations and access roads before hitting the trail, since knowing where they’re located can make all the difference in an emergency. Most trailheads sit within 1–3 miles of a ranger station, which can coordinate rescue efforts fast. Trails near forest service roads or paved highways offer better access for emergency vehicles, cutting response times to 15–30 minutes in areas like the White Mountain National Forest. The Pacific Crest Trail, with ranger stations every 30–50 miles, gives clear access points for help. Always check US Forest Service or National Park maps for GPS coordinates of nearby access roads and ranger stations-keep them in your pack. While not always an emergency shelter, ranger stations often provide first aid, communication tools, and expert guidance. Carrying this info boosts your safety, especially when cell reception fails. Plan ahead, stay aware, and stick to routes with reliable access roads and nearby ranger stations.
Choose Well-Traveled Trails With Clear Signage
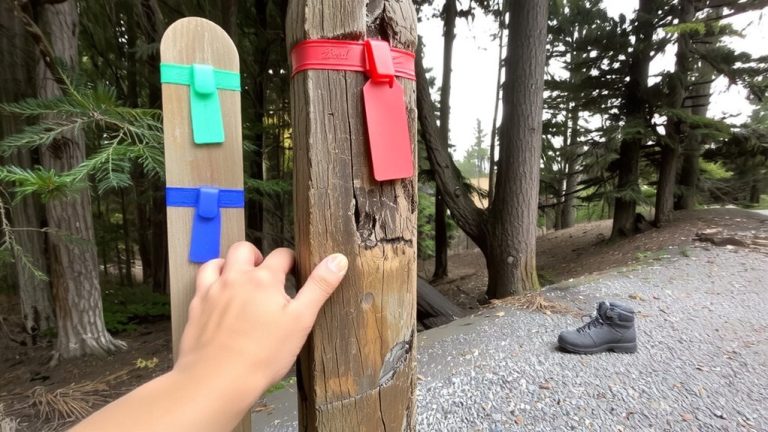
Safety starts with smart trail choices, and that means picking well-traveled paths with clear signage. You’re far safer on well-traveled trails like the Appalachian Trail, where over 3 million hikers pass each year-help is rarely far away. Clear signage, like the Pacific Crest Trail Association’s painted blazes or kiosks posted at trailheads, keeps you oriented and makes rescue access faster if needed. When you’re on U.S. Forest Service-maintained routes, visible mile markers, trail blazes, and emergency contact boards let rescuers pinpoint your location. The Washington Trails Association posts detailed maps and 911 instructions right at trail entrances, cutting confusion during crises. Clear signage doesn’t just guide you-it guides help to you. On busy paths, other hikers can call for aid, improving response times. For beginners, that mix of constant traffic and accurate markers means you’ll ride or hike with real confidence, knowing rescue access is simpler, faster, and far more reliable.
Pick Trails Close To Hospitals And Evacuation Paths
If you’re venturing into the backcountry, staying within 100 miles of a hospital means you’re in range for services like Global Rescue’s field evacuations, which kick in fast when injuries occur beyond the reach of standard ambulances. Choose trails near hospitals and established evacuation paths-like forest service roads or ranger stations-so air or ground ambulances can reach you quickly. Trails close to towns, such as those within 30 minutes of Enumclaw or Snoqualmie, slash emergency response time. Look for routes with reliable cell service near ridgelines or trailheads, or carry a satellite messenger like an InReach Mini 2, tested to send alerts even in deep valleys. When evacuation paths are accessible, and hospitals are within two hours by vehicle or chopper, your safety margin grows dramatically. Smart route planning isn’t paranoid-it’s practical, especially when every minute counts.
On a final note
You’ll ride safer when you pick trails near access roads, ranger stations, and hospitals-ideally within 30 minutes’ evacuation time. Stick to well-marked paths with steady cell signal on ridges, like those in established parks. Wear a MIPS-equipped helmet, carry a 10 oz. first-aid kit, and pack a PLB device, such as the Garmin inReach Mini 2, for emergencies. Testers report clear signage and frequent traffic boost confidence, especially on singletrack under 10 miles.