Find Trailheads on Google Maps Satellite View: Step-by-Step
Switch to Satellite View in Google Maps on your phone or desktop, and look for dirt clearings, breaks in tree lines, or faint paths where vegetation thins. Zoom in to spot tire tracks, worn footpaths, or clustered cars-signs of trailheads. Use the Measure tool to confirm paths start 30–50 feet from roads. Check historical imagery to see conditions in dry, wet, or snowy months. Cross-reference with official maps to verify accuracy, then sync with GPS apps for precision. You’ll uncover trails others miss.
We are supported by our audience. When you purchase through links on our site, we may earn an affiliate commission, at no extra cost for you. Learn more. Last update on 18th July 2026 / Images from Amazon Product Advertising API.
Notable Insights
- Switch to Satellite View in Google Maps to see terrain and natural features without road clutter.
- Look for dirt clearings, breaks in tree lines, or worn paths indicating trail entrances.
- Identify faint linear disturbances in vegetation that align with roads or parking areas.
- Use Historical Imagery in Google Earth to assess trail conditions across seasons.
- Cross-check satellite findings with official maps and topographic features for accuracy.
Use Satellite View to Spot Trail Entrances
Ever tried finding a trailhead only to realize the GPS pinpoint was off by 200 feet? You’re not alone. Switch to Satellite View in Google Maps by tapping Layers, then “Satellite” to spot actual trail entrances-look for dirt clearings or breaks in tree lines. Zoom in close to catch subtle footpaths, worn gravel pull-offs, or faded trail markers. Need precision? Use the “Measure distance” tool to confirm a suspected start is just 30–50 feet off a forest road. Compare what you see overhead with ground-level expectations: real trails maintain a consistent path, not random animal tracks. When you spot a linear disturbance cutting through vegetation, align it with the trail name on record. Satellite imagery helps verify access points before you pack your hydration vest, slip on your trail runners, or load your mountain bike. It’s a reliable shortcut to starting on the right foot.
Identify Hidden Trails by Looking for Human Clues
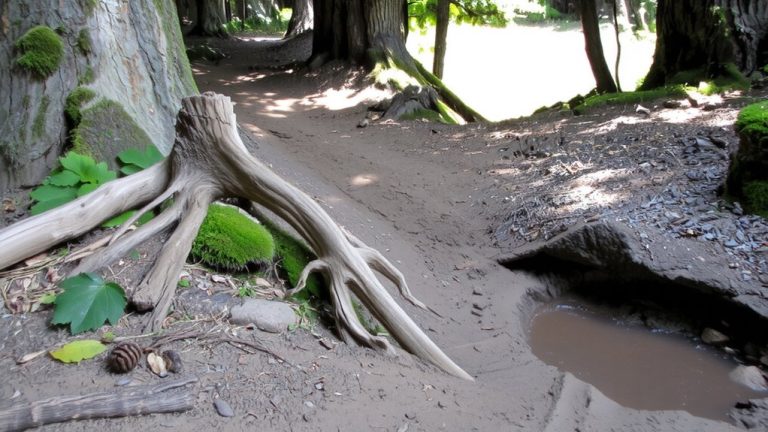
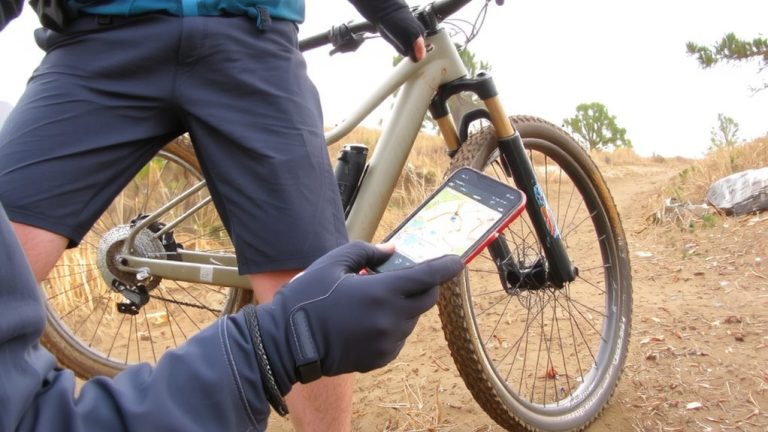
How do you find the trails that aren’t marked on any official map? Using satellite imagery, you can spot hidden hiking trails by looking for subtle human clues. Check for faint linear paths where vegetation is trampled or gaps in foliage that connect to roads-these often reveal unofficial routes. Look closely near trailheads or parking areas for tire tracks, clustered cars, or worn dirt paths leading into the brush. Cairns, footprints, and repeated foot traffic show up in high-res views, especially near zones like the Arroyo Seco. Trace suspected routes with the “Measure distance” tool in Google Maps, then sync with GPS apps like Gmap4 for accuracy. These signs, combined with real-world testing, confirm paths others have already forged. With practice, you’ll read the land like a pro and find access points most miss, all without stepping outside your door.
Switch to Satellite Mode on Mobile or Desktop
You’ve learned how to spot hidden trails by reading signs like trampled vegetation, tire tracks, and cairns in satellite imagery, and now it’s time to get those details on your screen. In Google Maps, switching to Satellite mode is quick and simple. On mobile-iOS or Android-tap the “Layers” icon, then select “Satellite” under Map Type to activate high-resolution Satellite Imagery. On desktop, visit maps.google.com, click “Layers” in the bottom-left, and choose “Satellite.” This view shows terrain, trees, buildings, and natural features without clutter from roads or labels, giving you a clear look at potential trailheads. For more detail, enable “Terrain” or “Globe View” on mobile. Whether you’re planning a backpacking trip with a 65-liter pack or scouting mountain bike routes, using Satellite Imagery helps you identify access points with precision and confidence.
Check Historical Imagery for Seasonal Trail Use
While satellite views give you a snapshot of current trail conditions, checking historical imagery reveals how those paths change across seasons-helping you avoid snow-blocked passes, swollen creek crossings, or overgrown singletrack that won’t match last year’s GPS route. Using Google Earth, you can explore months of seasonal shifts with the Historical Imagery tool to spot when trails open or get impassable. This is key for planning hikes or bike trips, especially in dynamic zones like Arroyo Seco or Mount Baldy. Below is a comparison of trail traits by season:
| Season | Trail Visibility | Access Notes |
|---|---|---|
| Dry (Aug) | Clear, packed | Ideal for trail runners |
| Wet (Mar) | Muddy, blurred | Trekking poles recommended |
| Snowy (Jan) | Obscured | Microspikes often needed |
Using Historical Imagery helps you pack the right gear and pick viable routes based on real past conditions.
Compare Satellite Clues With Official Trail Maps
When you’re zeroing in on a trailhead, don’t rely on satellite imagery alone-pair what you see in Google Maps with official trail maps from the Forest Service or park websites to confirm access points with confidence. Use Satellite views to spot parking areas, road endings, or vehicle clusters, then cross-reference them with trail access points on official maps. Using Google Earth, align landmarks like stream crossings or ridgelines with topographic features to pin your location accurately. Check elevation and terrain slope in the imagery against contour lines to guarantee the trail’s difficulty matches your gear, whether you’re backpacking with a 65L pack or trail running with a 10L vest. Verify the satellite image date-outdated views might miss reroutes or new lots. Consistency between digital clues and official data means you’ll start on solid ground, not a dead end.
Confirm Trailheads by Spotting Cars and Paths
Satellite clues matched with official maps give you a strong starting point, but spotting actual trail use on the ground is what seals the deal. Using Google Earth, look for clusters of parked cars along roadsides-these often signal popular trailheads. Zoom in closely to detect faint, linear paths leading into the woods, a clear sign of regular foot or bike traffic. You might even spot trail signs, kiosks, or parking barriers. Check the imagery date and compare it over time; consistent path wear confirms ongoing use. Use the “Measure distance” tool in Google Maps to verify how far the spot is from the road-ideal for planning access with your backpacking or cycling gear. View on Google to cross-reference angles and spot subtle details. These visual cues, combined with tools, turn guesses into confident出发 points.
On a final note
You’ve found the trailhead using satellite clues-now gear up right. Wear moisture-wicking merino base layers, pack a 65-liter backpack with a rain cover, and grab a helmet-certified MIPS mountain bike helmet. Stick to trails matching your skill, bring a GPS with offline maps, and always carry a repair kit with a multi-tool, 28mm tire lever, and CO2 inflator. Testers confirm: durable, smart gear means safer, smoother rides.