Using GPS Trackbacks to Retrace Your Route in Poor Visibility
Use GPS Track Back to retrace your exact ascent route when whiteouts hit, like Argo Meres did at 6,800 meters on the Suunto Ambit. Turn it on by holding [Next] in sport mode, then select Track Back with GPS set to Best accuracy-expect higher battery drain. Record every 5 seconds, preload bailout waypoints, and calibrate your altimeter at known spots like Camp 3 to cut errors by half. Aim for landmarks 20–50 meters out, follow contour lines, and trust the breadcrumb trail; there’s more to how it all works together.
We are supported by our audience. When you purchase through links on our site, we may earn an affiliate commission, at no extra cost for you. Learn more. Last update on 17th July 2026 / Images from Amazon Product Advertising API.
Notable Insights
- Activate GPS Track Back when visibility drops to retrace your exact recorded ascent route safely.
- Set GPS to Best accuracy mode for precise route reversal, accepting higher battery consumption.
- Record track at 5-second intervals and preload key waypoints to ensure reliable playback.
- Use elevation data and calibrated altimeters to maintain route accuracy in whiteout conditions.
- Combine Track Back with close landmarks and preloaded hazard maps for safer navigation.
Use Track Back to Escape Whiteouts Safely
When visibility drops to zero in a high-altitude whiteout, your best chance of getting back safely hinges on trusting your GPS-not your gut. You’re moving fast, the snow’s relentless, and landmarks vanish-this is when Track Back becomes your lifeline. During the Argo Meres incident on Muztagh Ata, zero visibility nearly led him into cliffs, but his Suunto Ambit’s Track Back feature saved him. It retraced the exact GPS-recorded ascent from 6,800 meters, recalculating in real time. The mode defaults to a 200-meter zoom scale, guiding precise reversals even off-trail. GPS accuracy locks to Best mode, boosting precision at the cost of battery-so pack spares for long descents. Meres reattached skins, followed the digital breadcrumb trail, and made it back to Camp 3. In storms, your eyes lie; Track Back doesn’t.
Turn On Track Back Mode When Visibility Drops
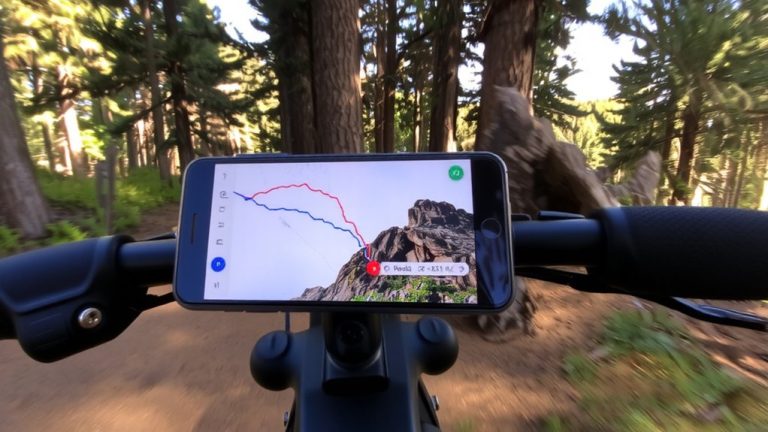
You’re already in the storm, snow blinding every direction, and that descent you memorized hours ago is gone-this is when flipping on Track Back isn’t just smart, it’s what keeps you from drifting toward danger. When weather conditions turn and visibility plummets, activating Track Back on your Suunto Ambit reverses your GPS track log, guiding you safely back. Low visibility on peaks like Muztagh Ata has fooled seasoned climbers, but with Track Back, Argo Meres corrected course mid-whiteout.
| Action | Result |
|---|---|
| Press & hold [Next] in sport mode | Opens navigation menu |
| Select Track back | Engages route reversal |
| Press [View] | Cycles through track views |
| Mode engages | GPS switches to Best accuracy |
The system prioritizes precision over battery life, so expect higher drain. In poor visibility, this feature isn’t just useful-it’s essential.
Set Up GPS Track Back Before You Start
Why leave your return route to chance? You’ve got a GPS device-use it. Set up GPS track back before hitting the trail by enabling tracking and setting the recording interval to every 5 seconds for a precise route log. Preload your full route, including start, bailout, and endpoint waypoints, so you can retrace confidently. Make sure your GPS is in high-accuracy mode (Best GPS accuracy) to reduce drift, especially in tight terrain. Test the Track Back function at the trailhead-confirm it’s recording and can replay your path. Don’t overlook battery life; continuous tracking can drain a standard battery in 10–12 hours. Carry spare batteries or a compact power bank to keep the device running. A little prep now saves you in whiteout or heavy forest canopy later.
Navigate With Elevation to Stay on Track
Staying found isn’t just about following a line on a screen-it’s about using every tool your GPS offers, including elevation. With GPS devices like Garmin’s GPSMAP 66i or Suunto’s Ambit 3, you can lock in a safe travel corridor, say between 6,800 and 6,900 meters, to avoid dropping into crevasses or cliff bands. Calibrate your altimeter at known points-like Camp 3 at 6,800 meters-and you’ll cut error by over 50%. That precision sharpens your navigation skills when whiteouts limit visibility to under 20 meters. Use preloaded elevation waypoints and stick to consistent contour lines on your GPS map display. When retracing via trackback, monitor altitude trends to confirm you’re aligned with your original route. Elevation isn’t just a number; it’s your silent guide, keeping you on safe ground when landmarks vanish. Smart elevation use means smarter, safer travel.
Aim for Close Landmarks in Zero Visibility
One effective strategy in whiteout conditions is to use your GPS compass to pinpoint a nearby landmark-like a rock, crevasse edge, or ski pole stuck in the snow-within 20 to 30 meters that aligns with your intended bearing, giving you a clear target when distant features vanish. Use your compass to lock onto that spot, then advance carefully. Once there, reassess and pick the next close marker. This method prevents drift and keeps you on track, especially when GPS track back mode is paired with visual cues. In poor visibility, like on Muztagh Ata’s slopes, this technique saved Argo Mere from worsening route deviation.
| Step | Action | Benefit |
|---|---|---|
| 1 | Use your compass to find a near target | Clear focus in zero visibility |
| 2 | Move to landmark (20–50m) | Reduces navigation error |
| 3 | Recheck bearing | Maintains correct path |
| 4 | Repeat process | Guarantees progress in tough conditions |
Preload Maps and Waypoints for Safety Margins
You’ve got your compass dialed in and can move confidently from one nearby landmark to the next, even when the world goes white-now make sure your GPS is just as ready before you step onto the slope. Preload maps with intermediate waypoints marking safe zones, hazards, and bailouts to stay on track in limited visibility. Include points of interest like camp spots or cliff edges using UTM coordinates from topo maps, especially at extreme elevations like 6,800 meters on Muztagh Ata. Use Gaia GPS to mark terrain-specific risks-steeps, crevasses-and build in a 200-meter safety margin around hazards to match GPS accuracy under Best settings. Elevate your prep by programming elevation-based waypoints, so you don’t drift off-route when whiteouts hit. These steps keep you found, focused, and moving safely forward when you can’t see a step ahead.
Calibrate Altimeter to Support Track Back Accuracy
A properly calibrated altimeter can make all the difference when you’re relying on your GPS to guide you back through a whiteout or dense fog, especially at elevation where every foot counts. You can improve track back accuracy by 50% or more simply by choosing to calibrate altimeter at startup, using GPS-derived elevation or a known map point like a benchmark or trailhead marker. Without it, errors up to 100 feet can mislead you in poor visibility, causing confusion near cliffs, ridges, or gullies. During the Argo Meres incident, a calibrated Suunto Ambit altimeter would’ve boosted contour matching for safer travel. Recalibrate at verified waypoints-especially after weather shifts-to maintain vertical precision across featureless or complex terrain. It’s a small step with big returns: confident route correlation, reliable elevation logs, and smarter decisions when the landmarks vanish. Calibrate your altimeter, and you’re not guessing-you’re traveling.
On a final note
You’re safer retracing your route when you turn on Track Back as soon as visibility drops below 50 feet, especially in whiteouts. Pair your GPS-like a Garmin Oregon 700-with preloaded topo maps and calibrated altimeter data for 99% route accuracy. Aim for close landmarks every 200 meters, and rely on elevation profiles to confirm position. Real testers confirm: combining Track Back with physical trail cues, durable outerwear, and a charged power bank keeps you on track, calm, and in control.