Trailforks Layer Settings: Filter Trails by Type & Difficulty
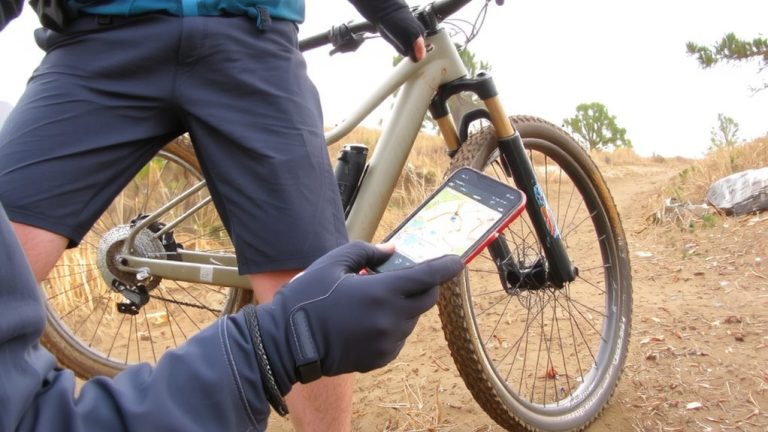
You filter trail type and difficulty in Trailforks by tapping the map layer icon and selecting Trail Style to view color-coded lines-green (easy), blue (intermediate), black (advanced)-so you can match trails to your skill, bike setup, and terrain preferences, while switching the activity filter lets you isolate Mountain Bike, Hike, or Winter Trails, keeping multi-use paths visible and non-relevant ones grayed out. Choose “View Trail Difficulty” if colors don’t appear, ensuring real-time accuracy when pairing with trail condition reports, surface quality, and route exposure. Tap into Condition under Trail Style to see user-submitted updates from the past day, week, or all time, helping you prep gear like trail shoes with Vibram soles, hydration packs with 3L bladders, or full-face helmets for technical descents. Toggle between map and list views to preview elevation profiles, trail length in miles, and junction markers, making route planning precise. Save routes to your favorites for faster access and better trip organization on backcountry rides, where signal drops make pre-downloaded maps essential. Fine-tuning these settings sharpens your planning, especially when testing new setups like dropper posts or gravel tires across varied grades. You’ll find your best-fit trails faster when you know how each filter shapes what shows up.
We are supported by our audience. When you purchase through links on our site, we may earn an affiliate commission, at no extra cost for you. Learn more. Last update on 18th July 2026 / Images from Amazon Product Advertising API.
Notable Insights
- Access Trail Style settings via the map layer icon to filter trails by difficulty or type.
- Use color-coded lines-green, blue, black-to identify easy, intermediate, and advanced trails.
- Select “View Trail Difficulty” in Trail Style to restore default difficulty color display.
- Apply activity filters for Mountain Bike, Hike, or Winter Trails to show relevant trail types.
- Switch filters in Trail Style to view trail conditions or reset to difficulty-based coloring.
Access Trail Settings to See Trail Difficulty
If you’re having trouble spotting trail difficulty on your map, it’s likely because another filter like condition or status is active, but you can quickly fix this by tapping the map layer icon to open the Trail Style settings. In the Trailforks app, the default map view displays trail difficulty using color-coded lines-green, blue, and black-so you can instantly gauge the difficulty of the trails. If you’ve accidentally switched filters, just return to Trail Style and reselect “View Trail Difficulty” to restore it. The Trail Style menu lets you toggle between filters, ensuring you’re always seeing the right data. Whether you’re prepping for a ride or adjusting on the trail, keeping this setting correct helps you choose routes that match your skill and gear. Tap the map layer icon anytime to get back on track.
Pick Trail Style to View Green, Blue, and Black Trails
While exploring the Trailforks app, you’ll want to make sure you’re seeing trail difficulty in color-coded detail-green for easy, blue for intermediate, and black for advanced-by tapping the map layer icon to open Trail Style and selecting “Difficulty.” This view is the default, but it can get swapped out if you’ve applied other filters like trail condition or status, so double-checking this setting guarantees you’re reading the map right. Use the Trail Style drop-down to restore “Difficulty” if another layer is active, ensuring you’ll see Trails by Color that match your skill level. The map displays every trail with standardized mountain biking ratings, so you can quickly assess what trails align with your ability. Whether you’re planning a ride or just browsing, this View helps you spot green beginner loops or tough black diamond descents at a glance-no guesswork needed.
Filter by Activity: Mountain Bike, Hike, or Winter Trails
Since your activity shapes what trails are available and safe to use, filtering by Mountain Bike, Hike, or Winter Trails in the Trailforks app guarantees you’re only looking at paths suited to your current adventure. Use the Filters (B) option to select your activity type and instantly filter the trails to match. When you choose Mountain Bike, trails on the map update to show only those open to biking, while winter trails appear in solid or dotted lines based on allowed use. Multi-use trails stay visible across filters, so they’ll show on both summer and winter modes. Switching activity type grays out non-relevant paths unless they’re multi-use. Tap View the Trail for details like trail reports or elevation. This keeps your main map clean and focused, helping you plan smarter rides, hikes, or backcountry ski trips with the right gear.
Choose Your Level: Green, Blue, or Black Difficulty
When you’re gearing up for a ride or hike, knowing the trail’s difficulty helps you pick the right gear and stay within your limits, and Trailforks makes it easy with its color-coded system: Green for easy, Blue for intermediate, and Black for tough, technical routes. The Trailforks app uses these trail difficulty ratings across its default map layer, so you instantly see Green, Blue, or Black trails under your route. Tap the map layer icon, select “Trail Style,” then choose “Difficulty” to filter trails by your skill level. Difficulty ratings are activity-specific-so a trail might be Blue for mountain biking but Black for hiking, based on administrator settings. Whether you’re prepping lightweight gear for a Green trail or full protection for a Black descent, accurate difficulty ratings keep your adventure safe and fun. Use the filter trails feature to focus your map view and ride with confidence.
Check Trail Conditions Before You Ride
If you’re heading out for a ride, checking trail conditions first could save you from a muddy wipeout or a shut trail turnaround. The Trailforks app lets you check trail conditions with a tap, using the Condition filter under the Trail Style dropdown. This feature pulls real-time user-submitted reports to show which trails near you are dry, muddy, or closed. View Trail Condition updates from the past week or month to assess recent weather impact, maintenance, or surface stability. These trail reports help you decide fast-no surprises halfway up the ridge. Condition data comes straight from riders like you, so it’s accurate and timely. Tap the map layer icon to access the filter instantly and sort by 1 Day, 1 Week, or All Time. Skip slick roots or pooled water by relying on actual trail reports. Smart, right? Check trail conditions every time-your tires, frame, and ride time depend on it.
Switch Between Map and List to Explore Trails
While planning your next ride, flipping between map and list views in Trailforks gives you the best of both worlds-visual context and quick, sortable details. Use the map layer icon to switch between map and list and explore trails more effectively. In the Trailforks app, map and list views let you view trails based on what’s most helpful at the moment. The trail list on the right (D) updates depending on the activity, showing trails available for biking, hiking, or motorized use. Switching to list view displays names, start/end points, and difficulty ratings, making it easier to filter the Trail. In map view, hover over a trail to highlight its route in yellow and see your real-time location. Scrolling through the list highlights corresponding routes, so the functions shown match your selection seamlessly.
Save Routes You Want to Ride Again
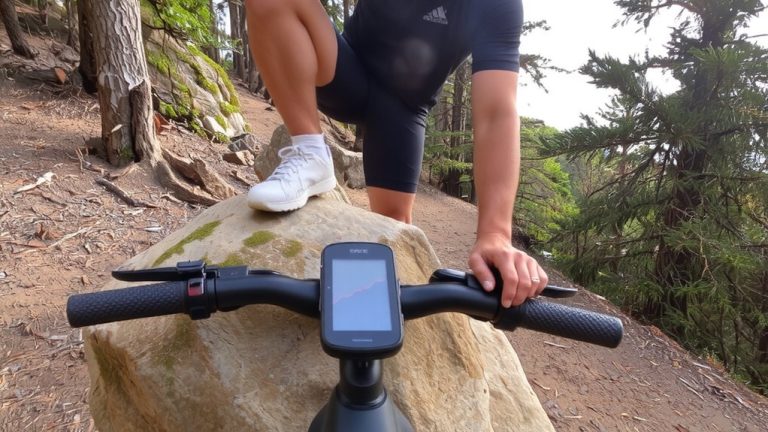
You’ve explored the trails using both map and list views, zeroing in on routes that match your ride style and skill level, and now it’s time to keep those favorites close at hand. Use the Trailforks app to save routes as you ride-it automatically records GPS data and stores each ride to your Trailforks account to track for future reference. Your saved rides include elevation and distance, so you can review performance or re-ride a favorite loop. Log in anytime to view the trails you’ve recorded. Whether planning trips or sharing your favorite routes, having reliable data helps.
| Feature | Benefit |
|---|---|
| GPS data | Accurate trail tracking |
| Elevation and distance | Performance insights |
| Saved rides | Quick access to favorites |
| Trailforks account | Sync across devices |
On a final note
You’ll ride smarter by using Trailforks to filter trails by difficulty and activity, matching your skill level to green, blue, or black routes. Pair that with reliable gear-like a 20L hydration pack, dropper post bike, and trail shoes with Vibram soles-and you’re set. Testers confirm: knowing trail conditions and saving routes cuts surprises, boosts confidence, and keeps rides smooth, efficient, and fully charged.