What Makes a Trail Beginner-Appropriate in High-Elevation Zones
Start your hike below 3,000 meters and limit daily gains to 350 meters to acclimatize safely. Choose non-technical, well-marked trails like the South Mount Elbert Route, with under 400 feet of elevation gain per mile and clear signage. Use the “go high, sleep low” strategy, ascending 350–600 meters by day, then descending to sleep. Stay hydrated with 3–4 liters of water daily. Plan rest days every 3–4 days and watch for headaches or nausea. Trails near Winter Park offer gondola access, support, and reliable weather updates-so you’re always prepared.
We are supported by our audience. When you purchase through links on our site, we may earn an affiliate commission, at no extra cost for you. Learn more. Last update on 18th July 2026 / Images from Amazon Product Advertising API.
Notable Insights
- Begin the trek between 2,500 and 3,000 meters to allow gradual acclimatization and reduce altitude sickness risk.
- Limit daily elevation gain to 350 meters above 2,500 meters to support safe physiological adaptation.
- Choose non-technical, well-marked trails with gentle grades, clear signage, and minimal exposure to hazards.
- Apply the “Go High, Sleep Low” strategy by ascending up to 300–600 meters during the day but sleeping at lower elevations.
- Schedule rest days every 3–4 days above 2,500 meters to monitor for symptoms and aid acclimatization.
Start Below 3,000 Meters for Safer Acclimatization
While you might be keen to push higher, starting your trek below 3,000 meters-ideally between 2,500 and 3,000 meters (8,200–9,800 feet)-gives your body the best shot at adjusting safely to thinner air. When you’re hiking at high elevation, oxygen levels drop fast, and your body needs time to adapt. Spending at least two nights in this range helps stabilize heart rate, supports acclimatization, and reduces your risk of Acute Mountain Sickness. Staying hydrated is essential-dry mountain air increases fluid loss, so aim for 3–4 liters of water daily. This sweet spot in altitude prepares your system before moving higher. Trekkers on routes like Everest Base Camp use this strategy, limiting daily gains and keeping safety in focus. Starting low isn’t about caution, it’s about smarter performance-so you feel stronger, sharper, and ready for what’s ahead.
Limit Daily Gains to 350 Meters to Avoid Altitude Sickness
You’ve given your body a solid base by starting at 2,500 to 3,000 meters, and now it’s time to keep that momentum going with smart daily progress. Limit your elevation gain to 350 meters per day once above 2,500 meters to avoid altitude sickness. At high altitudes, lower levels of oxygen make acclimatization critical-pushing too hard slows it, increasing risks like fluid buildup. The “Go High, Sleep Low” strategy helps: climb up more than 350 meters in a day, but descend to sleep, stimulating red blood cells and improving oxygen transport. This balance supports better pH and saturation levels, reducing headaches and nausea. High elevations demand patience; trekkers on Everest Base Camp routes stick to this limit, taking rest days every 3–4 days to stabilize heart rate and boost acclimatization.
Pick Non-Technical Trails With Clear Markings
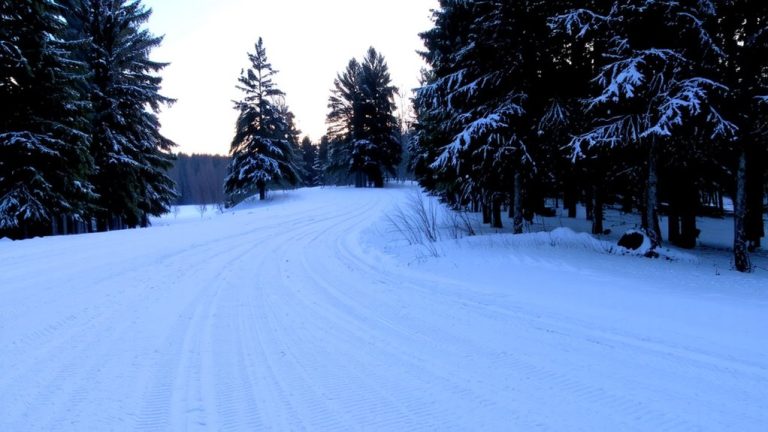
Even if you’re new to high-altitude hiking, sticking to non-technical trails with clear markings makes a big difference in safety and confidence. Choose non-technical trails like the South Mount Elbert Trail or Lower Roof of the Rockies to Fantasy Meadow-these mountain routes have no steep drops, loose rock, or avalanche zones. You’ll find well-defined routes maintained by park services, especially near Winter Park, where clear signage helps prevent navigation errors at higher elevations. These trails typically gain under 400 feet per mile, like the 2.2-mile roundtrip to Fantasy Meadow, making them manageable even at high elevation. Regular upkeep guarantees paths stay visible, even under snow. Opt for routes labeled “easy” or “moderate” with consistent clear signage. With non-technical trails, you focus on acclimating and enjoying views-not survival skills. You’ll move confidently through alpine terrain knowing the route’s designed for beginners.
Use “Go High, Sleep Low” on Beginner-Friendly Routes
When tackling beginner-friendly trails above 8,200 feet, using the “Go High, Sleep Low” strategy makes acclimatization easier and keeps altitude sickness at bay. On high-elevation trails, you’ll ascend no more than 1,000 feet per day, then drop to sleep at a lower elevation-this boosts acclimatization by letting your body adjust gradually. The Go High Sleep Low method reduces your risk of acute mountain sickness, especially above 11,500 feet, where oxygen transport becomes critical. By day, you climb higher; by night, you rest low, prompting your body to produce more red blood cells and balance blood pH. Trails near Winter Park, Colorado, use gondolas to help hikers gain daytime elevation before descending. Even beginner-friendly routes like these build resilience safely, letting your system adapt without strain.
Plan Rest Days to Watch for Early Symptoms
Though it might be tempting to push your limits right away, planning rest days is essential when hiking above 8,200 feet, especially since early signs of Acute Mountain Sickness-like headache, nausea, or fatigue-often appear within the first 24 hours of exposure, particularly after reaching 10,500 feet. Your body needs time to adjust to the lack of oxygen, so spend at least two rest days at this elevation to acclimatize. A good rule of thumb is to avoid strenuous activity, since exertion can mask the effects of altitude. Make sure to listen to your body and watch for symptoms like disturbed sleep or dizziness. Rest stabilizes your heart rate and boosts red blood cell production, helping oxygen transport. Use the “go high, sleep low” strategy by hiking 350–600 meters up during the day, then returning to a lower elevation to sleep.
Choose Trails Near Help and Accurate Weather Updates
If you’re hiking above 8,200 feet, picking trails close to support and reliable weather info isn’t just smart-it’s a safety essential. Choose routes near mountain towns like Winter Park, where medical help is 30 minutes away, or start at South Mount Elbert trailhead, with its ranger station and real-time Weather forecasts. Cell service along the trail means you can follow us for storm alerts, vital when conditions shift fast at high points. In Rocky Mountain National Park, visitor centers provide daily altitude-specific forecasts, helping you stay better prepared. Gondola-accessible trails let you exit quickly if your Heart Rate spikes or weather turns. These features mean you’re never far from help, safety updates, or a smooth descent-perfect for beginners learning to navigate thin air and sudden alpine storms.
On a final note
Start below 3,000 meters, limit gains to 350 meters per day, and pick well-marked, non-technical trails like those on AllTrails or Gaia GPS. Use the “go high, sleep low” rule, pack a reliable 20L backpack with a first-aid kit and rain shell, rest daily, and stay close to ranger stations. Real testers using Garmin inReach reported better safety and symptom tracking in thin air.