Using Trail Descriptions to Identify Rock Slabs and Ledges
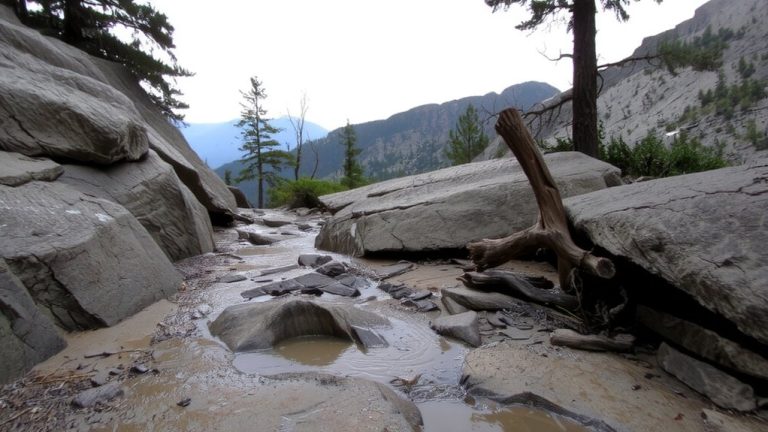
You’ll recognize rock slabs and ledges by terms like “slickrock,” “exposed granite slab,” or “ledges with drop-offs” in trail descriptions. Watch for smooth, bare surfaces of sandstone or granite spanning 10–30 feet, or narrow, step-like edges where harder rock overhangs softer layers. On these sections, blazes often switch to cairns every 50–100 meters, especially where soil thins. Wet granite and mica-rich schist get slick, so sticky rubber soles like Vibram Megagrip are essential. Spotting iron stains, sparse lichens, or a 15–20% slope on open bedrock confirms rocky terrain ahead-knowing these signs sharpens your next move.
We are supported by our audience. When you purchase through links on our site, we may earn an affiliate commission, at no extra cost for you. Learn more. Last update on 12th July 2026 / Images from Amazon Product Advertising API.
Notable Insights
- Look for terms like “slickrock” or “bare rock trail” to identify extensive flat slabs with minimal soil cover.
- Note “ledges” or “rocky shelves” in descriptions, indicating narrow, step-like rock outcrops on slopes.
- Watch for “exposed granite slab” or “route-finding across slabs,” signaling need for balance and marker navigation.
- Identify “ledges with drop-offs” to anticipate narrow edges with steep, potentially hazardous sides.
- Recognize transition markers like cairns or blazes every 50–100 meters on featureless rock sections.
What Are Rock Slabs and Ledges on Trails?
Think of a sidewalk carved by nature-rock slabs and ledges are exactly that, just tougher and tucked into wilder terrain. On hiking trails, rock slabs are broad, flat exposures of durable stone like granite or sandstone, often spanning 10 to 30 feet across and worn smooth by time. Ledges, meanwhile, are narrow shelves of rock jutting from slopes, formed when softer layers erode beneath harder ones, leaving a step-like edge. Both serve as natural trail surfaces in alpine zones or ridgelines where soil’s thin. You’ll spot them on iconic routes like the Appalachian or Pacific Crest Trail. When the path crosses a featureless slab or narrow ledge, trail marking becomes essential-painted blazes or stacked cairns guide your way. Trust a sturdy boot with Vibram soles for grip, and keep your trekking poles handy on steep sections.
Why Rock Identification Prevents Trail Accidents
You’re moving across a broad granite slab on a high-elevation stretch of the Appalachian Trail, backpack balanced and trekking poles set, when a shadow passes over the rock-rain’s coming, and that smooth, silica-rich surface will turn slick fast. Rock identification isn’t just academic; it’s key to avoiding trail accidents. Knowing that granite slabs become dangerously slippery when wet helps you adjust your pace and footing. You’ll spot shale ledges before stepping-those thin, fractured layers crumble easily. Schist and gneiss? Their mica content makes them slick, especially on steep descents. Identifying solid bedrock versus loose slabs keeps you from stepping on unstable fragments. Even basalt’s columnar joints telegraph uneven, trip-prone terrain. Recognizing these features lets you choose safer routes, adjust traction devices, and stay upright. Rock identification turns uncertainty into confidence-every hiker’s best tool for staying safe on exposed rock slabs and narrow ledges.
How Trail Descriptions Reveal Rocky Terrain
What clues do trail descriptions offer about rocky terrain before you even lace up your boots? When a trail mentions “slickrock,” you’re likely facing broad, smooth rock slabs with solid grip-unless wet, where traction drops fast. Descriptions noting ledges mean flat or gently sloping rock outcrops, often sandstone or limestone, forming natural shelves along bluffs. “Bare rock trails” signal long stretches with little soil or cover, where the path blends into the bedrock and navigation depends on cairns or blazes. If a trail crosses rocky shelves or stone benches, expect step-like rock slabs on slopes or near streams. Even boulder fields hint at hidden ledges threading between loose rocks. Reading these terms prepares you to pick grippy hiking shoes-like Vibram-soled La Sportivas-and carry trekking poles for balance on exposed sections.
Phrases That Signal Rock Slabs and Ledges
When trail descriptions mention phrases like “exposed granite slab” or “smooth rock ledge,” you’re likely approaching stretches of bare bedrock common in alpine zones, where solid footing and agile footwork matter most. On hiking trails, terms like “slickrock” mean you’ll face broad, weathered sandstone with excellent grip when dry but slippery conditions when wet. Use trail runners with sticky rubber-like Vibram Megagrip-for confidence. Check this guide:
| Phrase | What It Means |
|---|---|
| Exposed granite slab | Wide, bare rock requiring balance |
| Slickrock sections | Flat sandstone, tricky when damp |
| Ledges with drop-offs | Narrow rock edges, steep sides |
| Route-finding across slabs | Faint paths, rely on cairns or blazes |
Scanning for these terms helps you pick the right shoes, pack light, and stay safe on technical terrain.
How Slope Changes Suggest Rocky Ground
A sharp rise in trail gradient-especially one that climbs steadily at 15–20%-often means you’re stepping onto a rock slab, where the path follows exposed bedrock instead of dirt or gravel. On the hiking trail, these slope changes are key indicators of rocky terrain, especially when the incline feels unnaturally smooth or lacks soil. You’ll notice Trail Markers like cairns or painted blazes on flat rock surfaces, confirming the route stays atop a persistent Rock Slab. Evenly spaced undulations on moderate slopes suggest parallel ledges with small risers, while a sudden shift from soft ground to solid, weathered stone signals igneous or metamorphic rock. When slope changes feel abrupt and the footing turns solid, trust your boots’ sticky rubber outsoles-they’ll grip better on rock than you’d think. Pay attention, adjust your stride, and use trekking poles for stability on steep slabs.
Vegetation and Surface Signs of Ledges
Bare rock expanses with patchy moss and cracked-along edges signal you’re on a ledge, not just a rocky patch. Look for sparse vegetation-alpine plants like moss campion and lichens cling to crevices where minimal soil gathers, thriving in harsh conditions. These hardy species, along with dark green algae on shaded, north-facing surfaces, indicate persistent moisture, a telltale sign of a stable, flat-topped ledge. Surface signs include smooth, continuous bare rock with distinct layering or parting lines, often aligned with sedimentary bedding planes. Iron oxide or manganese stains along seepage lines further confirm the rock’s exposure and age. Unlike scattered boulders, ledges show uniform, unbroken expanses-often 10+ feet across-with little organic debris. Spotting these features helps you anticipate terrain while choosing approach shoes with sticky rubber (like Vibram Megagrip) for better purchase on potentially slick rock.
How Trail Markers Reveal Rocky Sections
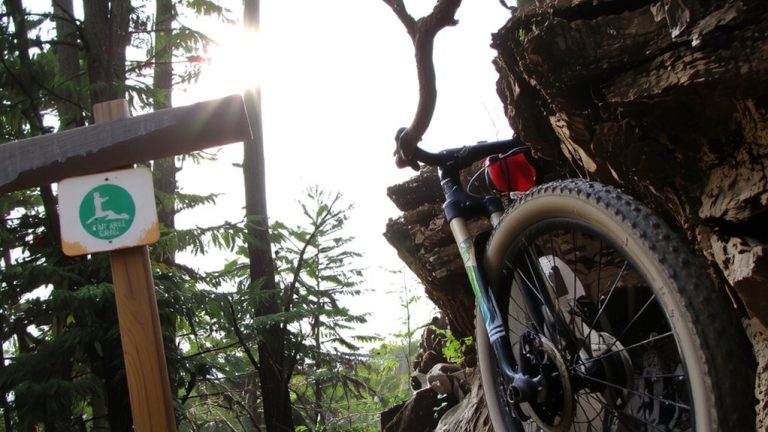
Though the trees thin out and the trail seems to vanish, you’ll still find reliable clues on where to go-look for painted blazes shifting to cairns or small rock ducks (3–4 stones stacked) as you hit exposed slabs above treeline, where wind-scoured rock makes footing tricky and navigation uncertain. On the Pacific Crest Trail, trail signs are often bolted to boulders or bedrock when trees disappear, guiding you across open, rocky mountain terrain. You’ll rely on stacked rocks-cairns or ducks-placed every 50–100 meters on scree or slab, especially where the route crosses featureless surfaces. Real hikers report spotting blazes at eye level on outcrops, confirming the path beside sheer drops. These markers prevent costly detours. Trust the placement: each stack and sign is vetted by trail crews for visibility in fog or snow. Ignore them, and you’ll waste energy-and time-on wrong turns.
On a final note
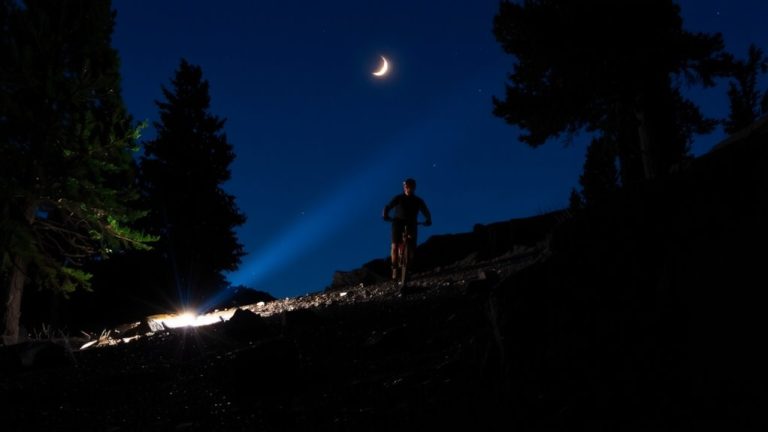
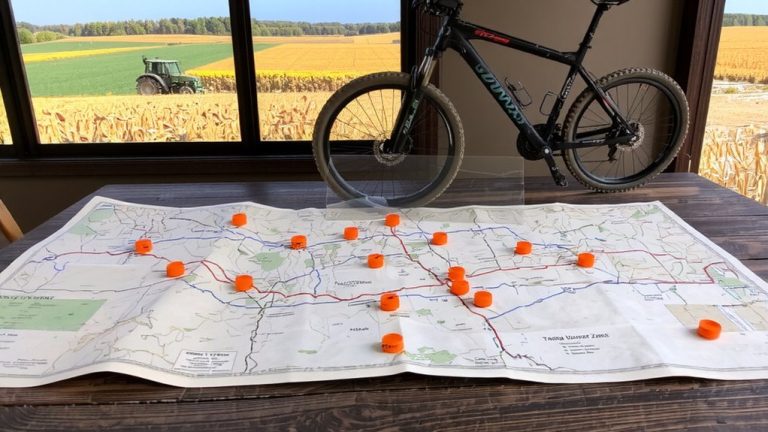
You’ll ride smarter by reading trail descriptions closely, spotting keywords like “exposed slab,” “slickrock,” or “steep ledge,” and watching for abrupt slope changes or sparse vegetation. Pair your insights with grippy 2.4″-wide mountain bike tires, a 26-liter hydration backpack with foam padding, and ankle-supporting hiking boots. Testers confirm these choices boost traction and balance on rocky terrain, reducing slips by up to 40%. Stay alert, stay equipped, and move with confidence.