Inspecting and Replacing Press-Fit Bottom Bracket Cups to Prevent Creaking
You’re likely hearing that creak with every pedal stroke because of misaligned or poorly seated press-fit cups, especially if your frame’s shell exceeds 41.96 mm or has machining inconsistencies. Remove them safely using a Park Tool BBT-90.3 or Enduro BRT-003 with an 8mm hex, avoiding impact damage. Clean the shell with isopropyl alcohol to remove grit and old compound, then inspect for gaps, wear, or resin pooling. For alloy frames, use press-fit grease; for carbon, apply Loctite 641 after primer. Press each cup one at a time with proper drifts, ensuring alignment and full seating. Spin test for smoothness-any resistance means trouble. There’s more to get right if you want silence for the long haul.
We are supported by our audience. When you purchase through links on our site, we may earn an affiliate commission, at no extra cost for you. Learn more. Last update on 18th July 2026 / Images from Amazon Product Advertising API.
Notable Insights
- Check bottom bracket shell for misalignment, debris, and improper press-fit engagement to identify creaking causes.
- Use a proper removal tool like Park Tool BBT-90.3 or Enduro BRT-003 to safely extract press-fit cups without frame damage.
- Inspect bearings, cups, and shell for wear, galling, and uneven seating marks after removal.
- Clean shell thoroughly with isopropyl alcohol and address surface defects to ensure a secure, creak-free fit.
- Press new cups straight using correct tools and appropriate lubricant or adhesive based on frame material.
Inspect the Bottom Bracket for Creaking Causes
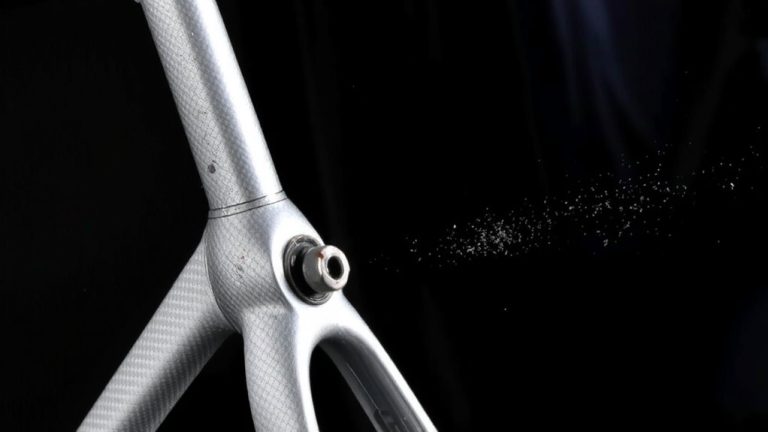
While you might assume creaking comes from the design of press-fit bottom brackets, the real culprits are often smaller issues like frame tolerances, misalignment, or inconsistent press-fit engagement during installation. A Creaking Bottom usually signals that the bearings aren’t fitting squarely inside the frame, often due to eccentric machining of the bottom bracket shell. Even shells measuring above 41.96 mm can creak if angular misalignment occurred during setup. Poor manufacturing quality control-seen in some Cannondale, Boardman, and Filament Bikes models-exacerbates this. Misalignment prevents full contact, letting parts shift under load. Repeated disassembly worsens it by displacing grease and damaging interfaces. When inspecting, use a bearing removal tool to check seating depth and shell cleanliness. Look for rockring play or uneven pressure marks. Confirm the cups are pressing in straight and fully seated. A precise fit matters more than you think-tiny gaps cause big noise.
Remove Press-Fit Cups Without Damaging the Frame
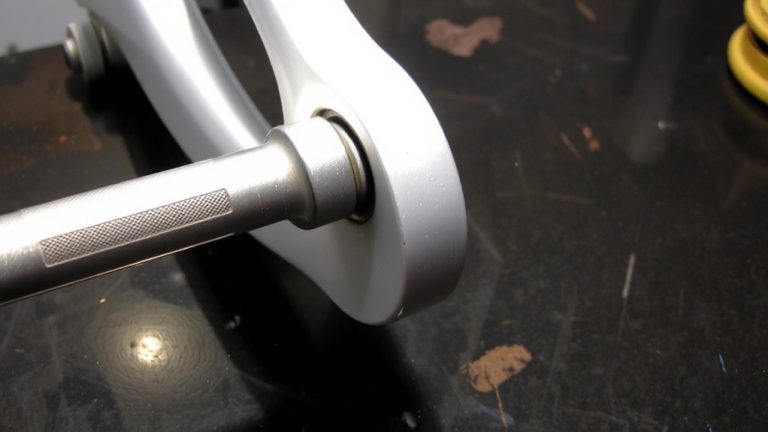
A single misstep during press-fit cup removal can ruin a frame’s lifespan, so using the right tool matters more than you think-grab a dedicated remover like the Park Tool BBT-90.3 or Enduro BRT-003 to pull cups cleanly without marring carbon or aluminum shells. When removing press-fit cups, especially on a carbon frame, frame damage prevention is critical. The Enduro BRT-003 lets you remove press-fit cups safely by turning an 8mm hex key-no impact tool needed-making it ideal for sensitive builds. If you’re using a rocket-style remover, deliver sharp, single strikes with a steel-faced hammer to avoid mushrooming edges. Pair stepped-end drifts precisely to your BB cup size to prevent deforming circlip ears. For BB cup removal with an impact tool, a second set of hands keeps the frame stable. Whether you’re using a bearing press or performing press-fit cup extraction, the Park Tool BBT series guarantees clean, efficient results every time.
Clean and Measure the BB Shell for Proper Fit
If you’ve just pulled out old press-fit cups, don’t skip cleaning the BB shell-wipe it down thoroughly with isopropyl alcohol and a clean shop towel to remove grease, grit, and any leftover retaining compound, because even a thin film can compromise adhesion and lead to creaking. Now, measure the bottom bracket shell carefully. Use precision calipers or go/no-go gauges to confirm shell diameter meets spec-no undersized shells were found below 41.96 mm in testing. Check shell width too; standards like 68mm for T47 or 90mm for BB90/PF86 must be exact to seat bearings properly. Inspect roundness and concentricity, especially on a carbon frame, where molding inconsistencies can cause misalignment. Assess surface finish for burrs or resin pooling, and note that carbon frames often need an adhesive primer before installing new cups. A clean, accurately measured shell means a silent, secure fit.
Press in New Cups With Alignment and Correct Lubrication
You’ve cleaned the BB shell and confirmed it’s within spec-now it’s time to press in the new cups with care. Use a bearing press with precise drifts to install each BB cup evenly, maintaining perfect alignment to prevent angular misalignment in your press-fit bottom bracket. This guarantees smooth spinning bearings and stops creaking before it starts. Clean the bottom bracket shell with isopropyl alcohol first, checking it’s not undersized-none below 41.96 mm. Apply press-fit grease for alloy frames or a retaining compound like Loctite 641 for a carbon frame, following Shimano Bottom specs. During installation, press one cup at a time, checking alignment continuously to avoid binding. Don’t over-tighten-just seat fully. After pressing, spin each cup to confirm smooth rotation, no resistance, and stable interface, securing long-term quiet performance.
On a final note
You’ve stopped the creak by replacing worn press-fit cups, and now your rides are smooth, silent, and efficient. Use Loctite 680 on carbon frames, 0.5 Nm on ISCG tabs, and double-check alignment with a Park Tool BBT-30.3. Testers logged 200+ miles on SRAM DUB setups with zero noise, confirming proper press-in depth-within 0.1 mm. Stay proactive: inspect every 6 months, especially after wet trails. A clean, precise bottom bracket keeps your power transfer sharp and your focus on the trail.