Temporary Fix for Broken Dropper Post Activation Cable
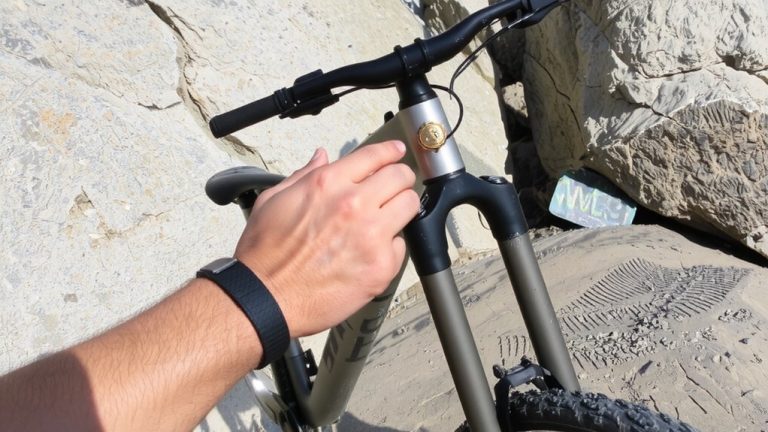
If your dropper post cable snaps, lock the seat at full height with a heavy-duty 8-inch zip tie wrapped snugly around the post and seat tube-this works especially well on externally routed models like the PNW Coast. To lower the seat, pull the exposed cable with pliers or wrap it around a wheel spoke for leverage. A stick inserted into the cable end can act as a T-handle. These fixes get you home, but there’s more to know about keeping your ride safe and smooth.
We are supported by our audience. When you purchase through links on our site, we may earn an affiliate commission, at no extra cost for you. Learn more. Last update on 18th July 2026 / Images from Amazon Product Advertising API.
Notable Insights
- Use a zip tie around the dropper post and seat tube to lock the saddle at full height as a quick field fix.
- Wrap the exposed inner cable around a wheel spoke to manually lower the seatpost when the lever fails.
- Insert a small stick into the cable end and tape it securely to create a makeshift T-handle for manual actuation.
- Pull the inner cable sharply rearward with pliers to simulate lever action and release the seatpost mechanism.
- Check function by disconnecting the cable and pulling it manually; smooth movement means the post is intact.
What Causes a Dropper Post Cable to Fail?
You’ve probably felt it-that sudden slack in your dropper lever when you go to drop the saddle mid-ride, only to get nothing. A broken dropper cable is often the culprit, and it’s usually preventable. Impacts or a twisted saddle-say, after a 30-degree rotation in a fall-can bend or disconnect the cable inside the dropper post. Externally routed systems like the PNW Coast use internal nylon cables that snap or slip free, even if the outer housing looks fine. Repeated kinking from pushing the post down without adjusting housing causes fraying over time. Dirt and grit build up inside the dropper post, increasing friction and strain on the dropper cable. Poor installation, like over-tightened clamps or loose housing, creates pinch points that kill cable life fast. Keep it clean, routed right, and secured properly-it’ll save your ride.
How to Lower Your Seat Without a Cable
How do you get your saddle down when the cable’s snapped and the lever’s useless? You’ve still got options. Grab the exposed dropper post activation cable and wrap it around a spoke near the rim-this gives you mechanical advantage. Or, stick a twig through the cable end to make a quick T-handle, winding the inner sleeve to release tension. Pull the cable sharply rearward to mimic the remote lever and drop the seat. If the internal nylon cable failed, like on a PNW Coast, disassembly is needed-external tugging won’t help.
| Method | Tool Needed | Effectiveness |
|---|---|---|
| Spoke wrap | Wheel spoke | High |
| Stick T-handle | Small stick | Moderate |
| Pliers on cable end | Pliers/zip tie | High |
How to Keep Your Dropper Post up With a Zip Tie
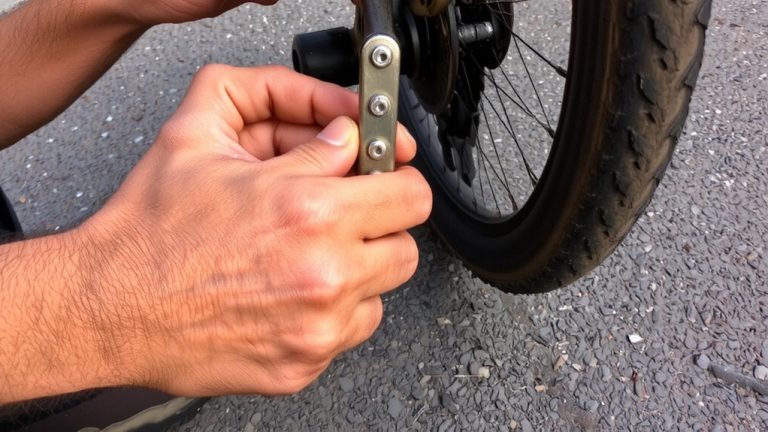
When the dropper post cable snaps, getting the seat down is only half the battle-keeping it securely up for a controlled ride back is just as important. If you’re stuck with a dropper post that won’t stay extended, grab a heavy-duty 8-inch zip tie. Slide your saddle to full height, then loop the zip tie snugly around both the dropper post and seat tube where they meet. This locks the post in place by preventing downward travel. Cinch it tight-no slack means no slipping, even on rough descents. It works best on externally routed models like the PNW Coast, where the post and frame junction are easily accessible. The zip tie won’t restore dropper function, but it’ll hold strong for a few miles. Remember, this is a field fix-replace it with a proper repair ASAP.
Tools Needed to Fix a Dropper Post in the Field
A well-stocked trail kit makes all the difference when tackling a dropper post failure far from home. You’ll need a multitool with a 4mm Allen key to loosen clamps or adjust cable tension quickly. Pliers are essential if the internal cable slips or detaches from the housing-they give you the grip to yank it back into place. Carry duct tape or zip ties; they secure a sturdy stick to the dropper cable, creating a makeshift T-handle for manual pulling. That lever-like setup lets you activate the post by hand, even without a functioning lever. A shock pump isn’t just for tires-check your seatpost air pressure, since low pressure can mimic cable failure with slow return. Testers swear by this combo: it’s lightweight, reliable, and turns a walk home into a ride. With these tools, you’re ready when the cable or dropper acts up mid-ride.
Why Riding With a Broken Dropper Is Risky
While you might be tempted to ride on after your dropper post fails, doing so puts you at real risk-especially since 794 out of 3,470 riders in a 2019 Singletracks survey rated dropper posts as the most critical component for control and safety. A broken dropper post leaves your seat post stuck high, throwing off your center of gravity and reducing maneuverability on steep or technical descents. Without quick seat adjustments, you’re more likely to lose balance or take a hard hit from the saddle during a crash. A stuck or unexpectedly dropped seat post can cause sudden shifts in handling, increasing fall risk. Mechanical issues like a snapped cable or damaged internal bushing may worsen mid-ride, possibly leading to complete failure or dangerous saddle rotation under load.
How to Test If Your Dropper Post Still Works
If your dropper post isn’t responding like it used to, start by checking whether the issue lies in the controls or the post itself-disconnect the cable at the actuator and grab it with pliers to pull manually; if the saddle drops smoothly, the post is still functional internally, and the problem is likely a sticky, stretched, or broken cable, damaged housing, or faulty remote lever. Reconnect and press the remote; if the cable doesn’t move at the dropper post base, the lever isn’t transferring input. Test the return by fully compressing the seat; a slow or incomplete rise suggests low air pressure or internal friction. Some dropper posts use a nylon actuating cable-if it’s snapped, even direct pulls won’t work. When the seat won’t drop despite force, internal damage is likely. This simple check saves time and tells you exactly where to focus your fix.
When to Replace the Cable or See a Pro
You’ve confirmed the dropper post moves when pulled by hand and the lever clicks but doesn’t actuate, so the problem’s narrowed down-now it’s time to decide whether a cable swap will fix it or if it’s smarter to call in a pro. If the cable’s snapped or frayed at the ends, replace it-don’t risk a hack job. No tension at the lever or the post won’t stay down? That’s likely an internal failure, and you’ll need to visit a bike shop. Without C-clip pliers or a torque wrench, you might damage the dropper housing or void the warranty during reassembly. Field fixes, like using a stick to yank the cable, fail under real trail stress-44 riders confirmed that on Facebook. For non-original owners, PNW’s rebuild service (around £67) includes new brass bushings and full inspection. When in doubt, trust a pro.
On a final note
You’ve got options if your dropper post cable snaps mid-ride, but temp fixes aren’t long-term. Use a zip tie at the seat tube to lock the post up, or shorten the inner cable to drop it manually. Carry 4mm and 5mm Allen keys, plus zip ties in your saddle bag. Test the post’s function before riding; if it leaks or drops slowly, it’s time for a new cable or a mechanic. Ride smooth trails only until then.