How to Safely Practice Rear Wheel Lifts Without Damaging Your Bike
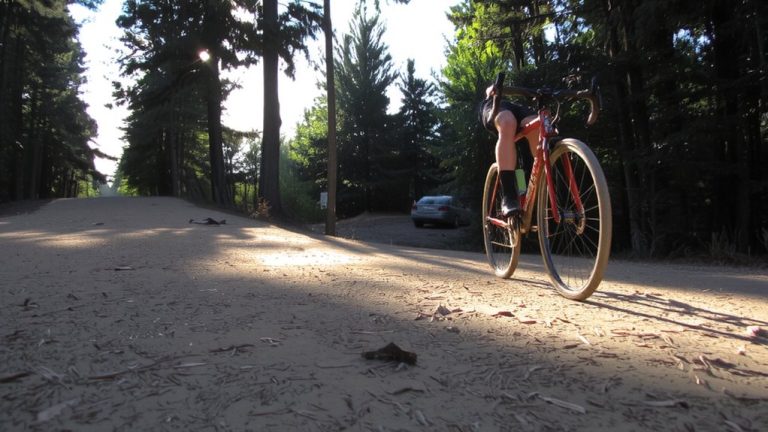
Start at 3–5 mph in a flat, open area like an empty parking lot, slightly dip your body to compress the rear suspension, then scoop the pedals-positioned at 3 and 9 o’clock-up and back in sync with the suspension’s 30–40mm rebound, keeping your toes down for grip on flat pedals and your weight shifted rearward to protect your drivetrain; practice over painted lines or low logs to build precision without risk, and you’ll soon master clean, bike-friendly lifts.
We are supported by our audience. When you purchase through links on our site, we may earn an affiliate commission, at no extra cost for you. Learn more. Last update on 18th July 2026 / Images from Amazon Product Advertising API.
Notable Insights
- Practice in flat, open areas like empty parking lots to minimize crash risks and protect your bike.
- Approach at 3–5 mph to maintain control and reduce stress on the frame during lifts.
- Compress the rear suspension before scooping to use natural rebound and prevent harsh movements.
- Keep your toes down on flat pedals to improve grip and avoid foot slippage that can lead to crashes.
- Use low obstacles like 4–6 inch logs to practice clearance without overloading the drivetrain or frame.
Set Up for a Rear Wheel Lift
While picking the right spot matters, setting up your body and bike correctly is what really makes a rear wheel lift click, so start in a flat, open space like an empty car park or football field where you’ve got room to roll without hitting obstacles. Approach at 3–5 mph, slow enough to control lifting the rear but fast enough to maintain momentum. Lower your body slightly backward to compress the rear suspension, storing energy for a cleaner lift. Keep your toes down to wedge your feet securely on flat pedals like DMR V12s, boosting grip during wheel lifts. Set your pedals at 3 and 9 o’clock for maximum leverage-this position boosts power when you initiate rear wheel lifts. Proper setup minimizes strain on your bike and helps you master lifting the rear consistently, safely, and with control, even on repeat attempts.
Lift the Rear Wheel With the Scoop Motion
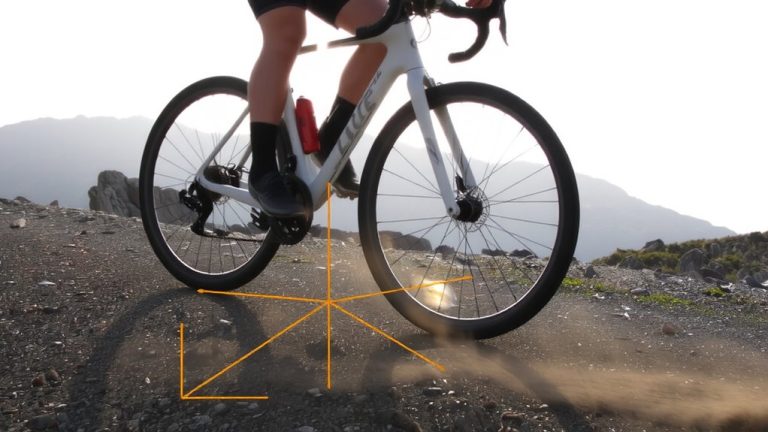
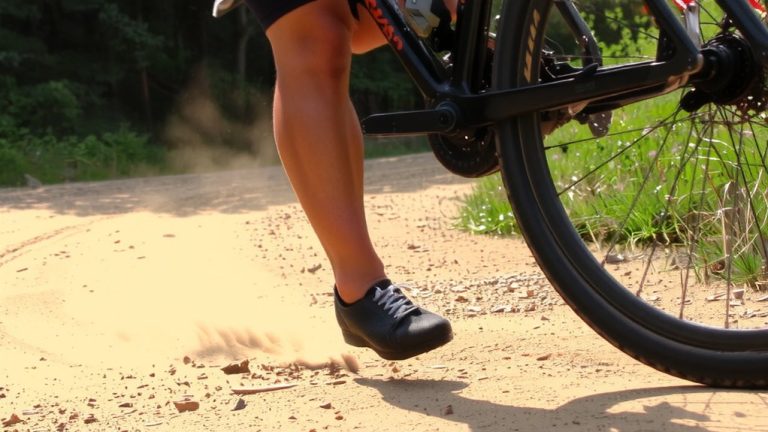
You’ve got your setup dialed-body low, pedals at 3 and 9, rolling at a slow 3–5 mph across flat pavement-so now it’s time to get the rear wheel off the ground with the scoop motion. Point your toes down hard to grip the pedals, like a bull pawing the dirt, then pull the pedals up and back in one smooth scoop motion while leaning your chest toward the handlebars. This coordinated move helps lift the rear by using your body weight and timing, not brute force. Sync the scoop with the rear suspension’s rebound-about 30–40mm on most hardtails-for smoother, safer lifts. Practice over chalk lines or pebbles to sharpen precision. Keep speed consistent: too fast and you’ll lose control, too slow and the lift won’t engage. This technique lets you lift the rear efficiently, protecting your drivetrain and building trail-ready muscle memory.
Practice Rear Wheel Lifts on Drills and Obstacles
Once you’ve got the scoop motion down, it’s time to apply that skill to real-world scenarios by practicing rear wheel lifts on drills and obstacles. Start on flat, open surfaces like parking lots, using painted lines as targets to lift your rear wheel over while keeping your front wheel low. Ride at a slow jog-about 3–5 mph-compress the suspension, then scoop the pedals up and back. Use firewood logs, 4–6 inches tall, as practice obstacles, just like in the 15-second demo video. Keep your seat lowered, toes pointed, and knees bent for better pedal grip and control. Focus on clearing each obstacle smoothly, not just lifting high. Only progress to curbs or fallen trees after nailing balance and timing on flat ground. This builds precision, protects your bike, and prepares you for real trail demands.
Fix Common Rear Wheel Lift Technique Errors
If you’re struggling to get your rear wheel off the ground smoothly, chances are you’re pulling up with your seat instead of shifting your weight back and driving the handlebars rearward, a move that generates better leverage and keeps the bike balanced. For effective rear lifts, point your toes down to lock your feet into flat pedals like DMR V12s, preventing slippage. Avoid just extending your legs-bend your knees and scoop up and back, like a bull scraping its hoof. Time the lift with your suspension’s rebound after a quick compression, otherwise you’ll fight wheel slap or weak pop. Practice beside your mountain bike first, lifting with one foot at the 3 o’clock position to build muscle memory. Keep your front wheel light but grounded, and shift weight smoothly between front and rear for control. Mastery sharpens core mountain bike skills, boosts trail precision, and protects your frame and components.
On a final note
Keep your bike safe and your lifts smooth by using proper form and durable gear, like Shimano’s BL-MT200 brakes for reliable stopping, and wear POC Omne Air Spin helmets (280g) for protection. Practice on flat, dry trails with 5–6 inches of clearance, and avoid gravel or roots. Use gloves with padding, like Giro Bravo, and a bike with a low center of gravity, like a Trek Marlin 5.