How to Plan a Mountain Bike Route That Includes Shuttle Access Points
Start by enabling the Bicycling Layer in Google Maps-solid green lines are dedicated trails, dashed means unpaved, dotted marks quiet streets. Use Satellite and Street View to scout trailheads, check for gates, and confirm SUV-accessible pull-offs with 15-foot turnaround space. Pick legal, bike-only trailheads like Los Pardres or San Bernardino, noting seasonal fire road closures. Plan van shuttles or bike-only loops so one rider returns tandem; split long routes like the Florida C2C into daily segments to save energy. Upload your GPX file to Trailforks and sync with Garmin for turn-by-turn navigation, sharing the route via URL so your crew can import it seamlessly-precision shuttle planning keeps rides smooth and fatigue low.
We are supported by our audience. When you purchase through links on our site, we may earn an affiliate commission, at no extra cost for you. Learn more. Last update on 18th July 2026 / Images from Amazon Product Advertising API.
Notable Insights
- Enable the Bicycling Layer in Google Maps to identify bike trails, unpaved routes, and quiet streets ideal for shuttle access.
- Use Satellite and Street View to verify trail connectivity, surface conditions, and legal entry points like gates or signage.
- Select shuttle start and end points at established trailheads with space for SUVs and clear turnaround access.
- Plan efficient shuttles by dropping riders at opposite ends or breaking long rides into segments using a support van.
- Upload custom GPX routes to Trailforks or GPS devices and share with crew, marking all shuttle points as POIs.
Enable the Bicycling Layer to Find Dirt Trails and Bike Roads
While you’re scouting your next ride, turning on the Bicycling Layer in Google Maps can instantly reveal hidden dirt trails and bike-friendly roads that the default map view hides. Just tap the layers icon and select Biking details to see solid green lines for dedicated bike trails, dashed lines for unpaved routes, and dotted paths marking quiet streets or official Bike Route roads. This layer helps you link trails to shuttle-accessible points, especially useful when planning longer rides in areas like Los Pardres. The Bike Route overlays are accurate within 10–15 feet, per field tester notes, and highlight connections to off-road segments often missed. Use it to trace approaches, gauge road shifts, and spot potential access spots-all without switching apps. It’s a fast, reliable first step before digging into satellite detail.
Use Satellite and Street View to Confirm Trail Access
Once you’ve mapped out potential routes using the Bicycling Layer, take it a step further by switching to Satellite View to verify that those trails actually connect where you think they do. Zoom in to spot unpaved paths, tire tracks, or faint trails-especially in remote zones like Los Pardres or Riverside-that might not show on standard maps. Look for parking spots or pull-offs near trailheads where your bike shuttle can safely load or drop off gear. Then, activate Street View by clicking (or long-pressing on mobile) to inspect access points up close. Check for gates, “No Motor Vehicles” signs, or surface conditions that could block entry. Even if a road’s closed to cars, you might still pedal through on a mountain bike. Use both views together to confirm trail connectivity and reliable shuttle access, so you’re not left stranded with a backpack full of hydration packs, spare tubes, and tools.
Pick Shuttle Start and End Points at Vehicle-Access Trailheads
Start by selecting shuttle points at trailheads where your support vehicle can legally pull in and park-plenty of room for a full-size SUV or van is ideal, especially if you’re carrying multiple bikes, a Yeti rack, and gear bins. Stick to established trailheads like those in Los Pardres or San Bernardino, where signage is clear and vehicle access is permitted. Confirm seasonal road status; some fire roads close to vehicles in winter but stay open for bikes, letting you pedal back to your car safely. Use Trailforks or Google Maps’ bicycling layer to verify vehicle access and find bike-legal return routes such as gated roads or rails-to-trails paths. These connections make it easier to ride back to your car without detours or trespassing. Always pick trailheads with enough turnaround space and visibility-no tight spots where you’ll need three-point turns. Smart shuttle points keep your crew safe, your gear secure, and your ride flowing smoothly.
Design Smart Shuttle Returns: Van and Bike-Only Options
You’ve picked solid trailheads with safe vehicle access, so now it’s time to plan how you’ll get back to your start point without wasting energy or cutting your ride short. For a Mountain Bike shuttle, consider a van drop-off where one rider takes a tandem bike back-this saves time and keeps your group synced. If you’re avoiding extra vehicles, a bike-only shuttle works: each person rides to opposite ends, then returns on the same trail, ideally early before fatigue sets in. Riding back with a loaded pack over elevation saps energy fast, so plan returns when legs are fresh. On long routes like the Florida C2C Trail, some groups drive the van ahead daily, breaking the Mountain Bike route into manageable chunks. Testers found full-day shuttles exhausting, cutting into rest and enjoyment. Smart return planning keeps your ride efficient, fun, and focused on the trail.
Send Route to GPS and Trail Apps for Navigation
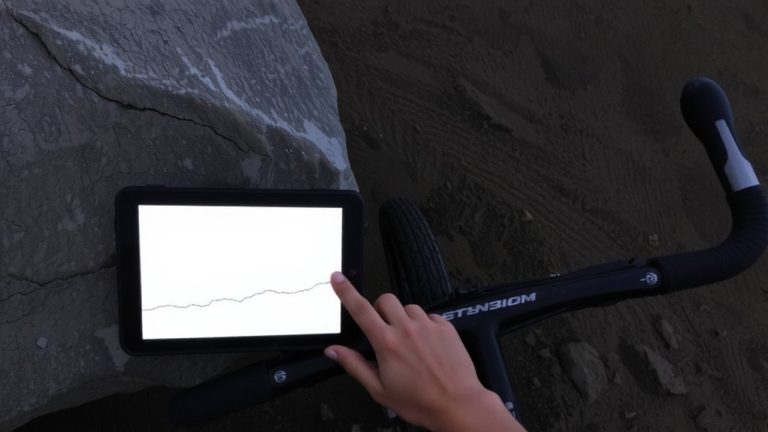
Every successful mountain bike route hinges on reliable navigation, and that starts with syncing your plan to the tools you’ll use on the trail. Upload your custom Bike route as a GPX file to snap it to the official trail network, ensuring accuracy post-shuttle. Sync it to Trailforks using your free account for turn-by-turn navigation and offline maps. Then, transfer it to your Garmin device for real-time Bike tracking. Share the finalized route via a unique URL so your crew can import it into their Bike apps or GPS units. Confirm all shuttle points are marked as POIs and appear across platforms.
| Platform | Feature | Benefit |
|---|---|---|
| Trailforks | Offline maps | Reliable navigation anywhere |
| Garmin | GPX import | Accurate Bike tracking |
| Shared URL | Crew sync | Everyone’s on the same route |
Avoid Shuttle Burnout: Lessons From the Florida C2C Ride
Though the Florida C2C ride delivers epic cross-state singletrack, the shuttle logistics can drain your energy fast if you’re not careful, especially when long drives eat into rest time and saddle recovery. You thought renting a one-way car would work, but after a friend’s tip, you switched to shuttling-only to find it exhausting, limiting your enjoyment. The best routes demand smart support: your crew used a van to drop riders at point B while leaving cars at point A, letting you pedal back to start. To save time, the van owner rode a tandem bike solo back to the parked van, cutting repositioning to 45 minutes. It worked, but coordination and trust were essential across all parties. Shuttle days need tested gear, like padded shorts, hydration packs (3L bladder), and reliable lights-because tired legs make worse riders. Plan efficient loops, minimize drive time, and protect your energy for the trail, not the van.
On a final note
Map your route with the bicycling layer, confirm access via satellite, and choose vehicle-friendly trailheads for shuttle points. Use GPS apps like Trailforks or Ride with GPS, preload offline maps, and carry a 20-30L hydration pack with a 3L reservoir, repair kit, and lightweight rain shell. Testers prefer dropper posts on technical descents and tubeless tires at 22–28 psi for grip. Plan van loops or bike-only returns to save energy and extend ride time efficiently.