Detailing Logo Embossments With Soft Toothbrush Technique
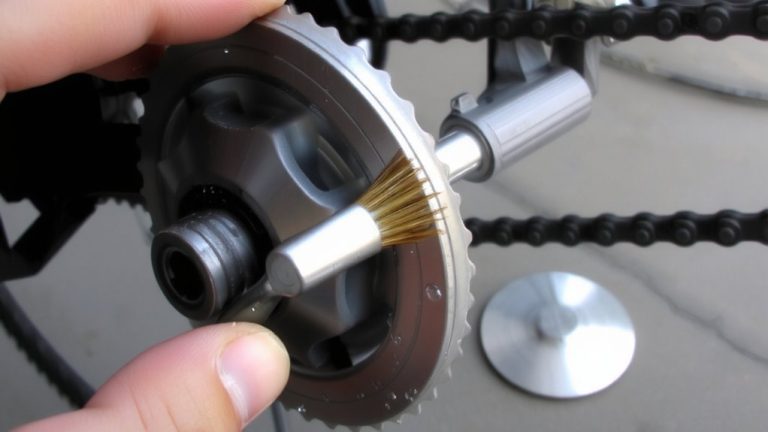
Use a soft-bristle toothbrush at a 45-degree angle to gently loosen grime from recessed logos on your 1968 or 1972 Chevelle, where dirt builds up and risks scratches. Stick to short back-and-forth motions with light pressure, then wipe clean with a white microfiber’s edge. Even soft nylon bristles can leave swirls over time, so switch to silicone brushes or foam-tipped Detail Q-tips for safer, more precise cleaning-your emblems stay sharp, and paint stays flawless. There’s a smarter way to protect those details.
We are supported by our audience. When you purchase through links on our site, we may earn an affiliate commission, at no extra cost for you. Learn more. Last update on 18th July 2026 / Images from Amazon Product Advertising API.
Notable Insights
- Use a soft-bristle toothbrush at a 45-degree angle to gently clean debris from recessed logo areas.
- Dip the toothbrush in a 1:3 mix of Dawn dish soap and water for effective, safe cleaning.
- Apply short back-and-forth motions aligned with crevices to minimize paint pressure and marring.
- Wipe away loosened grime immediately with the edge of a white microfiber or cotton towel.
- Limit brushing to under 5 minutes per panel to prevent swirls, even with soft bristles.
Protect Embossed Logos From Hidden Dirt and Scratches
A surprising number of grime buildup spots hide in plain sight, especially in the recessed details of embossed logos on classic cars like the 1968 and 1972 Chevelles. You’ll want to protect embossed logos from trapped dirt and accidental scratches during cleaning. A soft bristle toothbrush can loosen debris, but its nylon bristles may mar paint over time, especially with repeated use. Testers report light swirls forming near emblem edges after multiple passes. For safer results, consider gentler tools that won’t risk surface damage. Clean these areas before swirl removal and polishing so any incidental marring can be corrected later. While the soft bristle toothbrush is a common household go-to, its nylon bristles aren’t ideal for long-term emblem care. Protect embossed logos by choosing non-abrasive methods, ensuring your Chevelle’s details stay sharp, clean, and finish-safe for years.
Use a Non-Scratch Tool Like Silicone or Foam Tips
Silicone and foam-tipped tools are your best bet for keeping embossed logos clean without risking swirls or scratches. A silicone detail brush with soft, non-abrasive bristles glides over delicate surfaces, safely removing grime where nylon brushes might mar paint. You’ll want a non-scratch tool like Detail Q-tips-those foam tips reach tight spaces around emblems without leaving residue or causing damage. Randy Gaston, a seasoned detailer, found success using a soft plastic brush with window cleaner to loosen debris without scratching. Foam tips and silicone tools clean effectively yet gently, which is key near raised lettering. Testers on detailing forums also back horsehair or boar’s hair brushes from brands like Griot’s Garage for precision work near fragile areas. Even Dremel tools can help at low RPMs, but you’ve got to keep them moving to avoid heat damage. Stick with foam tips or silicone, and you’ll protect your finish while getting spotless results.
Clean Around Logos Step by Step Without Damage
Start by grabbing a soft-bristle toothbrush, like the Oral-B Sensitive, and dip it into a 1:3 mix of Dawn dish soap and water-this ratio cuts grime without risking clear coat damage. When you clean around logos, use the tooth brush at a 45-degree angle, working it gently yet effectively into tight crevices where dirt hides. Use short back-and-forth motions aligned with the gap to loosen debris without pressure. Immediately wipe away grime with the edge of a white microfiber or cotton towel-this prevents redeposit and guarantees a spotless finish. Keep sessions brief; limit brushing to under 5 minutes per panel to avoid marring, since even soft nylon bristles can scratch. Always complete this step before swirl correction or polishing, as improper technique may leave fine marks needing treatment with a product like SMR.
Don’t Make These 3 Detailing Mistakes Near Emblems
Don’t reach for that soft-bristle toothbrush near your emblems-despite the common tip, even nylon bristles can mar paint, especially around tight gaps where pressure builds fast, and according to Danny Backman’s 2025 detailing breakdown, they’re not even effective in those cramped zones. That brush might seem gentle, but it won’t work well and could leave swirls needing SMR correction. Avoid aggressive tools like Dremels unless you’re using tiny detail bits at low, controlled RPMs-heat and haste cause damage. Instead, go for precision: Paul Cuzzort swears by Detail Q-tips for safe, accurate cleaning around emblems. Or try Randy Gaston’s budget fix-a plastic paintbrush with window cleaner-to lift grime without touching the surface. These methods work well, protect your finish, and keep edges crisp. Skip the risky brush tricks and choose smarter, safer tools every time.
Keep Logos Crisp With Quick Post-Wash Wipes
After you’ve carefully cleaned around your emblems with the right tools-like Detail Q-tips or a soft plastic brush-it’s time to lock in that precision work. Grab a clean microfiber cloth and quickly wipe around the emblems before water spots set in; this keeps your logo design sharp and free of mineral deposits. Use a quick-detailing spray on the cloth to safely remove any leftover suds without disturbing surrounding wax. Don’t let soapy water air-dry-especially near recessed or raised emblems-since dried residue blurs fine lines. Fold the microfiber and use its edge to trap dislodged grime. Doing this every wash enhances brand clarity and extends emblem life. Crisp logos on promotional items, badges, or vehicle emblems help enhance brand recognition. It’s a small step that makes a big difference in presentation and pride.
On a final note
Keep your gear looking sharp by cleaning embossed logos with a soft toothbrush, gently brushing dirt from crevices without scratches. Use silicone or foam tools, wipe after each wash, and avoid harsh brushes or pressure. Testers confirm it keeps logos crisp on helmets, bike frames, and backpacks-especially near zippers and seams. Stay proactive, stay detailed, and protect your investments mile after mile.