Inspecting Your Full-Suspension Frame for Cracks and Stress Points
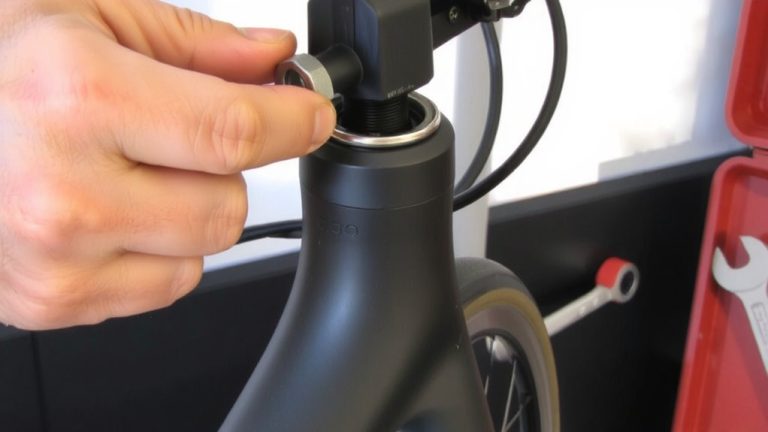
Check your full-suspension frame twice a year, focusing on the head tube, bottom bracket, and pivot mounts where stress concentrates. Tap carbon areas with a coin-listen for a dull thud that signals delamination. Inspect alloy welds and heat-affected zones for hairline cracks, and use a flashlight to spot subtle dents or paint crazing. Feel for pivot slop, listen for creaks, and torque all bolts to spec. Cracks near high-stress zones, especially on e-bikes, mean stop riding-frame damage can fail suddenly. A cracked frame, particularly in heat-treated zones like those on an Ant5, isn’t safe to repair. Replace it to maintain safety and performance. More details reveal why certain materials hide damage longer than others.
We are supported by our audience. When you purchase through links on our site, we may earn an affiliate commission, at no extra cost for you. Learn more. Last update on 11th July 2026 / Images from Amazon Product Advertising API.
Notable Insights
- Inspect the head tube and bottom bracket for cracks due to high stress from steering and pedaling forces.
- Check pivot mounts and chainstay near the dropout for hairline fractures from repeated impact and flex.
- Use a coin tap test on carbon frames; a dull thud may indicate internal delamination or damage.
- Examine alloy frame welds and heat-affected zones with a flashlight to spot cracks or paint crazing.
- Replace the frame immediately if cracks appear near critical joints, especially on e-bikes or heat-treated frames.
Inspect High-Stress Frame Zones for Cracks
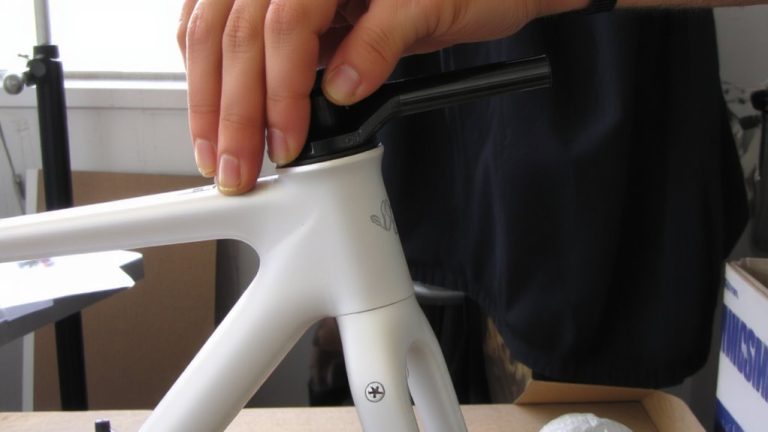
While you’re out on the trail pushing your full-suspension bike over rocky descents and through hard pedaling efforts, the frame takes a serious beating-so it’s critical to inspect high-stress zones regularly for cracks. Focus your Mountain Bike frame inspection on key stress points: the head tube, where steering forces concentrate, and the bottom bracket, which handles torsional load from pedaling. Check pivot mounts and the chainstay near the dropout-common spots for a hairline crack due to repeated impacts. On carbon frames, use a coin tap test; a dull thud instead of a sharp ring signals potential damage in high-stress areas. These zones, like the seatstay junction and head tube junction, endure constant flex and impact, making them prone to fatigue. Regular checks keep your ride safe, especially after heavy trail use or crashes.
Check for Cracks and Delamination in Carbon and Alloy
When you’re riding aggressively over rough terrain, your frame bears the brunt of every impact, so it’s smart to inspect both carbon and alloy frames for cracks and delamination at least every few months, especially if you’ve taken a hard hit. For carbon frames, look for cracks and jagged paint patterns, particularly near the bottom bracket shell and tube junctions-key stress zones. Tap around these areas with a coin; a dull thud instead of a crisp ring may signal delamination. On alloy frames, inspect welds and heat-affected zones for hairline cracks that start at stress points. Use a flashlight to spot subtle dents or paint crazing. Remove the derailleur hanger and bash guard to fully view hidden sections. Whether you’re testing a carbon frame on technical descents or logging miles on an alloy hardtail, staying proactive guarantees your bike stays safe and strong.
Feel for Slop, Listen for Creaks in Pivots and Joints
| Focus Area | Action |
|---|---|
| Pivot Bearings | Feel for slop |
| Joints | Listen for creaks |
| Bolts | Torque to spec |
| Linkages | Check for play/clunks |
| Pivot Points | Clean before inspection |
Know When to Stop Riding and Replace the Frame
If you spot a crack anywhere on your e-bike frame-especially near high-stress zones like the bottom bracket or pivot mounts-it’s time to stop riding, even if everything feels fine right now, because that small split means the aluminum or magnesium alloy structure has already failed. Continuing to ride your Mountain bike risks sudden collapse, especially under load. Hairline cracks around key stress points can spread fast, and with bikes like the Ant5, repairs are rarely safe due to heat-treatment limits post-welding. Even if the derailleur hanger is straight and there are no creaks, internal damage might be hiding. Without professional inspection using NDT or X-ray, you can’t know the full extent. Pay special attention to areas around the bracket and suspension pivots during checks. Frame replacement is the only safe choice when integrity is compromised-don’t risk it, especially with e-bikes classified as vehicles under DMV rules.
On a final note
You’ve checked the high-stress zones, felt for pivot slop, and scanned carbon and alloy for cracks or delamination-now trust your findings. If you spot hairline fractures, joint misalignment, or frame creaks under load, stop riding. A compromised frame risks total failure, especially on technical trails. Replace it promptly, choose frames with lifetime warranties like Santa Cruz or Yeti, and keep your bike safe, reliable, and trail-ready.