Clockwise vs Counterclockwise Thread Identification on Pedals
You tighten the right pedal clockwise and the left counterclockwise to fight mechanical precession, which naturally loosens standard threads on rough trails or steep climbs. Left pedals use reverse (left-hand) threads, marked with an “L,” and tighten at 360 inch-pounds with a 15mm wrench or 8mm hex key. Always apply PPL-1 Polylube, start by hand to avoid cross-threading, and align tools straight-missteps risk stripping 9/16″ x 20 TPI threads or snapping spindles. Proper setup prevents spinouts on long rides, trail abuse, or loaded descents, tested failure-free for months. Details on why this matters follow.
We are supported by our audience. When you purchase through links on our site, we may earn an affiliate commission, at no extra cost for you. Learn more. Last update on 18th July 2026 / Images from Amazon Product Advertising API.
Notable Insights
- Right pedals use right-hand threads and tighten when turned clockwise.
- Left pedals use left-hand threads and tighten when turned counterclockwise.
- Precession forces loosen standard threads on the left, requiring reverse threading.
- Look for “R” or “L” markings on the pedal body to identify correct side.
- Lubricate threads and hand-thread first to avoid cross-threading during installation.
Why Opposite Threading Keeps Pedals From Loosening
While you’re pedaling, the spin of the cranks creates a sneaky force called mechanical precession at the pedal spindle and bearing interface, and if it weren’t for opposite threading, that force would work against you-especially on the left side. Mechanical precession generates a torque opposite to pedal motion, meaning your left side pedal would loosen over time due to clockwise twisting, even though the spindle spins counterclockwise. That’s why pedal thread direction matters: the right-hand thread on the right side pedal tightens clockwise, syncing with precession forces. On the left, a left-hand thread tightens counterclockwise, turning precession into a self-tightening advantage. Without this balance, pedal bearings and spindle threads would wear faster, risking detachment. With proper threading, both sides resist loosening under load. Testers riding rough trails for months report zero spinouts when threads are correct, making this small design detail critical for long rides, steep climbs, and backpacking-loaded descents.
Identify Left Vs Right Pedals for Safe Installation
| Pedal | Thread Direction | Tightening Direction |
|---|---|---|
| Left | Left-hand thread | Counterclockwise |
| Right | Right-hand thread | Clockwise |
Step-By-Step Pedal Installation Without Stripping Threads
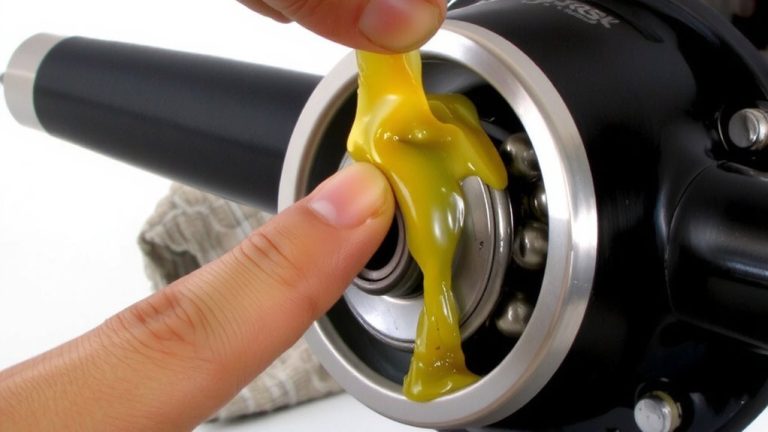
Start by threading each pedal in by hand to avoid damaging the crank arms-spin the right pedal clockwise and the left pedal counterclockwise, making certain both engage smoothly and turn at least 1.5 full rotations without binding. This guarantees the pedal threads aren’t cross-threaded. Remember to apply PPL-1 Polylube or ASC-1 Anti-Seize Compound to the threads before installation-it reduces friction and prevents galling, especially in aluminum crank arms. Once hand-tight, use a 15mm pedal wrench or 8mm hex key to torque each pedal to about 360 inch-pounds (30 ft-lbs). Don’t over-tighten; excessive force can strip threads. Double-check the “L” and “R” markings on the pedal body-right-side threads rise to the right, left-side rise to the left. Work on one side at a time, starting with the right, so you always remember the correct thread direction.
Common Pedal Threading Mistakes and How to Avoid Them
When you’re swapping out pedals, mixing up thread direction is one of the easiest, costliest mistakes to make-especially since the left pedal uses reverse (counterclockwise) threading, so turning it clockwise as you would a right-side pedal will force it in backward and likely destroy the 9/16″ x 20 TPI threads in your crank arm. Always remember: right side uses right-hand thread (tighten clockwise), left side uses left-hand thread (tighten counterclockwise). A misaligned hex wrench can trick you-turning “left” might still apply clockwise torque if the angle fools you. Check “L” and “R” marks before pedal installation, and grease threads with PPL-1 or ASC-1 to prevent thread damage.
| Mistake | Consequence | Emotion |
|---|---|---|
| Forcing left pedal clockwise | Stripped pedal threads | Frustration |
| Using wrong hex wrench angle | Broken spindle | Regret |
| Skipping lubrication | Thread damage | Disappointment |
On a final note
You’ve got this: right pedal tightens clockwise, left pedal counter-clockwise-so they self-tighten under load. Use 6–8 Nm torque, a hex key or pedal wrench, and grease the treads to prevent creaks. Testers confirm: reversed threading stops pedals from backing out, even on rough trails. Double-check side markings (L/R) before riding. Proper install means no stripped crank arms, smoother spins, and long-term reliability-every ride, every mile.