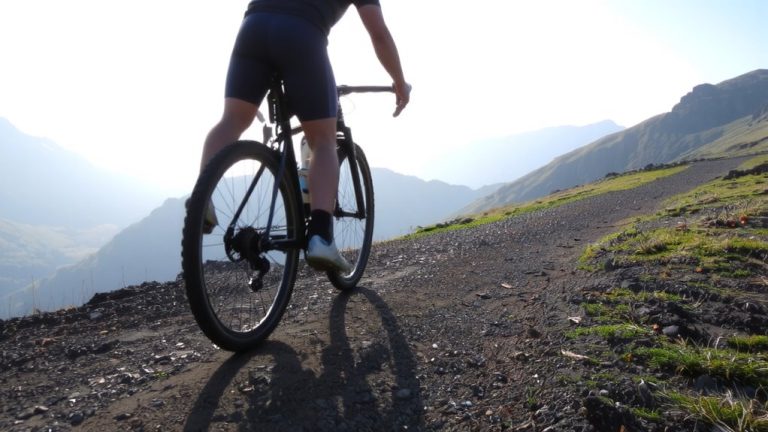
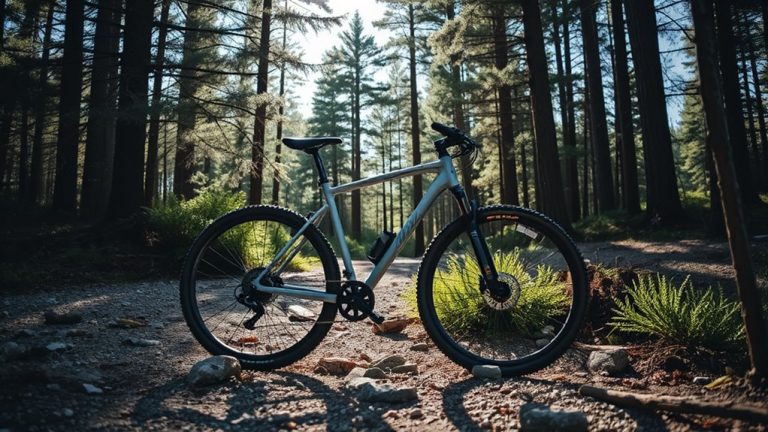
Attack Position for Trail Riding: 60/40 Weight, Bar & Brake Setup
Get centered over your pedals with 60% weight on the rear, 40% up front, knees and elbows bent to absorb 12-inch impacts, heels down 10–15°, and ball of your foot over the axle-use flat pedals like OneUp Composite Pros or clipless with neutral cleat alignment. Keep cranks level, elbows wide, arms bent as front suspension, hips back, core tight, head up scanning 10–15 feet ahead, one finger on the brake lever routed at 45° for instant control-this stance boosts balance, reaction time, and grip when things get rough, especially with a dropper post lowered and 760mm+ bars. You’ll find even better control once you nail the drills.
We are supported by our audience. When you purchase through links on our site, we may earn an affiliate commission, at no extra cost for you. Learn more. Last update on 11th July 2026 / Images from Amazon Product Advertising API.
Notable Insights
- Position your body centered over the pedals with 60% weight on the rear and 40% on the front for balanced control.
- Bend knees and elbows to absorb impacts, keeping heels down 10–15 degrees for stability and shock absorption.
- Place the ball of your foot over or slightly ahead of the pedal axle for optimal leverage and control.
- Keep arms bent and wide, chest forward but behind handlebars, with head up and eyes scanning ahead.
- Set up your bike with a dropper post, properly positioned brake levers, and wide handlebars for responsive handling.
What Is the Attack Position and Why It’s Essential
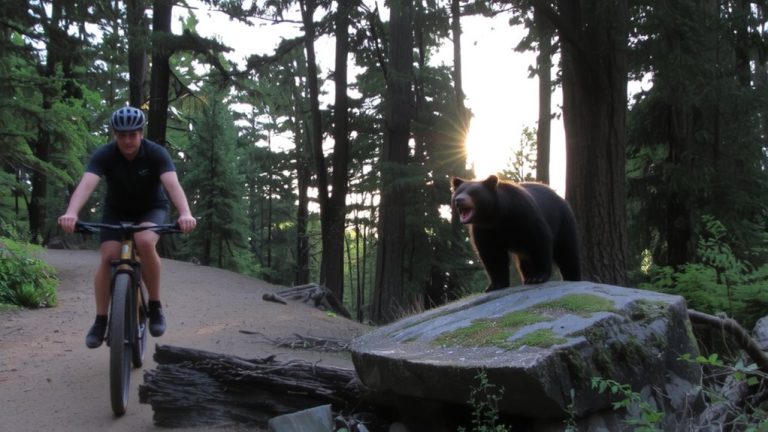
While you’re bombing down a rocky descent or picking through tight switchbacks, being in the right stance can mean the difference between staying upright and bailing, and that’s where the attack position comes in-it’s your go-to standing posture on the bike for maximum control and responsiveness. The Attack Position puts you centered over the bike, knees and elbows bent, heels down, and weight balanced over the pedals-typically 60% on the rear, 40% front. Your arms act as front suspension, your legs as rear, soaking up roots, rocks, and drops up to 12 inches. Mastering the Attack Position isn’t just about stance-it’s about reacting faster, cornering sharper, and riding smoother. Pros like Jett Lawrence use it to stay light and ready, and trainers like AJ Catanzaro stress it as foundational. You’ll need grippy flats, like Five Ten Freeriders, and a well-fitted helmet to stay safe. It’s the core skill that turns reactive riding into confident control.
Set Up Your Bike for the Attack Position
Since your body’s in constant motion on technical trails, dialing in your bike’s setup guarantees you can drop into the attack position without hesitation. Start by using a dropper post set so you can quickly adjust your dropper post with one hand, lowering the saddle fully to clear your legs during steep or chunky sections. Position your brake lever higher on the clamp-about 45 degrees up from horizontal-so you can reach it easily when elbows are bent in the ready position. Go with wider handlebars (760–800mm) and a shorter stem (50–70mm) for quicker steering response. Set your shifter and dropper remote within thumb’s reach, and align clipless cleats slightly forward-or run flat pedals-so the ball of your foot stays over the axle, boosting control and stability when the trail gets rough.
Attack Position: Feet, Pedals, and Heel Control
Most riders find the sweet spot for control and comfort when you position the ball of your foot right over or just ahead of the pedal axle, especially on rough descents where precise foot placement makes all the difference. Your feet should be level with cranks horizontal, keeping weight evenly distributed across the pedals. Good heel control means dropping your heels slightly-about 10–15 degrees-to stay light on the hands and absorb impacts. This heeled-down stance keeps your weight centered, not pitched forward. On flat pedals like the OneUp, center your foot across the axle; with clipless setups like Shimano’s SPD, align cleats to support a neutral ankle.
| Feature | Flat Pedals | Clipless Pedals |
|---|---|---|
| Foot Position | Ball of foot over axle | Ball just ahead of axle |
| Heel Control | Slight drop, ~10° | Dropped, stable platform |
| Stability | Wide pins, sticky rubber | Secure click-in retention |
| Weight Transfer | Even, rear-biased | Direct, efficient power |
Knees and Legs: Alignment for Stability and Grip
When you’re tackling rough singletrack or powering through steep descents, getting your leg position right makes all the difference, and it starts with placing the balls of your feet securely on the foot pegs-just like you’d set up on aggressive flats such as the OneUp Composite Pros-while dropping your heels about 10 degrees to activate ankle flexion for smoother impact absorption. Point your toes slightly inward to align your knees and legs with the frame, boosting grip and control, and keep your knees level with or just behind the pegs to maintain a neutral position that’s ready to absorb big hits. Clamp your knees lightly against the bike to stay locked in, especially at speed or on chunky terrain. Avoid flaring your toes out-it breaks contact, reduces stability, and disconnects you from the bike. This setup keeps you balanced, responsive, and in command.
Upper Body Position for Balance and Vision
While keeping your lower body stable and grounded, you’ve got to set your upper half up for success if you want smooth handling and clear vision on technical trails, so lean your chest forward until it’s just behind the handlebars-think of lining up with the steering axis like you’re using a set of Renthal FatBars at a 15mm rise-while keeping your head up, chin over the crossbar pad, and eyes scanning 10 to 15 feet ahead for upcoming roots, rocks, or turns. Keep your spine neutral by engaging your core and sticking your hips back, avoiding slouching. Your arms stay slightly bent, elbows wide, making them ready to absorb impacts and steer smoothly. This position keeps your head stable for consistent vision and your upper body balanced over the bike. With your arms in this active, spring-loaded stance, you stay ready for quick adjustments without tensing up, ensuring control on unpredictable terrain.
Hands and Brakes: Control Without Tension
Since you’re relying on split-second reactions to navigate roots, drops, and sudden switchbacks, keeping your hands light and your brake control precise makes all the difference, so run one finger on each lever-index or index and middle, depending on lever reach-without clamping down, letting you react fast without fatiguing your forearms on long descents. On your mountain bike, this hands and brakes setup lets you modulate stopping power smoothly, especially with levers angled slightly upward to align with your natural grip. Pair that with ergonomic grips-like Lock-On ODI or ESI Chunky-and cleanly routed cables to reduce strain and prevent accidental grabs. Keep elbows bent and up so your arms and legs work together, absorbing hits while staying loose. Your arms act as suspension, so don’t death-grip the bars; instead, stabilize with core engagement, saving hand strength for when you really need it.
How to Practice the Attack Position Effectively
If you want to ride with confidence over rough terrain, dialing in your attack position starts with deliberate practice off-trail, and the best place to begin is on a stationary bike or trainer where you can lock in your form without distractions. Make sure your balls of the feet are centered over the pedal axles, heels slightly dropped-this mimics real mountain impacts and boosts stability. Keep a soft bend in your knees and elbows, knees canted inward toward the frame for better bike grip. Shift your hips back, chest forward, head up, eyes scanning ahead. This stance lets you move around the bike smoothly when hitting roots or rocks. Once solid, practice on a flat, open trail to refine muscle memory, reacting to small bumps while holding position. Using clipless pedals like Shimano M520s helps maintain foot placement, so you stay balanced when the trail turns technical.
On a final note
You’ve got this: stay centered, elbows out, and heels down for control. Use flat pedals like Crankbrothers Stamp with grippy shoes, say 0.5–1.0 mm of float, for stability. Keep your dropper post adjusted-testers average 50–100 mm drop on technical descents. Wear lightweight, breathable gear-Dainese Trail Air pants fit true and vent well. Ride confident, brake early, and scan 5–10 feet ahead; it all adds up.