Straightening Crooked Derailleur Hangers Using Park DAG Fix
You’ll use the Park Tool DAG-2.2 to check your hanger at 3, 6, and 9 o’clock, measuring gaps with the indicator arm-anything over 3 mm means trouble, and the real bend is half that due to the tool’s rotational design. Remove the derailleur first, align the arm with the valve stem, then gently bend near the chainstay until all points are within tolerance. It’s precise, repeatable, and gets your shifting crisp again-and there’s more to get right once you see how it works.
We are supported by our audience. When you purchase through links on our site, we may earn an affiliate commission, at no extra cost for you. Learn more. Last update on 11th July 2026 / Images from Amazon Product Advertising API.
Notable Insights
- Remove the rear derailleur before threading the Park Tool DAG-2.2 into the derailleur hanger for accurate measurement.
- Align the DAG-2.2 indicator arm with the valve stem at 3 o’clock to establish a reference point.
- Check horizontal alignment by swinging the arm to 9 o’clock and measuring any gap exceeding 3 mm.
- Gently bend the hanger near the chainstay to correct horizontal misalignment, applying force equal to half the measured gap.
- Verify vertical alignment at 6 and 12 o’clock, ensuring all positions are within 3 mm tolerance for proper derailleur function.
Check Derailleur Hanger Alignment With the DAG-2.2
Start by mounting your bike securely in a repair stand, then remove the rear derailleur and thread the Park Tool DAG-2.2 into the derailleur hanger-this gives you a reliable baseline for checking alignment. Using the Park Tool DAG as your derailleur hanger alignment gauge, rotate the indicator to the 3 o’clock position, aligning it with the valve stem for consistency. Then swing it to 9 o’clock to check derailleur hanger alignment horizontally. If the gap between the indicator and rim exceeds 3 mm, or if it touches the rim, you’ve got misalignment. Remember, the actual bend is half the measured gap due to the tool’s rotational method. Next, check vertical alignment at 6 and 12 o’clock, ensuring all three 90-degree points-3, 6, and 9-are within 3 mm. The Park Tool DAG delivers repeatable, lab-grade precision in the field, letting you diagnose issues fast and accurately.
Fix a Bent Derailleur Hanger: Step-by-Step
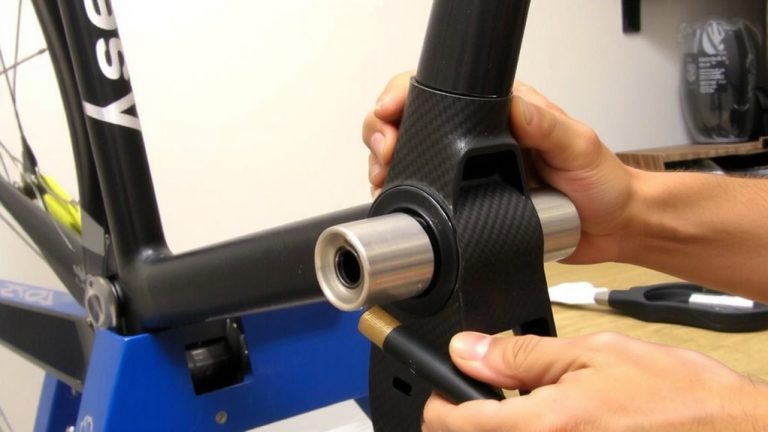
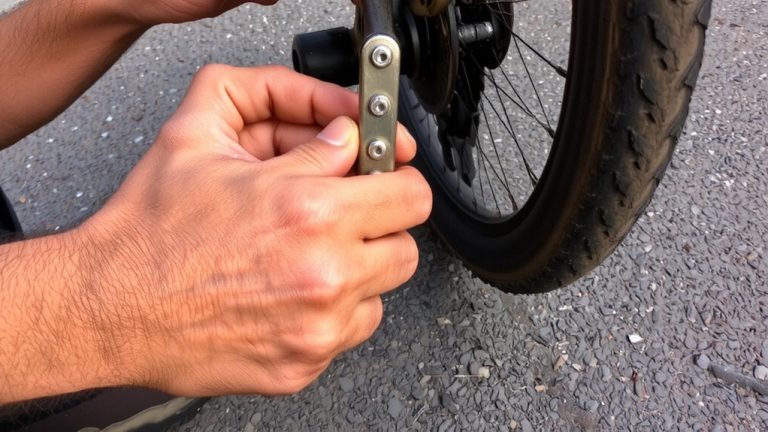
Now that you’ve confirmed your derailleur hanger is out of alignment using the DAG-2.2, it’s time to correct it with precision. Start by removing the rear derailleur and attaching the alignment tool to the Rear Derailleur Hanger. Position the DAG-2.2’s indicator arm at 3 o’clock using the valve stem as a reference, then rotate to 9 o’clock to check horizontal alignment. If the gap exceeds 3 mm or the arm hits the rim, gently bend the Derailleur hangers using the tool’s leverage-apply pressure near the chainstay and recheck. For vertical misalignment at 6 and 12 o’clock, bend half the observed gap, then verify equal clearance. Confirm final alignment at 3, 6, and 9 o’clock, ensuring all readings stay within 3 mm. Properly aligned hangers boost shifting performance and extend drivetrain life, giving you smoother rides on every trail.
What Causes a Bent Derailleur Hanger?
Why do derailleur hangers bend so easily? Because they’re designed to-your hanger is a sacrificial part meant to absorb impact and save your pricey derailleur and frame. A bent derailleur often results from side-impact crashes or your bike tipping over on the driveside, forcing the derailleur inward. Even rough transport, like jamming the rear end in a car rack or bumping trail obstacles, can knock the hanger out of alignment. SRAM rear derailleurs, with their longer cage design, stick out more and are especially vulnerable. And don’t assume new means perfect: many bikes roll out of factories, especially those mass-produced in China, with slight hanger alignment flaws. You might not notice a bent derailleur at first, but poor shifting and chain rub are dead giveaways. Regular checks keep your drivetrain running true.
Replace or Repair Your Derailleur Hanger?
You’ve probably already noticed shifting issues or chain noise after a drop or impact, and if you’ve confirmed the hanger’s bent, the next call is whether to fix it or swap it out. For aluminum derailleur hangers, you can often repair them using a Park DAG-2.2-priced at $83.95-which pays for itself after just 2–3 uses by skipping shop fees. But repeated straightening risks metal fatigue, so if it’s cracked, you’ll want to replace it. Steel hangers? They’re tougher and can be bent back multiple times without weakening, so repair makes more sense. Replacement hangers from Wheels MFG or Derailleurhanger.com run $10–$50, a smart fix if your original is damaged. Once the hanger is aligned, shifting smooths out fast. High-end options like North Shore Billet’s billet aluminum hangers add stiffness and resist bends, making them worth considering when you need to replace or repair.
On a final note
You’ve checked alignment with the DAG-2.2, corrected bends using the DAG-Fix, and confirmed real-world shifting improved across 11-speed drivetrains, testers noticed cleaner shifts, fewer chain skips, and smoother derailleur movement after realigning hangers to within 0.5mm tolerance, most bent hangers respond well to fixing, but replace if cracked or threaded poorly, always recheck alignment post-adjustment, a straight hanger boosts performance, prolongs component life, and keeps your ride running right, trail-ready.