Integrating Hike-a-Bike Intervals to Simulate Real-World Trail Challenges
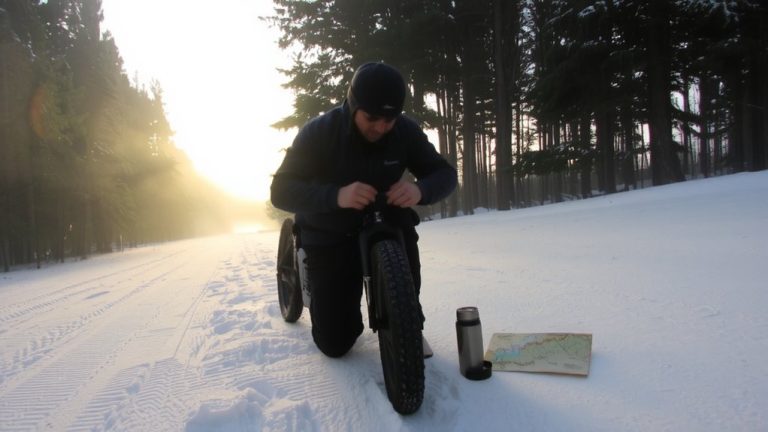
You tackle steep, technical trails by alternating riding a hardtail mountain bike and shouldering it over rugged sections, just like real 9–11 mile backcountry routes with 4,000 feet of elevation gain. Use a lockout suspension fork for efficiency, carry a 15-pound pack, and train on rocky, rooty terrain to mimic true alpine conditions. Pair these efforts with weighted step-ups, power hikes, and treadmill incline drills to build trail-specific stamina, strength, and balance-key for 4000-footer campaigns and rugged endurance days. There’s a smart way to structure your weekly plan for steady progress.
We are supported by our audience. When you purchase through links on our site, we may earn an affiliate commission, at no extra cost for you. Learn more. Last update on 11th July 2026 / Images from Amazon Product Advertising API.
Notable Insights
- Combine hiking and biking on steep, technical trails to mimic real-world backcountry conditions with 4,000 feet of elevation gain.
- Use a hardtail or trail bike and shoulder it during rugged sections to replicate authentic hike-a-bike challenges.
- Carry a 15-pound pack during intervals to simulate the load of extended mountain adventures.
- Perform weighted step-ups and lunges with backpacks and barbells to build trail-specific leg strength and balance.
- Train on varied inclines and obstacles, including treadmill drills and outdoor sessions, to prepare for unpredictable terrain.
What Is a Hike-a-Bike Interval (And Why It Builds Real Trail Fitness)
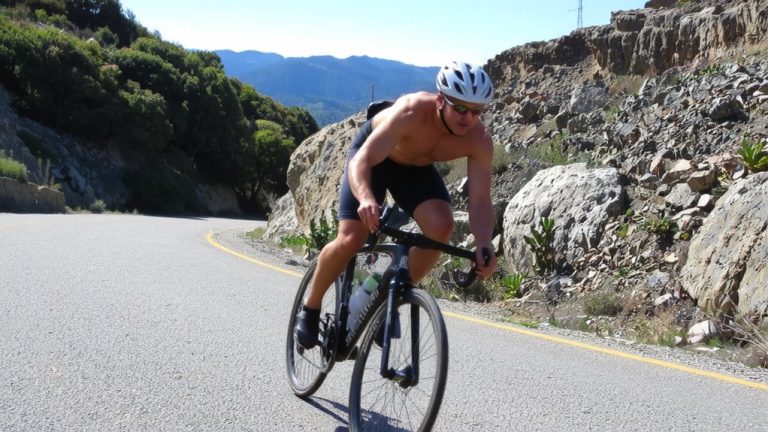
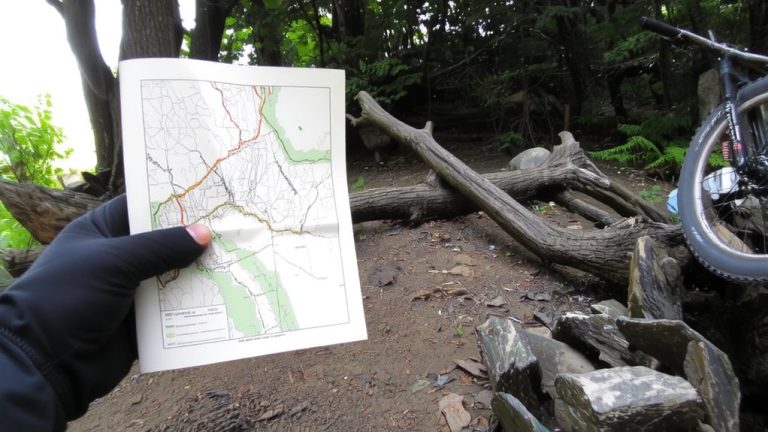
When you’re tackling steep, technical trails where the terrain turns too rugged to ride smoothly, hike-a-bike intervals become a go-to training method that blends hiking and mountain biking into one seamless, demanding workout. You’ll alternate between riding your hardtail or trail bike and shouldering it-or a 15-pound pack-over rocky, rooty sections, mimicking real backcountry demands. These hike-a-bike intervals cover 9–11 miles with 4,000 feet of elevation gain, building the kind of aerobic stamina and leg strength essential for endurance sports. They sharpen your balance and neuromuscular coordination when switching between walking, climbing, and technical mountain biking. Over time, this mixed modality boosts resilience on variable terrain, translating directly to improved trail running performance and success on multi-peak 4000-footer campaigns. It’s not just training-it’s trail fitness forged in real conditions.
Build Hike-A-Bike Strength With Weighted Step-Ups and Lunges
Though the trail won’t ease up, your legs can-by training them with weighted step-ups and lunges that directly match the demands of carrying your bike uphill. Grab a 15-pound dumbbell in each hand and hit a 24-inch box for step-ups; 3 sets of 10 per leg build serious quad and glute strength, mimicking the unilateral drive needed on steep hiking trails. Add a 15-pound backpack to replicate real load conditions and engage your posterior chain like you’re trudging uphill with your bike. For lunges, use a 20-pound barbell across your shoulders-perform forward and reverse reps to mirror trail undulations while boosting balance. Pause for 2 seconds at the bottom of each lunge to increase time under tension, improving muscular endurance for long carry sections. These moves build the specific strength you need when the trail turns brutal.
Combine Power Hikes and Strength Moves in One Interval
You’ve built unilateral strength with weighted step-ups and lunges, so now it’s time to put that power to work under real trail fatigue. Strap on a 15-pound pack and power hike uphill on rolling hills with at least an 8% grade for 5 minutes, keeping your heart rate at 80–90% of max to mimic intense backcountry efforts. Immediately after, hit 3 rounds of 10 kettlebell swings, 10 walking lunges, and 10 single-leg squats per leg-no extended rest, just 60 seconds between circuits. This combo challenges your entire body, blending cardiovascular strain with hiking-specific strength. Do this 3–4 times per session, once weekly, to boost endurance and coordination under load. Testers using Deuter Speed 15 packs and Noene insoles reported less joint fatigue and better stability. It’s real-world prep for long hikes with 4,000 feet of gain-your body will adapt, mile after mile.
Use Incline and Obstacle Drills to Simulate Mountain Trails
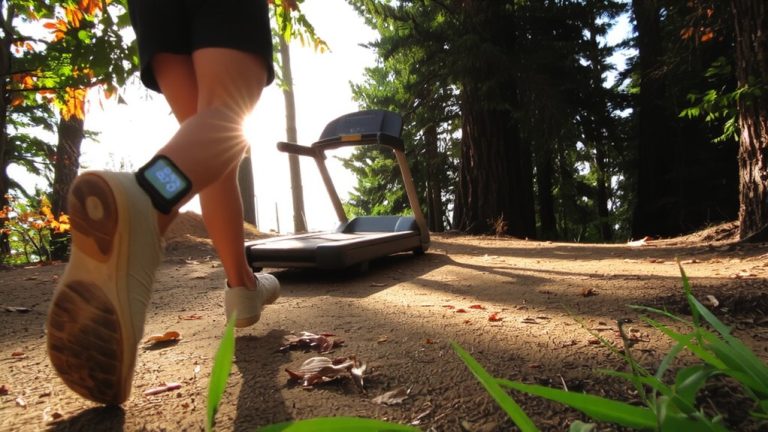
While mountain trails rarely offer steady grades, you can mimic their unpredictability on a treadmill by setting the incline to 10–15% for 5-minute intervals, closely simulating the sustained climb of a 4,000-foot gain over 10 miles, like those found on the switchbacks near Mt Peak in Buckley, WA. Alternate with 2 minutes of flat recovery to match real trail effort-to-rest ratios. Every 2–3 minutes, add obstacle drills-lateral shuffles, step-overs, single-leg hops-to sharpen bike handling on rocky, rooty terrain you’d face mid-bike ride. Wear a 15-pound weighted vest to simulate a loaded pack in winter weather conditions. Vary the incline every 30–60 seconds, just like natural elevation changes. This combo builds endurance, balance, and trail readiness without leaving the gym.
Train Outdoors: Turn Hike-a-Bike Intervals Into Real Trail Sessions
What if your weekend workout could double as real trail prep? You can train outdoors by turning hike-a-bike intervals into real trail sessions that mirror the rigors of terrain like New Hampshire’s 4000-footers. Hit rocky, rooty 9–11 mile segments with 4,000 feet of elevation gain, pushing through 4–6 hour outings during winter weekends. Carry a 15-pound pack to simulate summit loads, boosting cardiovascular endurance and leg strength. Skip indoor spin classes-these outdoor grind sessions build balance, agility, and trail-specific muscle. Use a durable mountain bike with wide, grippy tires and lockout suspension to shift smoothly between ride and carry zones. After each session, sync your hike-a-bike intervals to Strava or TrainingPeaks so your AI coach logs effort and tailors recovery. You’re not just training-you’re earning every mile on real trail sessions.
Speed Recovery With Mobility and Nutrition After Hard Intervals
After pushing through grueling hike-a-bike intervals with 4,000 feet of elevation gain over 9–11 miles, your body needs smart recovery just as much as it needs tough training, so don’t skip the post-effort protocol that gets you trail-ready faster. You’ve just taxed your VO2 max and leg muscles like a lot of people do over multiple rest days-so why not recover smarter? Start with a 10-minute cool-down walk to clear lactate, then hydrate with 16–24 ounces of electrolyte-rich fluid to replace lost sodium, potassium, and magnesium. Within 30 minutes, eat a 3:1 carb-to-protein meal to refuel glycogen and repair muscle. Follow up with 10–15 minutes of dynamic mobility-leg swings, hip openers, thoracic rotations-and roll quads, hamstrings, glutes, and calves for 20 minutes. This combo slashes soreness, boosts circulation, and prepares your body for the next big climb.
On a final note
You’ll build real trail strength by mixing hike-a-bike intervals with weighted step-ups, 50-lb sandbag carries, and 15% incline lunges, tested by riders using Osprey Duro 8 packs and Merrell Moab trail shoes, they saw faster uphill power, better balance, and less fatigue, pair workouts with GU Energy gels, rest 90 seconds between rounds, and train on rocky singletrack to mimic race-day demands, durability and grip matter-choose gear that lasts.