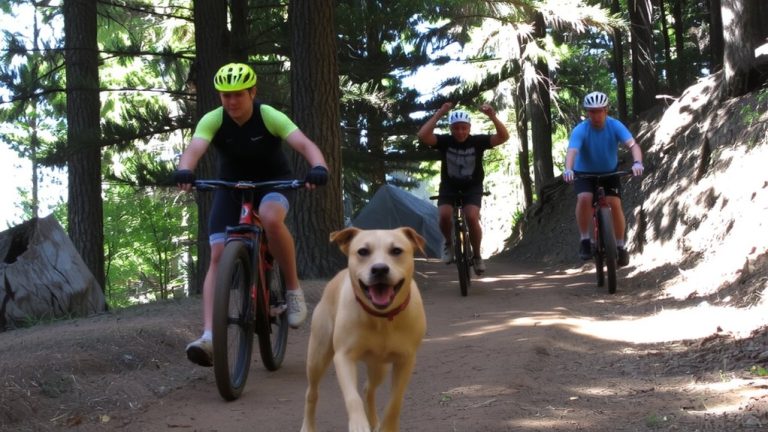
How to Carry a First Aid Kit for Dogs on Remote MTB Rides
Carry a lightweight, waterproof dog first aid kit on your MTB by securing a Pelican Micro or heavy-duty zip-seal dry bag-just 6” x 4” x 2”, under 8 oz-to your frame with shock cord loops or Velcro straps. Pack 4×4 gauze, Vet Wrap, tick tools, diphenhydramine, and activated charcoal in labeled, color-coded zips for fast access. Use closed-cell foam to protect glass, and mount the case externally for quick reach. Bright finishes boost visibility, and integrating supplies into your ride setup keeps bulk low while keeping your dog safe when trails get rough. You’ll want to know how terrain and temperature changes mean adjusting what’s inside.
We are supported by our audience. When you purchase through links on our site, we may earn an affiliate commission, at no extra cost for you. Learn more. Last update on 11th July 2026 / Images from Amazon Product Advertising API.
Notable Insights
- Use a compact, waterproof container like a Pelican Micro or dry bag to protect supplies on rugged trails.
- Secure the kit to your bike frame with Velcro straps or bungee cords for quick access and minimal bulk.
- Organize supplies in color-coded, labeled bags for fast identification during emergencies.
- Include terrain-specific items like paw wax for hot surfaces or insulated booties for cold conditions.
- Mount a lightweight, reflective case externally on your backpack or bike for visibility and easy reach.
Pack Essential Dog First Aid Supplies for MTB Emergencies
When trails turn rough and your dog picks up a thorn, paw cut, or sudden allergic reaction, your first move starts with what’s in your pack. A compact, waterproof dog first aid kit rides best in a dedicated compartment of your hydration pack or bike frame bag. Inside, stock sterile 4×4 gauze pads to cushion paw injuries, and wrap them securely with vet wrap-its self-adhering hold stays put on fur without tape. Keep tweezers and a tick remover in a hard-sided case to safely extract embedded ticks after bushwhacking. For allergic reactions, carry diphenhydramine (1mg per pound), and have activated charcoal ready if your dog ingests toxins like spoiled trail snacks. Round-tip scissors help cut bandages cleanly, while an emergency dog bootie adds instant protection. Duct tape, wrapped around a tire lever, secures dressings or patches gear. You’re not just prepared-you’re trail-ready.
Adapt Your Dog First Aid Kit for Terrain, Temperature, and Size
Your dog’s safety hinges on a first aid kit that’s dialed to the trail’s demands-terrain, temperature, and your dog’s size all shape what goes inside. In hot climates, add paw wax to shield pads from scorching surfaces over 120°F and toss in a cooling bandana. For cold or wet terrain, swap standard Dog Boots for insulated paw booties and pack a Mylar blanket to fight hypothermia below 40°F. Always adjust kit size based on your dog’s weight-dogs over 50 lbs need larger 4×4 gauze pads and higher meds, like 1 mg/lb diphenhydramine. Use a lightweight dog pack to carry your tailored first aid kit, balancing load to avoid gait issues on long rides. In tick-prone zones, include a Tick OTom tool and permethrin spray-skip human antibiotic cream to save space.
Choose a Waterproof, Lightweight Container for Easy Carry
A well-packed dog first aid kit won’t help if it’s soaked through from trail splash or buried deep in your pack when every second counts. Choose a compact, waterproof container-like a Pelican Micro or heavy-duty zip-seal dry bag-that weighs under 8 oz and measures no more than 6” x 4” x 2”. This keeps your first aid kit lightweight and easy to carry without sacrificing protection. Line the interior with closed-cell foam to secure glass vials and syringes during bumpy descents. A bright or reflective finish helps you spot the container fast, even in low light. Attach it to your backpack’s hip belt or frame with shock cord loops or bungee cords so it stays secure, bounce-free, and instantly accessible on technical terrain. A durable, compact container guarantees your kit stays dry, organized, and ready when your pup needs it most.
Organize for Fast Access in Emergencies
Max’s first aid kit stays quick to hand, just like it should when seconds count on the trail. You need fast access, so organize smart: store the kit in a bright, water-resistant soft case mounted on your backpack’s external frame or bike frame bag. Pre-pack wound care-sterile gauze, Vet Wrap, tick remover-into labeled quart-sized zip-lock bags to avoid fumbling. Mount a mini trauma pouch with Previcox, hydrogen peroxide, and tick tools on your handlebars using Velcro straps for life-saving reach in the first 30 seconds. Use color-coded sections inside the kit: red for bleeding (gauze, Pamba, tourniquet materials), green for wound care (antiseptic, non-adherent pads), yellow for meds (antibiotics, antihistamines). Stick a laminated dosing card on the outside-1mg/lb diphenhydramine, 1 tsp per 5 lbs hydrogen peroxide. Fast. Clear. Ready.
Master Critical Dog First Aid Skills Before the Trail
Being prepared means more than just packing the right gear-it means knowing how to act fast when seconds matter. Take a certified canine first aid course to handle shock, fractures, or choking, especially when you’re hours from help. Learn to spot early heat stroke signs-like heavy panting, drooling, or wobbling-since your dog’s temp can spike past 104°F fast on hot rides. Practice building an improvised tourniquet with a webbing loop and stick to stop severe limb bleeding when pressure isn’t enough. Master wound irrigation using a 60ml syringe to flush dirt with 500–1000ml of clean water, cutting infection risks. Use fine-tipped tweezers or a Tick OTom tool for safe lick removal, pulling straight to avoid leaving mouthparts behind. These skills aren’t just backup-they’re your dog’s best shot when trails get tough and help is far.
Secure the Kit on Your Bike Without Bulk
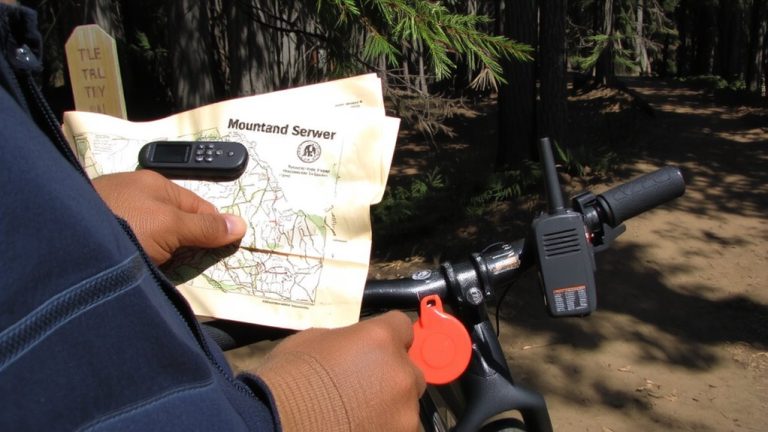
While you’re slicing through singletrack, the last thing you need is a bulky or bouncing first aid kit throwing off your balance or snagging on brush, so keep it tight and trim by mounting a lightweight, water-resistant case directly to your bike frame with Velcro straps or a rigid frame bag. Choose a minimalist soft case under 8 oz for minimal bulk, and secure essentials inside zip-sealed, labeled pouches. Attach small tools like tick removers to bottle cages using bungee cords, or stash them in top tube or under-seat mounts for quick access. Integrate dog-specific supplies-EMT gel, wound closure strips-into your existing repair kit to save space. Keep the entire setup streamlined so it won’t shift, rattle, or catch on trail obstacles.
| Location | Mount Type | Bulk Level |
|---|---|---|
| Down tube | Velcro straps | Minimal bulk |
| Seat tube | Frame bag | Low profile |
| Top tube | Zippered pouch | Easy access |
| Under seat | Snap bag | Secure fit |
| Bottle cage | Bungee + pouch | Modular |
Practice Dog First Aid Like a Riding Skill
Think of dog first aid like trail handling-both demand muscle memory and fast, confident moves when seconds count. Practice applying Vet Wrap to secure a paw bandage in under 60 seconds, just like you’d fix a flat mid-ride. Run monthly drills for tick removal using tweezers or a Tick OTom tool, pulling straight with steady pressure to avoid leaving mouthparts behind. Train with a partner to build a makeshift splint from tent poles or sticks, aligning the limb as you would stabilize a broken chainstay. Rehearse cooling an overheated dog with a wet bandana and check temp every 5 minutes, bringing it down from 105°F toward 102°F without going too far. Drill emergency muzzling using a bandana or leash-tight enough to prevent bites, loose enough to let them pant. These skills aren’t just backup plans-they’re core riding skills.
On a final note
Keep your dog safe on remote MTB rides with a streamlined first aid kit in a 500D nylon, waterproof saddlepack-like the Ortlieb Ultimate Six-mounted securely to your top tube. Include vet wrap, antiseptic wipes, tweezers, and a 2” gauze pad, sized for your dog’s weight. Organize supplies in labeled ziplock bags, practice wound control monthly, and always carry extra water, a collapsible bowl, and a leashed trail protocol.