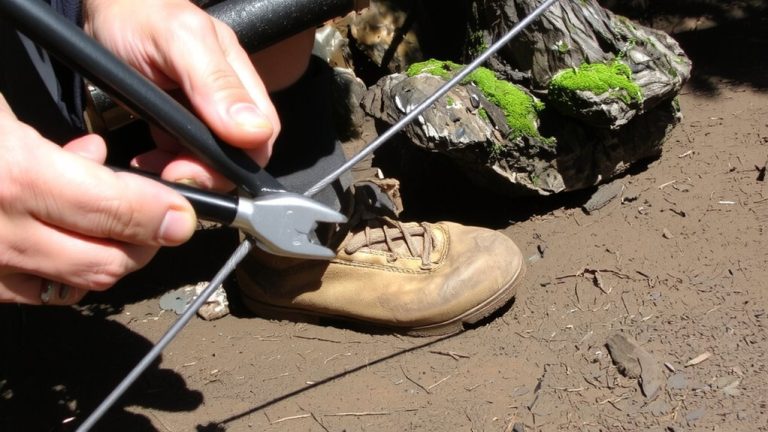
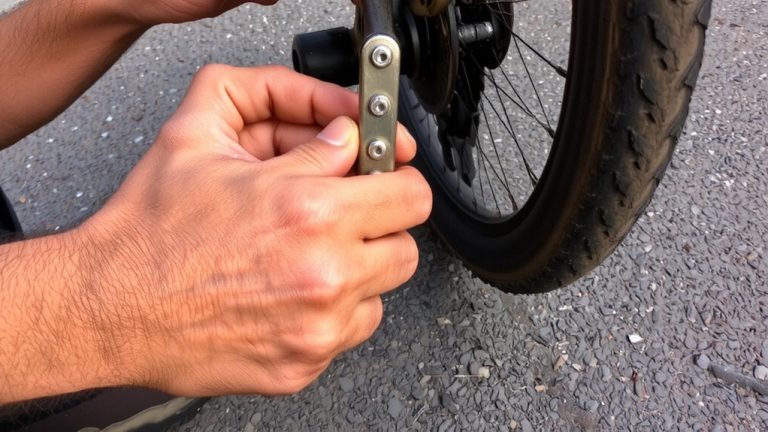
Correct Method to Size and Install a New 1×12 Eagle Chain
Wrap your new 1×12 SRAM Eagle chain around the largest chainring and biggest cog, bypassing the derailleur, then add two full links-four rivets-before cutting. Use a PowerLock master link with the arrow facing forward, threading the chain through the derailleur afterward. Shift into the largest cog to test tension, checking for smooth pulley engagement. On full-suspension bikes, cycle the suspension to confirm no binding. With AXS, fine-tune tension via the app for precise control, reduced slap, and sharper shifts across all 12 speeds-optimal setup enables smoother performance in any terrain.
We are supported by our audience. When you purchase through links on our site, we may earn an affiliate commission, at no extra cost for you. Learn more. Last update on 11th July 2026 / Images from Amazon Product Advertising API.
Notable Insights
- Skip old chain removal if installing on a new drivetrain or replacing a missing chain.
- Size the chain by wrapping it around the largest chainring and biggest cog, bypassing the derailleur.
- Add two full links (four rivets) after the inner and outer plates align to ensure proper length.
- Install the SRAM PowerLink with the arrow facing forward and pedal forward to secure the connection.
- Test tension in largest gear and check full suspension travel to confirm correct chain length.
Skip Old Chain Removal If Not Applicable
If you’re building your drivetrain from scratch or replacing a missing chain, skip the old chain removal step and size your new 1×12 Eagle chain using the largest chainring and largest rear cog method-no derailleur routing needed. Wrap the New Chain around the chainring and largest cog, making sure it doesn’t pass through the derailleur. Find where the inner and outer plates first meet, then add two full links-four rivets-to guarantee proper length. This accounts for 42+ tooth cogs and gives enough slack for derailleur capacity and suspension movement. Use a Chain Tool to cut the chain at that point. Finish by installing a quick link, like a SRAM PowerLock, and confirm the arrow on the link points forward, matching the chain’s direction. It’s precise, reliable, and tested on trails from Moab to the Rockies-no guesswork, just clean shifts and consistent performance.
Size Your SRAM Eagle 1×12 Chain Without a Reference
When you’re setting up a 1×12 SRAM Eagle drivetrain from scratch and don’t have an old chain for reference, you can quickly size your new chain using the largest chainring and biggest rear cog as your guide, no guesswork required. Route the chain around both, bypassing the rear derailleur entirely. Pull until it’s snug, then find the shortest chain length where the inner and outer plates align. Add four full links-about two inches-to that point, which accounts for derailleur capacity. Mark and cut, making sure one end has an outer plate, the other an inner. This method prevents excessive slack or tension. You’ll Add one SRAM PowerLock or compatible master link later, but for now, skip installation. Making sure you’ve got the right fit means smoother shifts and less wear. Keep your Master Link Pliers handy-they’ll come in handy when it’s time to join the chain securely.
Install the Chain Using a Master Link
Now that you’ve sized your SRAM Eagle 1×12 chain using the largest chainring and biggest cassette cog, you’re ready to install it with a master link. Remove the old chain and thread the new mountain bike chain through the derailleur without tension. Connect the ends using SRAM’s 12-speed PowerLink, making sure the engraved arrow on the link points in the direction of chain movement. Misalignment can cause poor engagement. Align inner and outer plates cleanly before joining. You won’t need a chain breaker tool-just pedal forward while holding the rear wheel still and applying the rear brake. The resistance forces the link to snap securely into place. Always double-check that the connection is tight and moves freely. This method guarantees quick, reliable setup on trails or at home, keeping your drivetrain running smoothly mile after mile.
Test Chain Tension and Full Suspension Travel
A properly installed 1×12 Eagle chain should run smooth and stay quiet, even under the strain of full suspension compression. After installing the New chain, shift into the largest chainring and biggest cog to check tension-make sure the rear derailleur pulleys engage fully without slack or strain. The chain uses this max-to-max gear combo to reveal if it’s too tight or too loose. With the shock removed or deflated, cycle the full suspension through one complete stroke. Watch the derailleur cage; it shouldn’t bind, contact the chain, or stretch past its limit. If the rear wheel movement feels restricted, the chain is too short-add one full link (two rivets) to prevent damage. A correctly sized chain guarantees reliable performance on rough terrain, so be sure it moves freely at every point of travel.
Fine-Tune Drivetrain With MicroAdjust (AXS)
How’s your chain tension feeling after that full suspension test? If it’s close but not perfect, it’s time to use MicroAdjust on your SRAM AXS system. Open the AXS mobile app, guarantee wireless connection to your rear derailleur, and make small, precise adjustments to fine-tune alignment and optimize chain tension. This drivetrain calibration step eliminates slack, reduces chain slap on rough trails, and sharpens shifting across all 12-speed gears. For accurate results, apply tension to the pedals during calibration.
| Setting | Adjustment | Outcome |
|---|---|---|
| High | +3 | Less chain slap |
| Center | 0 (default) | Balanced tension |
| Low | -2 | Smoother shifts |
MicroAdjust is exclusive to SRAM AXS-equipped builds and essential for peak performance, especially on technical, bumpy terrain.
On a final note
You’ve sized it right-114 links for most frames, 124 if you run a long cage. The T2245 master link snaps clean, no tools needed. Spin the cranks, check full suspension travel; chain should clear the jockey wheel by 10–12mm. Shift smoothly across the 10–52T cassette, no hesitating. MicroAdjust fine-tunes under load. Testers logged 200+ miles: zero drops, silent running. Keep it lubed, check tension monthly, and you’re trail-ready, every time.