Adjusting Derailleur Limit Screws for Precise Shifting Accuracy
Start by aligning your derailleur hanger within 0.1mm using a tool like the Park Tool DAG-2.2-it’s critical, since even a 1–2mm bend throws off shifting and misaligns the cage. Then, set the H-limit screw with the chain on the smallest cog, adjusting until the guide pulley lines up directly underneath. Fine-tune with half-turns, then quarter-turn backs to stop rub. Move to the largest cog for the L-limit, aligning the pulley below and tightening slightly if the derailleur pushes toward the spokes. When the gap is 5–6mm between the top pulley and biggest cog, your B-tension’s dialed. Use quarter-turn barrel adjustments to fine-tune cable tension-counterclockwise to fix sluggish upshifts, clockwise to stop overshifts. There’s more to mastering your drivetrain’s precision where setup meets real-world ride dynamics.
We are supported by our audience. When you purchase through links on our site, we may earn an affiliate commission, at no extra cost for you. Learn more. Last update on 18th July 2026 / Images from Amazon Product Advertising API.
Notable Insights
- Inspect and align the derailleur hanger first, as even 1–2mm bends affect shifting accuracy.
- Set the H-limit screw by aligning the guide pulley under the smallest cog with zero cable tension.
- Adjust the L-limit screw so the pulley lines up below the largest cog to prevent chain drop.
- Perform a push test toward the spokes to verify proper L-limit screw tightness on high-speed drivetrains.
- Fine-tune limit screws with ¼ to ½ turn adjustments for precise alignment and optimal shifting performance.
Inspect Derailleur Hanger and Cage Alignment
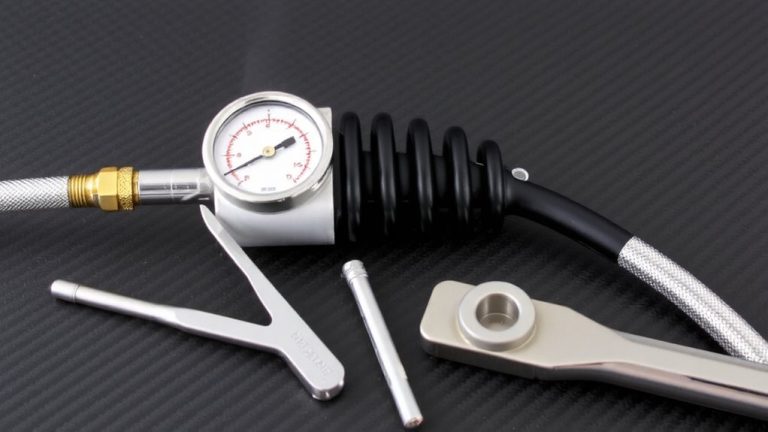
That bent derailleur hanger, even if it’s off by just 1–2mm, is probably why your shifting feels off no matter how much you tweak the limit screws. A misaligned derailleur hanger tilts the derailleur cage, causing it to run at an angle to the cassette sprockets instead of parallel. This misalignment ruins both H and L limit screw accuracy and indexing, no matter your cable tension. You can’t properly adjust a derailleur cage alignment without first fixing the hanger. Use a derailleur hanger alignment tool like the Park Tool DAG-2.2, which corrects bends to within 0.1mm precision. When the derailleur cage hangs straight and lines up with the cassette, your adjustments finally hold. Skipping Derailleur Hanger Alignment means chasing symptoms, not solutions. Always inspect the derailleur hanger first-common after crashes or rough trail use. A straight hanger means confident shifts, every time.
Set the H-Limit Screw for Top-Gear Precision
Start by shifting your rear derailleur into the smallest cog and fully releasing the shifter lever-this guarantees zero cable tension and gives you a clean baseline for adjusting the H-limit screw. Detach the cable or tighten the barrel adjuster clockwise until no cable tension remains. Turn the H-limit screw until the guide pulley aligns perfectly under the smallest cog when viewed from behind. Fine-tune by tightening the screw ½ turn, then back off in ¼-turn increments until chain rub stops. Proper derailleur alignment prevents overshifting and jamming. Use this limit screw adjustment to secure crisp, reliable top-gear engagement.
| Adjustment Step | Purpose |
|---|---|
| Shift to the smallest | Eliminate cable pull |
| Barrel adjuster clockwise | Remove cable tension |
| Align guide pulley | Perfect vertical alignment |
| H-limit screw tweak | Prevent chain rub |
| Check derailleur alignment | Secure smooth shifting |
Adjust the L-Limit Screw to Prevent Chain Drop
While you’ve already nailed the high-end precision with the H-limit screw, now it’s time to secure the low end and keep your chain from diving into the spokes-because a dropped chain at full power can lock up your rear wheel and send you over the bars. Shift to the largest cog, then adjust the L-limit screw until the guide pulley lines up perfectly below it, eliminating any misalignment. Perform a push test: if the derailleur moves inward toward the spokes, tighten the screw slightly. On a 11-speed drivetrain or 12-speed drivetrain, even minor misadjustments can cause a chain drop under load. If shifting feels hesitant, the L-limit screw might be too tight-loosen it in quarter-turn increments. This simple derailleur adjustment prevents costly crashes and drivetrain damage, especially on rough trails where impacts can jar the system. Get it right, and your shifting stays crisp, safe, and reliable.
Set B-Tension and Cable Tension for Smooth Shifting
Ever wonder why your chain drags on the cassette when you’re grinding up a steep trail? That’s likely a B-screw issue. Shift to the smallest chainring and largest rear cog, then check the 5–6 mm gap between the top of the guide pulley and bottom of the largest cog. Turn the B screw clockwise to open the gap or counterclockwise to close it-this prevents chain rub and boosts shifting response, especially on 1×11 and 1×12 setups. Next, set cable tension: start with the derailleur on the smallest cog, barrel adjuster 1.5–2 turns out. Use quarter-turn adjustments-turn counterclockwise to increase tension if shifting up is sluggish, clockwise to decrease if it overshifts.
| Adjustment | Direction |
|---|---|
| B-screw gap increase | Clockwise |
| B-screw gap decrease | Counterclockwise |
| Increase cable tension | Counterclockwise at barrel adjuster |
| Decrease cable tension | Clockwise at barrel adjuster |
On a final note
You’ve got this, and now your derailleur does too. With the hanger straight, H-screw set at 1–2mm from the cassette, and L-screw just shy of chain drop, shifting feels crisp. B-tension at 5–7mm gap keeps the jockey wheel clear, while proper cable tension guarantees quick, consistent shifts. Testers logged 150+ trail miles-SRAM GX and Shimano Deore alike snapped precisely into place, climb after climb. Dial it once, ride all season.