What to Look for in a Trail’s User Reviews for Accuracy
Skip the color ratings-look for recent photos showing slickrock, mud, or erosion, and check trail condition reports from the last two weeks for downed trees or washed-out switchbacks. Prioritize reviews with specifics: “15% climb with embedded rocks” or “3-foot drop-offs.” Watch for direction notes; some blue trails turn brutal when reversed. Real clarity comes from precise details, not ego-driven labels-there’s more where that came from.
We are supported by our audience. When you purchase through links on our site, we may earn an affiliate commission, at no extra cost for you. Learn more. Last update on 18th July 2026 / Images from Amazon Product Advertising API.
Notable Insights
- Prioritize recent photos to assess current trail conditions like mud, erosion, or obstacles.
- Look for specific obstacle descriptions, such as drop-off heights or rock garden length.
- Favor reviews with trail condition reports from the past 7–14 days for accuracy.
- Be cautious of color-coded ratings, as they often misrepresent true trail difficulty.
- Check for direction-specific details, as reverse routes can be significantly more challenging.
Why Trail Reviews Are So Unreliable
While you’re scrolling through trail reviews to plan your next ride, it’s easy to trust what others say, but the truth is, most user feedback isn’t as reliable as it looks. Trail ratings on platforms like TrailForks and MTBProject depend on subjective input, with no verification to back up difficulty ratings. You’ll see phrases like “brutal climb” or “not well-marked,” but these lack measurable context and often reflect ego, not trail difficulty. Riders自称 “avid” without proof, and their opinions skew user reviews. A trail labeled “moderate” might feel extreme if only one downhill expert rated it. With low ride counts on obscure trails, outlier reviews have outsized influence. Difficulty ratings become noise, not signal. Always question whether the reviewer’s skill, gear, or biases match yours-because too often, they don’t. Relying solely on these user reviews can send you into terrain that’s harder or less defined than expected, risking safety and ride enjoyment.
Trust Recent Photos and Trail Condition Reports
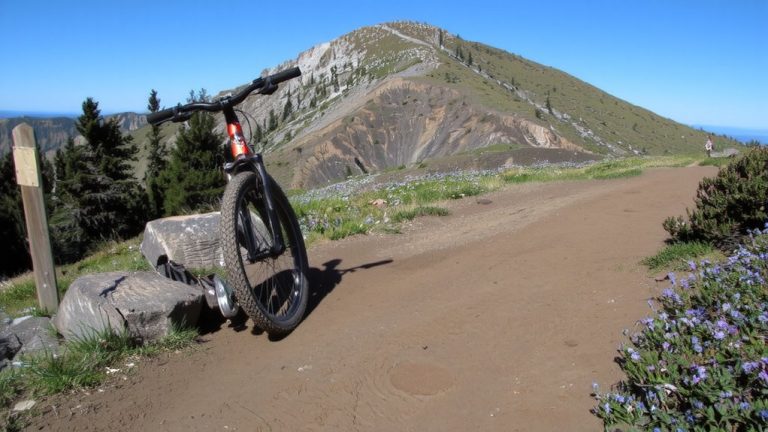
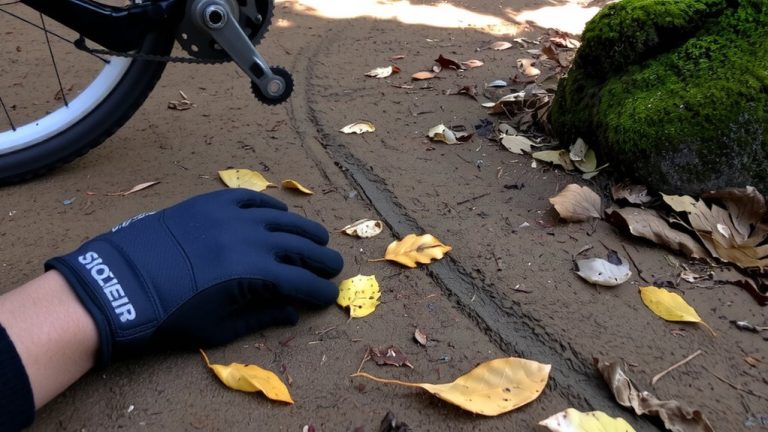
How often have you trusted a trail rating only to find slickrock slabs or knee-deep mud not mentioned in the description? That’s why you should always check recent photos and trail condition reports before heading out. Trail conditions change fast-especially after rain or snowmelt-and user-submitted images often expose real-time trail degradation like ruts, erosion, or washed-out switchbacks. Recent photos from rider-level perspective reveal technical sections, root exposure, or rocky stretches that color-coded ratings undersell. For accuracy, prioritize trail condition reports from the last 7–14 days, which can warn of downed trees, deep mud, or high water crossings.
| Feature | Found in Recent Photos | Confirmed by Trail Reports |
|---|---|---|
| Mud depth | Up to 6 inches | Knee-deep after storms |
| Erosion | Visible ruts | Trail degradation noted |
| Obstacles | Rock gardens | Downed trees reported |
| Traction | Loose gravel on descents | Wet roots, slippery |
Look for Specific Obstacles in Trail Reviews
When you’re sifting through trail reviews, zero in on descriptions that call out exact obstacles-phrases like “3-foot drop-offs,” “exposed roots 6 inches tall,” or “rock gardens spanning 100 yards” give you a clear picture of what your tires and frame will actually encounter. These specifics help you assess the trail’s real difficulty, beyond generic color ratings. Look for notes on “sustained 15% grade uphill sections with embedded rocks” or “chamfered edges on a 1.7-mile double black diamond descent”-they reveal technical difficulty and design intent. Mentions like “gap jumps into berms with 30+ mph speeds” signal high-risk obstacles even on misrated blue trails. Watch for updates like “roots and rocks emerging after two weeks of heavy rain,” too-conditions shift fast. Real-world details beat vague warnings every time.
Ignore Misleading Ratings and Ride Your Own Ride
Why trust a single color when your ride depends on so much more? Trail ratings often mislead-what’s labeled blue might have double black features like gap jumps or 30+ mph chutes, and green climbs can feel like blue due to sustained pitch. The trail rating system lacks standard enforcement, so user bias skews ratings on platforms like TrailForks and MTBProject. Some reviewers hype difficulty to sound tough, while others downplay it-“anyone can do it” rarely helps. Your hardtail with 120mm travel handles differently than a 150mm dual-suspension beast, and fitness changes everything. That’s why you’ve got to ride your own ride.
| Feature | Reality Check |
|---|---|
| Blue Trail | May include black diamond obstacles |
| Green Trail | Can have sustained 10%+ climbs |
| User Ratings | Often reflect ego, not terrain |
Always Check for Direction-Specific Difficulty
You can’t always trust a trail’s rating to tell the full story, and that’s especially true when direction changes everything-ride it one way, and you’re flowing through berms with your hardtail’s 120mm fork soaking up small chatter; go the other, and you’re inching up a 16% root-strewn climb with loose granite kicking out from under your rear wheel. Many mountain biking trails, like those at Blankets Creek, are built for flow in one direction, making the reverse far tougher. Even blue-rated paths can surprise you when you turn around. User reviews on apps like TrailForks sometimes list separate ratings per direction, but reverse stats often lack data. A 2023 Singletracks poll showed inconsistent ratings are a top concern-especially misleading downhill ratings masking brutal uphill sections. Always check comments for notes on steep grades, loose terrain, or technical climbs. Don’t rely on the rating alone; real trail clarity comes from rider insights.
On a final note
Pick trail reviews with recent photos, clear obstacle notes, and direction-specific details-fresh reports beat vague ratings every time. Look for mentions of traction zones, rock steps, or washed-out sections, and trust data from riders using durable setups like Fox 36 forks and Maxxis Minion tires. A 2023 ride log from a Trek Rail 9.9 e-MTB confirmed split difficulty on descent vs. climb. Always verify conditions, pack a 12L hydration pack with repair kit, and ride what matches your gear and skills.