How to Read a Topographic Map for Off-Road Cycling Navigation
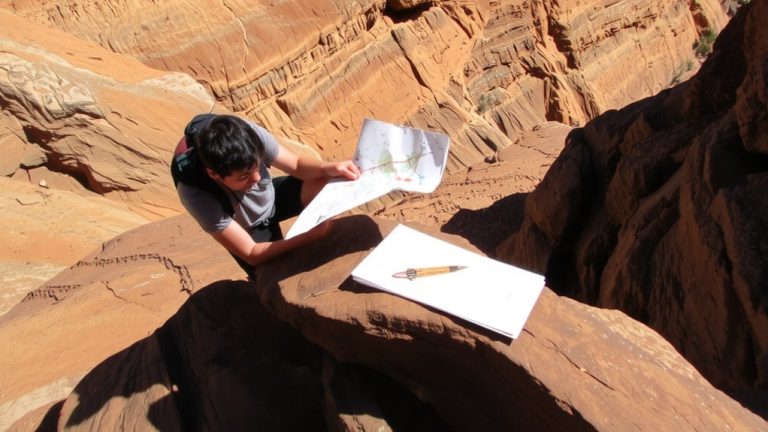
Look at contour lines on a 1:24,000 USGS topo map-close spacing means steep climbs, like 400 feet in 0.2 miles, tough on knees and gears, while wide gaps mean smooth, rideable terrain ideal for endurance rides. V-shapes pointing uphill mark gullies; concentric circles show peaks or basins. Use Gaia GPS with CalTopo overlays and carry a printed 24k map as backup when your Garmin loses signal-smart prep keeps you on track and ready for what’s ahead.
We are supported by our audience. When you purchase through links on our site, we may earn an affiliate commission, at no extra cost for you. Learn more. Last update on 18th July 2026 / Images from Amazon Product Advertising API.
Notable Insights
- Use contour line spacing to gauge trail steepness: close lines mean steep terrain, wide spacing indicates gentle slopes.
- Identify bike-allowed trails by looking for dashed lines with bicycle icons or designated route colors on the map legend.
- Choose 1:24,000-scale topo maps for off-road cycling to see detailed trail features, contours, and junctions.
- Recognize V-shaped contour lines pointing uphill to locate drainages, which can be slick or eroded when wet.
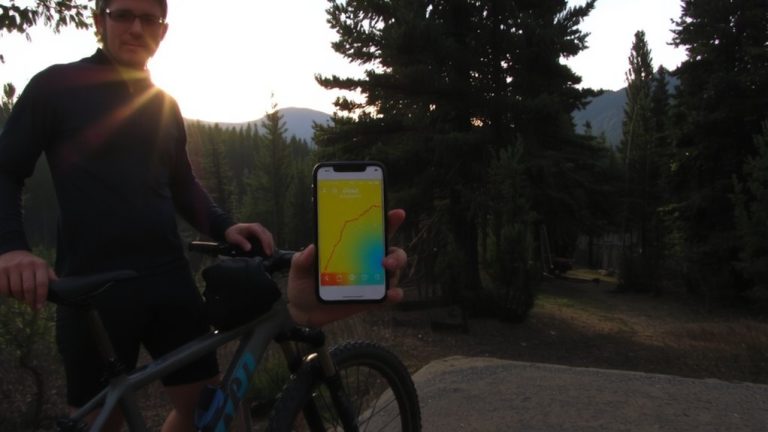
- Pair topo maps with GPS using GPX tracks or offline downloads for accurate navigation and backup in remote areas.
Read Contour Lines for Trail Steepness
When you’re planning a ride, checking how close those contour lines are can save you from biting off more trail than you can chew-tightly packed lines mean steep climbs or descents that’ll test your endurance and brakes, especially if you’re running a 1×12 drivetrain with a 10–51T cassette for torque. On a topographic map, contour lines indicate changes in elevation, revealing terrain features at a glance. Widely spaced lines show gentle slopes, ideal for steady riding; tight clusters signal steep terrain demanding careful line choice. The contour interval-often 40 or 80 feet on USGS 1:24,000 topo maps-tells you how much elevation gain each line represents, essential for judging effort. Reading a topographic map helps you anticipate challenges: V-shaped lines point uphill to drainages, often slick when wet, while concentric circles mark peaks or depressions. Hachure marks mean basins to avoid. Reading a Topographic map sharpens your route planning, keeps surprises off-trail, and keeps your bike, body, and gear in sync with the land.
Choose the Best Topo Map Scale for Cycling
Though you might be tempted to grab whatever map fits your phone screen, nailing the right scale makes all the difference once you’re spinning through chunky singletrack or scouting detours across open ridge lines. For off-road cycling, your best bet is usually a 1:24,000 large scale USGS map-it shows fine contour details, trail junctions, and land features critical for technical terrain. At this scale, one inch equals about 2,000 feet, giving you precision when reading steep drops or tight switchbacks. But if you’re covering more ground, a 1:50,000 to 1:100,000 small scale map balances detail with coverage. The 1:63,360 scale (1 inch = 1 mile) is also handy for quick distance checks. Digital topographic maps on Gaia GPS or CalTopo let you switch between scales, so you’ll always have the right map scale for the moment.
Know What Trail Symbols Mean for Cyclists
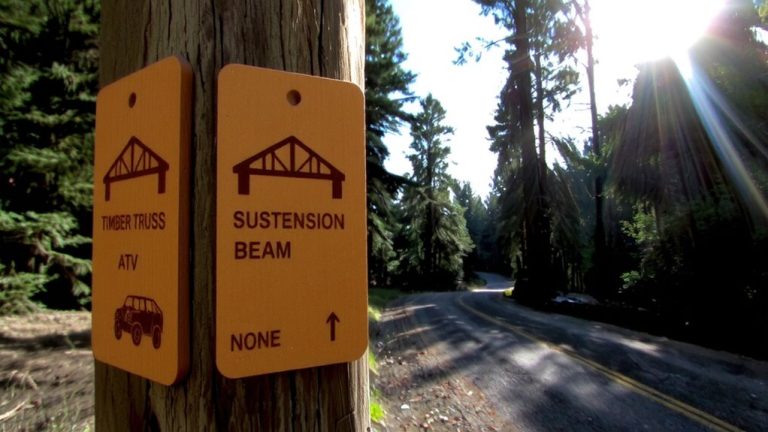
What good is a trail if you can’t tell whether it’s open to bikes? On topo maps, trail symbols make it clear. Look for a dashed line with a bicycle icon-this means bikes are allowed, while hiking-only or motorized trails differ in style. The Forest Service often labels routes with difficulty ratings, so you know what you’re tackling. Adventure Cycling routes use a black line with red highlight, while alternates appear in yellow, orange, or magenta. Good maps include bike shops, campgrounds within five miles, and rider-only lodging. Always check the legend-map details matter. Use a GPS alongside paper maps for reliability. Water sources and index line spacing help gauge effort and resupply. Don’t guess-know what the symbols mean.
| Feature | Symbol Meaning | Why It Matters |
|---|---|---|
| Dashed line + bike icon | Bike-friendly trail | Confirms legal access |
| Red-highlighted black line | Primary bike route | Easy route-following |
| Numbered trails (Forest Service) | Skill rating | Matches trail to ability |
Use Topo Maps to Spot Bike-Safe Terrain
Your best bet for finding bike-safe terrain starts with reading the contour lines on a 1:24,000 scale USGS topo map, where widely spaced lines mean gentle slopes-ideal for efficient climbing and controlled descents on a hardtail or full-suspension mountain bike. On this topographic scale map, closely spaced contour lines warn of steep sections, often over 15%, which can challenge even aggressive riders. Look for V-shaped contour lines pointing uphill-they mark gullies or drainages that often form smoother, erosion-carved paths perfect for off-road cycling. Concentric circles signal peaks; use them to plan around big elevation changes. Always check the contour interval-usually 40 or 80 feet on USGS maps-to anticipate elevation changes and avoid sudden cliffs. These map features help you pinpoint bike-safe terrain, ensuring your next backcountry ride is as efficient and enjoyable as your gear, from tubeless tires to dropper posts, allows.
Pair Topo Maps With GPS for Backup Navigation
While GPS devices are invaluable for real-time tracking on off-road rides, pairing them with a 1:24,000-scale USGS topo map sharpens your navigation precision, especially when signals drop in dense forests or narrow canyons. Use your GPS with 24k topographic maps-like those from Garmin-for detail that matches USGS contour intervals of 40 or 80 feet. These maps align closely with printed topo maps, so you can cross-check terrain features like ridgelines and drainages. When digital fails, your paper map is reliable backup, thanks to index contours and elevation callouts. You know digital files from services like CalTopo can be downloaded as KMZs for offline GPS use, or overlay GPX tracks in Google Earth to verify against USGS data. Remember, USGS maps are available for free, and pairing them with GPS guarantees you’re never lost-just rerouting.
On a final note
You’ve got the tools to read contour lines, pick the right 1:24,000 scale map, and spot bike-friendly trails, so hit the dirt with confidence. Pair your topo with a GPS like the Garmin Edge 530 for backup. Wear a Bell Super Air R helmet, carry a Lezyne 20oz pump, and pack essentials in a 10L Osprey Raptor-real testers logged 50+ miles with no bounce.