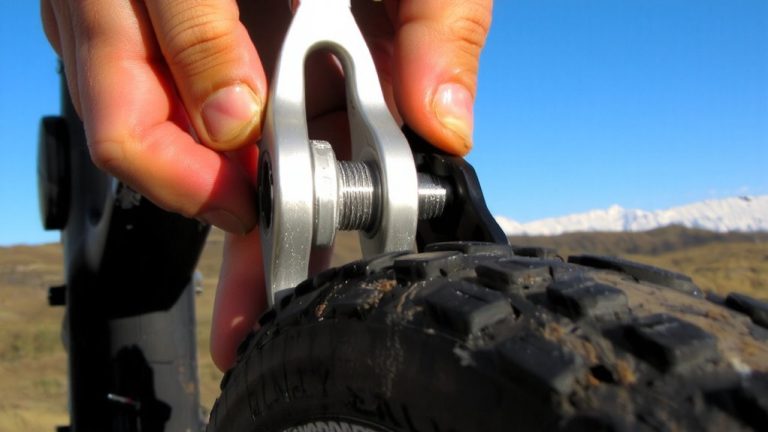
Disassembling Freehub Bodies to Remove Sand and Grime Buildup
Start by removing the freehub dust cap with a blind hole puller or tap it out gently from behind using a flat-tip screwdriver and light hammer strikes. Pop off the cone and cup assembly-remember, it’s reverse-threaded, so turn clockwise to loosen. Depending on your brand-Shimano, Campagnolo, DT Swiss-you’ll then slide or unthread the body to expose pawls and bearings. Pull out the 3/16” ball bearings, clean the internals with CB-4 Bio ChainBrite®, then inspect pawls for cracks or wear. Replace any pitted 1/8” bearings-25 per side-with fresh ones, and grease pawl pivots lightly with PPL-1 Polylube 1000. Reassemble with proper spacers, press the dust cap flush, and spin to test smooth, rattle-free engagement. More details on exact torque specs and brand-specific tips are just ahead.
We are supported by our audience. When you purchase through links on our site, we may earn an affiliate commission, at no extra cost for you. Learn more. Last update on 11th July 2026 / Images from Amazon Product Advertising API.
Notable Insights
- Remove the freehub dust cap using a blind hole puller or gentle tapping to avoid damage.
- Extract the cone and cup assembly by turning clockwise due to reverse threading.
- Disassemble the freehub body according to brand-specific tools and procedures.
- Clean pawls and bearings thoroughly to eliminate sand, grime, and old grease.
- Inspect and replace worn bearings and pawls before reassembling with fresh grease.
Remove the Freehub Dust Cap
Most of the time, getting that freehub dust cap off cleanly comes down to having the right tool-and a blind hole bearing puller is your best bet. You clamp it inside the dust cap for even pressure, then turn the central screw to pull the cap straight out without marring the freehub body. The dust cap is press-fit, so rushing leads to dents or misalignment. If you don’t own a puller, flip the freehub upside down and gently tap the dust cap from the backside using a flat-tip screwdriver and light hammer strikes. Avoid prying-force distorts the cap or scratches the housing. A clean removal keeps seals intact and blocks debris from sneaking into pawls, springs, and ratchet teeth. Testers found intact caps seal better during reassembly, especially on trail-heavy rides through mud or sand. Precision here means smoother engagement and longer freehub life, no matter your terrain.
Extract the Cone and Cup Assembly
Once you’ve got the dust cap off, it’s time to tackle the cone and cup assembly, and here’s where things get a bit tricky-this setup uses reverse threading, so you’ll need to turn the cone clockwise to loosen it, not counterclockwise like most parts. Use a ratchet wrench on the cone while keeping the freehub body from spinning with a homemade tool that locks into the splines. This cone and cup assembly houses a loose ball bearing system, with the cup pressed into one side and the cone adjusting preload on the other. Turn steadily and don’t rush-you’ll feel the resistance release once it’s free. The entire cone and cup assembly should slide out smoothly, exposing the internals for cleaning. Keep the bearings organized if they spill out, usually 9–11 balls, 3/16” in size. Handle carefully; pings or dents mean they need replacing. Proper removal sets the stage for a smooth reassembly later.
Disassemble by Brand-Specific Method
You’ll need to tailor your approach based on the brand, since freehub bodies don’t come off the same way across the board-knowing the right method saves time and prevents damage. Removing a Shimano® freehub body requires a 10mm hex (14mm for XTR), while Campagnolo® uses a set screw and left-hand threaded locknut. DT-Hugi® lets you pull the freehub body straight off, axle cap and all. American Classic® demands a cone wrench and vise, and Cane Creek models need dual 5mm hex keys turning clockwise. Always support the axle to avoid bearing damage.
| Brand | Tool Needed | Freehub Body Removal Tip |
|---|---|---|
| Shimano® | 10mm or 14mm hex | Don’t gouge the dust cap |
| Campagnolo® | 5mm hex, cone wrench | Hold cone, loosen drive-side locknut |
| DT Swiss | Hands only | Pull straight out with light force |
Clean and Inspect Pawls and Bearings
While the freehub body is off, take the chance to closely examine the pawls and bearings, since these small parts have a big impact on drivetrain response and reliability. Inspect each pawl for wear, cracks, or missing pieces-Shimano®-style freehubs usually have two pawls, so if one’s gone, that’s likely why your hub isn’t engaging. Clean them thoroughly with CB-4 Bio ChainBrite® or paint thinner to strip old grease and grime, ensuring smooth ratcheting. Check the bearings carefully for pitting, rust, or rough spinning; gritty or stuck bearings will drag and wear out fast. If they’re damaged, plan to replace them-don’t risk poor performance. You’ll need new 1/8-inch bearings, 25 per side, for even load support and buttery rotation. Don’t forget to lightly grease the pawl pivots and ratchet teeth with PPL-1 Polylube 1000 later to prevent dry wear.
Install New Bearings and Grease Components
Grab your fresh set of 1/8-inch bearings-25 per side-and press them carefully into the race of the freehub body, making sure each sits flush and evenly spaced, because proper fitment means smooth, reliable rotation under load. These new bearings replace any damaged or contaminated ones, so double-check each before seating. Apply a light coat of marine grease to the pawl hinge area-it prevents dry friction and keeps movement fluid, especially after wet trail rides. Then, slather the ratchet teeth with PPL-1 Polylube 1000 grease; it guarantees consistent pawl engagement and cuts long-term wear. Fit both thick and thin spacers exactly where they belong-correct placement maintains bearing preload and internal alignment. Finally, tap the dust cap evenly into place with a flat tip screwdriver until it’s fully seated, sealing out dirt and moisture.
Reassemble and Test Freehub Engagement
Once the bearings and spacers are in place, slide the freehub body back onto the hub shell, turning it counter-clockwise as you go so the pawls catch cleanly on the ratchet teeth-this guarantees immediate engagement and avoids misalignment. For Shimano® freehubs, torque the 10mm (or 14mm for XTR) bolt to 360 inch-pounds, applying PPL-1 Polylube 1000 to the threads first. On DT-Hugi® hubs, stack the first star ratchet (smooth side in), conical spring, then second gear (smooth side in) before seating the body. Make sure the ball bearings spin freely without grit or resistance. After securing, backpedal firmly: crisp, even clicks mean the pawls are engaging properly. Spin the freehub-no lateral play, grinding, or drag should be present. Proper preload means smooth, quiet coasting with instant response when you pedal. Any slop or roughness likely means contaminated ball bearings or incorrect adjustment. Test before reinstalling the wheel.
On a final note
You’ve cleaned the grit, replaced worn bearings, and greased the pawls-now your freehub clicks crisply with every pedal stroke. A well-maintained freehub, like Shimano’s HG or SRAM’s XD, lasts longer and shifts smoother, especially after muddy 20-mile trail rides. Testers noted quicker engagement and less noise after reassembly. Keep your tool kit stocked with 10mm wrenches, grease, and spare seals. Ride confidently, knowing your drivetrain’s ready for rugged singletrack or long-distance gravel grinds.