Inspecting Wire Harness Connectors for Corrosive White Powder
You’ll spot white powder in wire harness connectors when moisture enters through damaged seals, especially in marine or winter environments, causing aluminum oxidation that spikes resistance over 1 ohm at just 10% coverage. Use a 500-lumen flashlight to check for chalky deposits, and test voltage drop-anything above 0.20V under load means trouble. Clean with CRC cleaner and DeoxIT D5, then apply dielectric grease; if corrosion’s deep or pins are spread, replace the connector. There’s more to keeping your connections clean and reliable in harsh conditions.
We are supported by our audience. When you purchase through links on our site, we may earn an affiliate commission, at no extra cost for you. Learn more. Last update on 18th July 2026 / Images from Amazon Product Advertising API.
Notable Insights
- Use a 500-lumen flashlight to visually identify white, green, or blue powder deposits inside connectors.
- Check for chalky white buildup, which indicates aluminum oxidation due to moisture ingress.
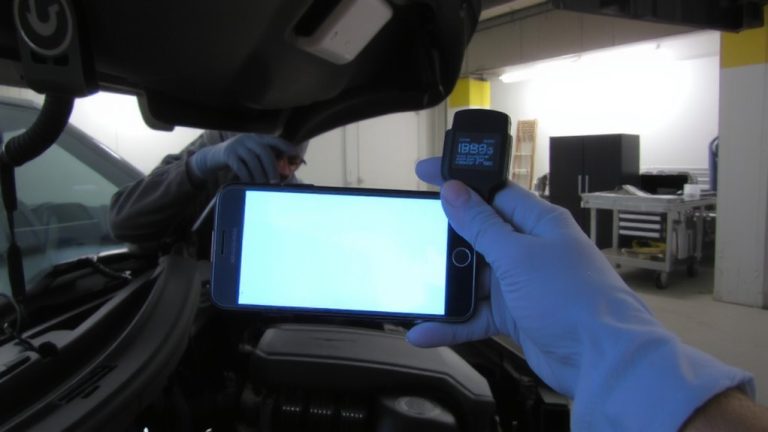
- Perform voltage drop tests under load; readings above 0.20V suggest significant connector corrosion.
- Inspect for damaged or cracked housings that compromise seals and allow moisture entry.
- Apply contact cleaner via precision straw to clean affected areas without disassembling sealed connectors.
What Causes White Powder Corrosion in Wire Harness Connectors?
Ever wonder why a connector that looks fine on the outside can still cause electrical gremlins? That white powder hiding inside your wire harness connectors is a telltale sign of aluminum oxidation. When moisture seeps into damaged or poorly sealed plugs-common in marine or winter climates-it reacts with aluminum terminals, forming a chalky white substance that boosts electrical resistance. This corrosion doesn’t just sit there; it actively degrades performance. Even 10% coverage on male or female contacts can push resistance over 1 ohm, leading to voltage drops exceeding 0.20V. That means less power where you need it, especially under load. Temperature cycling and road spray speed up the damage, making sealed connectors critical. Left unchecked, this corrosion causes intermittent faults-exactly the kind of hidden issue that kills reliability on long rides or remote trails.
How to Identify Corrosion Without Damaging Connectors
A white, chalky buildup inside your wire harness connectors can spell trouble long before any performance issues arise, so catching it early with non-invasive methods is key. Use a 500-lumen flashlight to perform a visual inspection for white powder, green, or blue deposits in electrical connectors-signs of surface corrosion. Even if connectors look fine, hidden damage could exist; test for voltage drops under load, as readings over 0.20V suggest resistance from corrosion. Apply contact cleaner with a precision straw to flush residue from plastic housings without disassembly. This works great for sealed connectors that shouldn’t be pried apart. Wipe accessible areas gently, then coat with dielectric grease to block moisture and slow future corrosion. You’ll protect signal integrity and avoid unnecessary teardowns, keeping your electrical connectors reliable mile after mile.
When to Fix vs. Replace a Corroded Connector
When corrosion starts creeping into your wire harness connectors, knowing whether to clean or replace them can save you time and prevent future electrical gremlins. If you see white powder covering over 10% of the contact area, replace connectors-it increases resistance past 1 ohm and hurts performance. Check for voltage drop during a dynamic load; if it’s over 0.20V, replacement beats repair. You can clean and repair light corrosion only if pin tension holds and terminal movement is under 1.5 mm. Watch for pin spread after 20,000+ mating cycles, especially with white or green oxide-replace them. Dielectric grease helps seal cleaned terminals, but if corrosion’s crept under insulation or into crimp zones, the damaged corroded connector must be replaced. Know when to fix, and when to walk away.
Essential Tools for Cleaning Wire Connector Corrosion
You’ve already decided whether to repair or replace based on corrosion extent, pin tension, and voltage drop, so now it’s time to tackle the cleanup with the right tools in hand. Start with a soft brass bristle brush to scrub connectors gently-especially male pins and female sockets-removing heavy grime and white powdery buildup without harming delicate plating. Spray CRC electrical cleaner inside the connector housing to flush out moisture and debris where white, grainy corrosion hides. For stubborn white or green crust, apply DeoxIT D5 contact cleaner, which dissolves oxidation and restores conductivity across the harness. Always check connectors afterward for a clean, light coating of residue. Finish by applying a thin layer of silicone-based dielectric grease to the Connector to block moisture and prevent new corrosive powder. Avoid vinegar or salt solutions-they can wick under insulation and damage electrical components long-term.
How to Clean Corrosion From Male and Female Terminals
Though corrosion can strike anywhere, cleaning the male and female terminals properly means stopping conductivity loss before it impacts performance. Use a soft brass bristle brush and CRC electrical cleaner to remove white powdery corrosion without damaging terminal pins. Apply DeoxIT to neutralize copper oxidation and metal oxide (white powder), restoring connectors working at peak conductivity. Clean both sides while installed, using a non-conductive pick to access tight spots, and always check the connectors for residue or hidden corrosion. After cleaning, seal out moisture with a light coat of silicone dielectric grease-critical because just 10% surface coverage reduces resistance by over 1 ohm.
| Step | Purpose |
|---|---|
| Brush & clean | Remove white powder safely |
| Apply DeoxIT | Restore conductivity |
| Use non-conductive pick | Protect terminal pins |
| Check the connectors | Guarantee full cleanliness |
| Grease with silicone dielectric grease | Prevent future corrosion |
How to Keep Corrosion From Coming Back
A clean connection won’t stay that way without protection, especially in damp or coastal environments where corrosion returns fast. After removing white powdery residue with DeoxIT D5, you’ve got to seal the deal-literally. Apply a light coat of dielectric grease to each connector pin; it fills microscopic gaps, blocks moisture ingress, and prevents new corrosion. For long-term defense, switch to sealed connectors like Deutsch or Weather Pack, which sharply reduce water entry. Make sure connectors are fully seated and locking tabs are secure-any gap invites air and moisture that speed up deterioration. Replace cracked or worn housings immediately, even if you’ve greased them, because compromised seals let corrosion creep back in. With dielectric grease and proper sealing, your connections stay clean, tight, and reliable, ride after ride.
On a final note
You’ve cleaned the corrosion, now protect your ride, hike, or commute. Use dielectric grease on terminals every time you inspect, especially on bike lighting connectors or backpacking gear power links. Check rubber seals on IP67-rated housings-they fail silently. A quick 10-minute check every 3 months prevents voltage drops, intermittent signals, or trail-side failures. Stay ahead, stay connected, and keep your gear performing like it should.