What to Do If You Realize You’re Lost on a Mountain Bike Trail
Stop riding the moment you realize you’re lost, sit down, and breathe deeply for 3–5 minutes to lower your heart rate. Drink 250–500 mL of water, eat a snack to stabilize glucose, and turn off bike lights and phone displays to extend battery life by up to 70%. Check your preloaded Gaia GPS or AllTrails offline map, verify your position, and avoid continuous tracking-check every 10–15 minutes instead. Retrace your path only if you clearly recall trail markers like blazes, cairns, or fresh tire tracks from the past 30 minutes. Choose wider, well-worn trails (18–24 inches) with broken branches or trampled soil, or follow drainage downstream. If visibility drops or trails are unclear, stay put, mark your spot, and use your whistle or mirror to signal. You’ll learn exactly how to use your 10,000 mAh power bank, topographic layers, and emergency snacks in the next steps.
We are supported by our audience. When you purchase through links on our site, we may earn an affiliate commission, at no extra cost for you. Learn more. Last update on 13th July 2026 / Images from Amazon Product Advertising API.
Notable Insights
- Stop riding immediately, sit down, and breathe deeply to lower your heart rate and prevent further disorientation.
- Stay in place, conserve energy, and avoid wandering to increase chances of being found.
- Check your supplies, drink water, eat a snack, and monitor remaining daylight to maintain physical stability.
- Use preloaded offline maps to verify your GPS location and avoid continuous tracking to save battery life.
- Retrace your route only if you clearly remember landmarks, trail signs, or tracks from the past 30 minutes.
Stop Riding and Calm Down
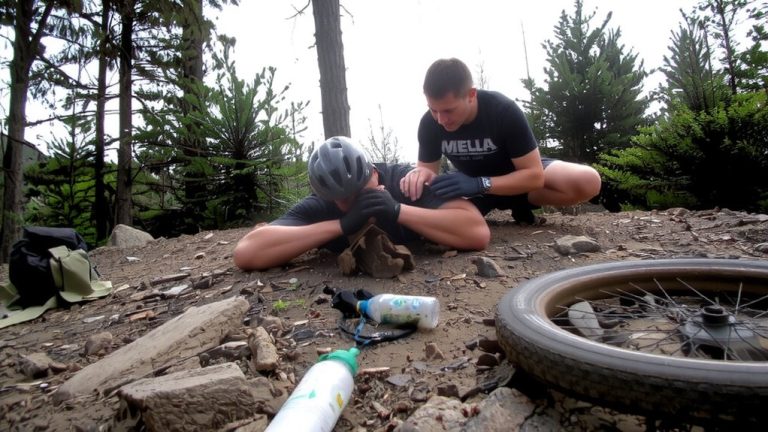
Once you realize you’re off route, stop riding right away-pushing forward when disoriented can take you twice as far from help and increases the chance of poor decisions by up to 75%. Stay calm by sitting down, breathing deeply for 3–5 minutes, and letting your heart rate drop from over 120 bpm. This helps your brain function clearly. Stay put-don’t wander-and take stock of your mental state before anything else. Eat a small snack and drink 250–500 mL of water to maintain glucose and fight stress-induced dehydration. Make sure to turn off your bike’s lights and displays, then switch your phone to low-power mode; that can stretch battery life by up to 70%. Focus on calming your mind for at least 60 seconds, which cuts panic-driven choices by 40%. Stay calm, stay put, and make sure your gear supports your next move.
Assess Your Location and Supplies
You’ve caught your breath, stepped off the trail, and let your heart rate settle-now it’s time to get clear on where you are and what you’ve got to work with. Stop immediately; disorientation can happen in minutes on overgrown or unmarked paths. Check your water-you’ll need at least 500 mL per hour, so ration if low. Dehydration clouds judgment fast. Inventory food and eat small snacks every 30–60 minutes to stay energized. Note remaining daylight; visibility drops fast, about 30 minutes before sunset. Spot landmarks like trail signs, streams, or elevation markers, even if partly hidden. Knowing how to use your gear-like a whistle, headlamp, or emergency blanket-could make all the difference. Stay put if you’re unsure. Staying on the trail increases your chance of being found and keeps you safer than wandering.
Check Offline Maps and Save Battery
Even if the trail ahead looks familiar, don’t rely on memory-pull up your preloaded offline maps using apps like Gaia GPS or AllTrails, both of which support downloadable topographic layers and mountain bike-specific trail classifications so you’re not left guessing whether a route is singletrack, doubletrack, or hike-only. Double-check your GPS device to confirm your position on the trail before making any moves. To save battery, switch to low-power mode right away-it can extend life by up to 70%. Instead of continuous tracking, check your GPS every 10–15 minutes to cut power use. Offline maps eliminate the need for signal, so keep cellular data off. Carry a 10,000 mAh power bank to recharge when needed. These steps keep your GPS device running, your trail knowledge accurate, and your ride safe-all without wasting charge.
Retrace Only If You Remember the Route
If your GPS shows you’ve strayed off course, your next move depends on how clearly you recall the trail behind you-relying on memory only works if you can picture specific junctions, switchbacks, or landmarks from the last 30 minutes, like that steep chute with the chalky rock band or the split where the trail signed “Rim Loop” veered left. You can retrace your route only if those details are sharp in your mind. Recent blazes, cairns, or fresh tire tracks matching your direction boost confidence in backtracking. Trust visible landmarks-distinctive boulders, creek crossings, or switchback clusters-to confirm you’re on the right trail. Don’t retrace if fog, dense brush, or muddy unmarked junctions cloud your recall, or if your bike’s brakes are spongy or the derailleur’s bent, risking control on descents. Safety first-retrace only when terrain and gear allow it.
Decide Which Way the Trail Leads
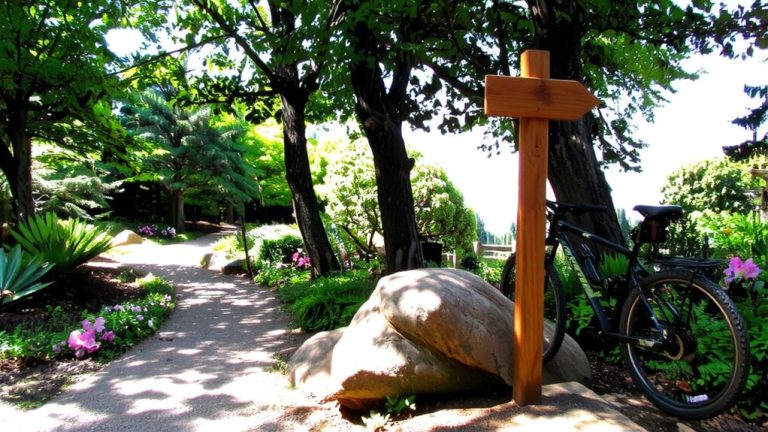
When you’re standing at a junction with no clear sense of which way the trail leads, start by sizing up the path’s wear and foot traffic, since heavily used trails with deeply trampled soil, flattened grass, and broken branches are more likely to lead toward civilization-especially if one direction shows fresh bike tracks, boot prints, or wider tread width, like the kind you’d see on a Doubletrack or braided singletrack averaging 18 to 24 inches wide. On a logging road, pick the wider, clearer path at a Y-junction-it’s usually the main route and less overgrown. If unsure, don’t become lost in indecision; leave a marker and scout one way for 200–300 paces. No signs of use? Return and try the other. When terrain allows, follow a drainage downstream-trails and roads often parallel creeks and lead to trailheads. Above treeline, trust cairns; they’re reliable indicators of the correct way.
Stay Put and Signal for Help When Needed
Standing your ground can be the smartest move, especially after exhausting your navigation options and realizing help is needed. Staying put conserves energy and makes it easier for rescuers to find you. Set up in a safe place near an open trail or clearing-rescue helicopters need at least a 100-foot diameter to hover. Make sure you have access to food and water while you wait. Use gear to signal for help: a Garmin inReach’s S.O.S. has a 98% success rate, and mirror flashes can be seen up to 10 miles away. At night, a strobe or flashing headlamp cuts through darkness over a mile away.
| Signal Method | Effective Range |
|---|---|
| Mirror flash | Up to 10 miles |
| Strobe light | 1+ mile (night) |
| S.O.S. device | Global coverage |
| Phone flash | ½ mile (low light) |
Staying put, staying visible, and knowing how to signal for help keeps you safe.
Pack Smarter to Avoid Getting Lost Again
Though you can’t always predict trail conditions or sudden weather shifts, you can control how prepared you are by packing the right gear. Always carry a GPS device with offline maps from Gaia GPS or Komoot, so you can track your location without cell service. Pair it with a physical topographic map and compass-you won’t regret it when batteries die, which happens in 75% of lost incidents. Stash a satellite communicator like the Garmin inReach Mini 2, with 100% global coverage, for emergencies. Pack 2 liters of water and 500–1,000 calories of snacks to keep your mind sharp. Wear bright reflective clothing so you’re easy to spot, and attach a trailhead location card to your bike with coordinates. These simple steps keep you found, focused, and ready for anything the trail throws your way.
On a final note
You’ve got this. Tuck a lightweight, waterproof shell like the Outdoor Research Helium into your hydration pack, always carry 500ml of water and a spare tube, and rely on a Garmin inReach Mini 2 with GPS tracking. Stick to marked trails, check offline Topo maps on your phone before you roll, and test your gear on shorter rides. Smart prep means fewer bailouts and more confidence when the trail forks.