How to Identify Trail Junctions Using GPS Coordinates
Pull precise GPS coordinates like 38.72776, -76.70833 in decimal degrees from trusted apps such as AllTrails or OnX Hunt, then paste them into Gaia GPS or Google Maps with the comma and negative sign intact. Use a handheld Garmin Oregon 700 for reliable tracking under tree cover, staying within 10 feet of accuracy. Confirm the junction by matching your waypoint with landmarks like cairns or trail signs, and you’ll see exactly how the terrain and track align-there’s more where that came from.
We are supported by our audience. When you purchase through links on our site, we may earn an affiliate commission, at no extra cost for you. Learn more. Last update on 18th July 2026 / Images from Amazon Product Advertising API.
Notable Insights
- Obtain precise GPS coordinates in Decimal Degrees from trusted trail apps like AllTrails or OnX Hunt.
- Input coordinates into navigation apps using correct format: latitude, longitude with negative signs for west/south.
- Use handheld GPS devices with preloaded waypoints to navigate accurately under heavy tree cover.
- Confirm junction locations by matching GPS waypoints with physical landmarks such as signs or cairns.
- Cross-check recorded coordinates with digital maps and satellite imagery in tools like Gaia GPS or TopoFusion.
Get GPS Coordinates for Trail Junctions From Reliable Apps
A solid GPS coordinate is your lifeline when the trail splits and the signs are missing. Using GPS coordinates from reliable apps like AllTrails or OnX Hunt gives you precision down to the decimal degree, such as 38.72776, -76.70833. Tap a junction in OnX Hunt, and a green circle marks the spot, showing exact Coordinates you can copy for Maps like Gaia GPS or Google Maps. AllTrails lets you grab DD values-say, 36.999084, -109.045223-via “Copy to Clipboard” in the Get Directions panel. When recording, tag junctions as “TJ” on your handheld GPS for clear notation later in Topofusion. Confirm the spot by pasting Coordinates into Google Earth or Maps, then use Street View to check trail signs or split details. You’re not just guessing-you’re traversing with data, detail, and confidence. Using GPS Coordinates keeps you on track, every time.
Enter the Coordinates Into Your Navigation App
Once you’ve got the GPS coordinates copied from a reliable app like AllTrails or OnX Hunt, just paste them straight into the search bar of your navigation app-whether it’s Google Maps, Gaia GPS, or Waze-using the Decimal Degrees (DD) format like 38.72776, -76.70833, and make sure that comma’s in place and the negative sign’s included for western or southern coordinates, so you don’t end up miles off track. When you enter the coordinates, your navigation app will drop a green pin or grey circle right on the junction. Six decimal places give sub-meter accuracy-perfect for pinpointing tight trail intersections. In Google Maps, the pin locks exactly where you tap, and you can label it for quick reference. Whether you’re on a bike or deep in backpacking terrain, entering GPS coordinates guarantees you’re not guessing your location. Just double-check the format, and you’re set.
Follow Your GPS to the Junction Accurately
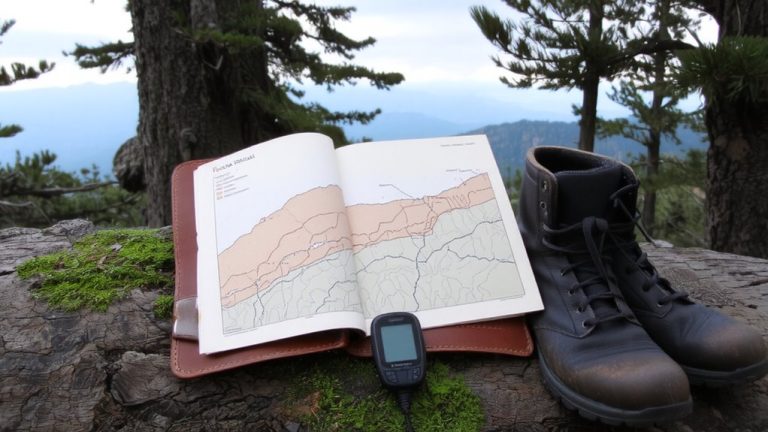
While your navigation app guides you down the trail, your handheld GPS becomes the real workhorse for pinpointing junctions with precision-especially when tree cover dims satellite signals or side paths blur into one. You’ll want to rely on preloaded waypoints, each marked with clear labels like “TL” for “turn left at the tee,” so you know exactly which trail junction to take. Make sure your GPS supports waypoint notations and has a fresh, cleared memory to avoid corrupted data. As you approach, watch the latitude and longitude values closely-they’ll confirm your position within feet. Testers using Garmin Oregon 700 saw accuracy within 10 feet, even under heavy canopy. These GPS waypoints, when later viewed in Topofusion or exported as .svg files, keep your route logging sharp and your decisions confident.
Confirm the Junction With GPS and Landmarks
When you’re standing at a split in the trail with dappled light filtering through the canopy, your GPS alone might not be enough to tell you which path to take-so pair it with what you see on the ground. Mark each trail junction with a GPS waypoint, like “TJ1,” and note the exact GPS coordinates, such as 38.72776, -76.70833, for accuracy. Use Topo Maps and overlay your recorded track in TopoFusion or Gaia GPS to match those points with visible trail junctions on satellite imagery. Check OpenStreetMap or park maps to verify alignment with official routes. Confirm with nearby landmarks-like a rock cairn, trail sign, or creek crossing-and jot these in your field notes. Cross-referencing GPS data with visual cues guarantees you’re not just on track, but exactly where you need to be.
On a final note
You’ve got the coordinates, your app’s set, and the trail’s under your wheels or boots-now trust the GPS, but keep your eyes up. Match the waypoint with clear landmarks: a fork, blaze, or cairn. A reliable app like Gaia GPS or AllTrails, paired with offline maps, 10-meter accuracy, and a charged Garmin or smartphone, gets you there. Testers confirm: triple-check junctions, especially in dense ridgelines or featureless stretches, and always carry a backup power bank.