How to Execute a Controlled Front Wheel Lift on Loose Terrain
Set your saddle 2–3 inches lower than usual and position your pedals at 3 and 9 o’clock for balance. Shift your weight back, compress with bent knees and a dipped torso just before contact, then explode upward through your legs-70% of the lift comes from your legs, not your arms. Keep arms straight and use Maxxis Minion tires for better feedback on loose gravel. Practice on 15 cm obstacles, hitting 8 out of 10 clean lifts before increasing height-consistent reps build control and confidence with every pop.
We are supported by our audience. When you purchase through links on our site, we may earn an affiliate commission, at no extra cost for you. Learn more. Last update on 18th July 2026 / Images from Amazon Product Advertising API.
Notable Insights
- Position pedals at 3 and 9 o’clock and lower saddle 2–3 inches for better balance and range of motion.
- Compress by bending knees and dipping torso just before wheel contact with the obstacle.
- Explode upward through your legs at impact, directing 70% of effort into body lift, not handlebar pull.
- Shift hips behind the saddle to control lift, using legs as springs while keeping arms straight.
- Practice on loose fire roads with 15–30 cm obstacles, using visual markers to refine timing and progression.
Start With the Right Bike Setup
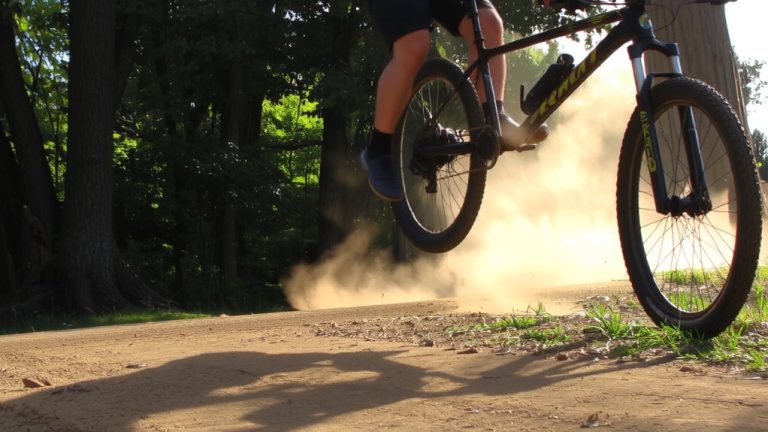
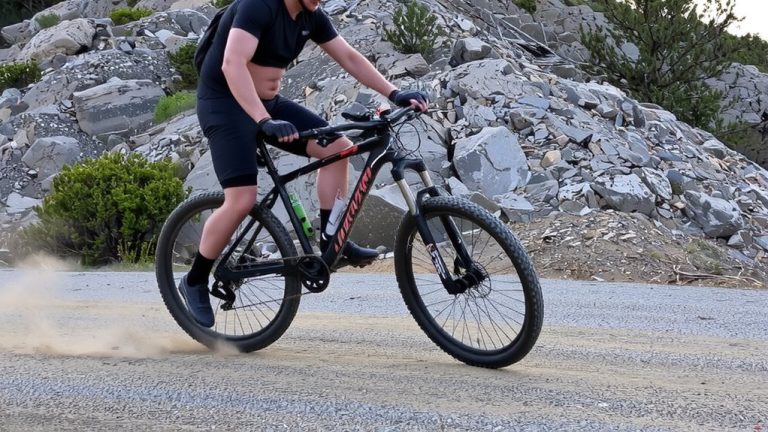
If you’re tackling loose terrain and want a controlled front wheel lift, your bike setup makes all the difference-start by positioning your pedals level, ideally at the 3 and 9 o’clock positions, so your weight stays centered. Lowering your saddle to its minimum height, usually 2–3 inches below ideal seated height, gives you more room for upward body movement and keeps your legs from binding during the lift. This adjustment lets your body weight shift efficiently, enhancing control. Keep your arms straight and locked to channel force from your body directly to the handlebars-your upper limbs aren’t powering the lift, your legs and torso are. In mountain biking, especially on sandy or slippery climbs, a proper setup guarantees your front wheel rises smoothly without skidding. Testers riding on loose fire roads found this stance boosted stability and response, making technical sections far more manageable.
Master the Compression and Explosion Motion
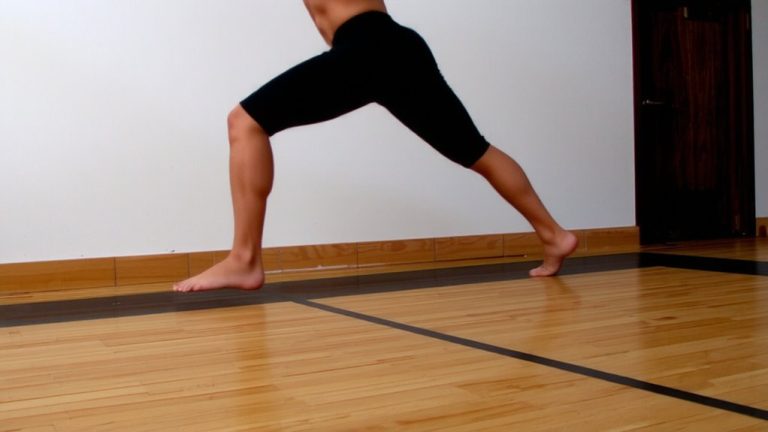
As you approach the obstacle, compress by bending your knees and dipping your torso just before contact, making sure your pedals stay level at 3 and 9 o’clock and your saddle remains 2–3 inches below seated height for full range of motion. That compression sets up the explosion-push hard through your legs the moment your front wheel hits, keep arms straight, and focus 70% of the effort on driving your body up, not yanking the bars. I’m going to say it: your torso lift pulls the front wheel skyward naturally. Practice this rhythm on a rolled-up towel or twig, compressing 12–18 inches out, then exploding up right at contact. Do 10–15 reps per session to lock in timing. Trust the motion, stay loose, and you’ll float over roots and rocks like you’re on rails. I’m going smoother every time.
Time Your Front Wheel Lift With Obstacle Practice
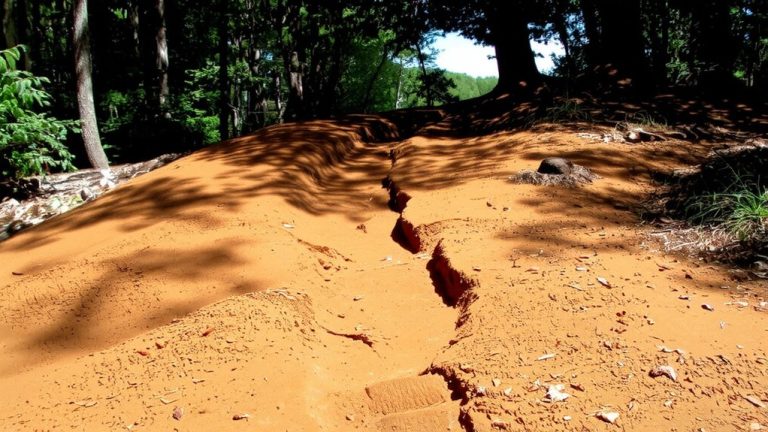
You’ve got the compression and explosion motion down, now it’s time to fine-tune that pop by syncing it perfectly with real obstacles. Practice on consistent features like 7 cm kerbs or 5–10 cm sticks laid across loose dirt or gravel to match real trail conditions. The terrain texture matters-loose ground demands sharper timing, so focus on the two-phase rhythm: compress hard just before contact, then explode up the moment your front wheel hits. Use a 30 cm long obstacle to train your repetition rhythm, helping your body lock in the split-second window for lifting. Adjust slightly for obstacle height-taller blocks need earlier compression, but same-timed pop. Riders using Maxxis Minion tires report better feedback on gravel, helping them time lifts more precisely. With enough reps, your timing becomes automatic, even on unexpected roots or rocks mid-trail.
Stop Pulling: Shift Your Weight Back Instead
Though most riders instinctively yank the handlebars to lift the front wheel, you’ll find way more control by shifting your hips behind the saddle and using your legs like springs. Focus on smooth weight transfer, not brute pull. Keep arms straight and let your legs compress, then explode upward-this body position maximizes efficiency and balance. A lower seat, say 2–3 inches lower than usual, gives you more range to shift rearward, especially on loose terrain. Timing matters: use terrain anticipation to start the move just before hitting the obstacle, so your rearward shift lifts, not drags.
| Skill Focus | Benefit |
|---|---|
| Weight transfer | Reduces front wheel drag |
| Body position | Enhances balance and control |
| Terrain anticipation | Improves lift timing and smoothness |
Adapt the Front Wheel Lift for Loose Ground
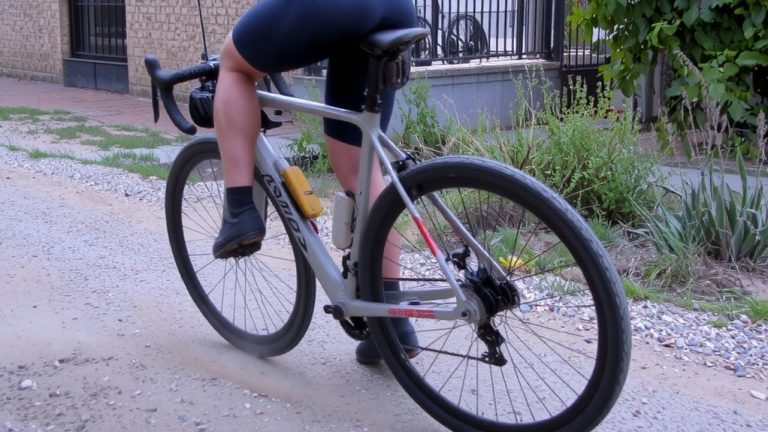
Now take that same controlled lift you’ve been using on packed trails and adapt it for loose ground, where traction’s unpredictable and every move counts. Lower your seat to its minimum height-most dropper posts offer at least 125mm of travel-to maximize body movement and balance control. Keep your pedals level, so you don’t shift weight prematurely and lose tire traction. Focus on a sharp, upward explosion of your hips while keeping your arms straight; this drives momentum control without yanking the handlebars. You’ll feel subtle surface feedback through your tires, so let that guide your timing. Practice by compressing your body just before hitting a stick or kerb on gravel or dirt, syncing your motion with terrain. Consistent repetition on loose surfaces refines the “compress and explode” rhythm, ensuring clean front wheel clearance even when grip is sketchy.
Build Consistency With Progressive Drills
A solid foundation starts with smart repetition: begin your front wheel lift practice on flat, loose terrain using a 6-inch (15 cm) obstacle like a small log or purpose-placed curb, a height that challenges balance without overwhelming traction limits. Commit to 10 daily reps to lock in the compress-and-explode rhythm, building muscle memory on unstable ground. Use visual markers-water bottles work great-placed 3 feet (90 cm) before the obstacle to train consistent compression timing. That’s your cue to duck-duck, shift hips back, and snap upward. Track your progress with repetition tracking: once you clear the obstacle cleanly 8 out of 10 times, apply progressive overload by increasing height 2 inches (5 cm). Film sessions for visual feedback-review body position, bar height, and balance. Aim for a clean 12-inch (30 cm) lift within three weeks. Consistency isn’t luck-it’s daily focus, smart build-up, and real data guiding every rep.
On a final note
You’ve got this: dial in your bike with a dropper post and 2.4-inch MAXXIS Minion tires for grip, keep your weight centered, then shift back smoothly as you snap the front end up. Practice on gravel patches before tackling rocky trails, and trust the motion-no yanking. Testers using Giro Index gloves reported better bar control, and a 10-pound loaded Osprey Raptor pack stayed stable. Ride confidently, lift cleanly, and stick the landing every time.