How to Apply Pressure to Control Bleeding From a MTB Trail Injury
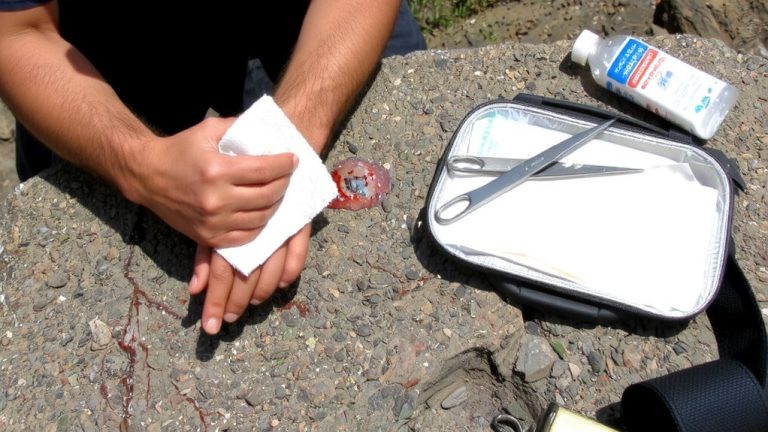
Apply firm, direct palm pressure using any clean cloth-like your jersey or a trauma pad from your hydration pack-the second you see bright red spurts or pooling blood. Use a wadded bandana or gauze, pressing steadily for at least 5 minutes without lifting. If soaked, add layers like a buff or spare sock on top. Combine with elevation if no fracture, and keep pressure constant until help arrives. You’ll want to know exactly when and how a tourniquet becomes your next move.
We are supported by our audience. When you purchase through links on our site, we may earn an affiliate commission, at no extra cost for you. Learn more. Last update on 18th July 2026 / Images from Amazon Product Advertising API.
Notable Insights
- Use a clean cloth or trauma pad to apply firm, direct palm pressure to the bleeding wound immediately.
- Maintain steady pressure for at least 5 minutes without lifting to allow clots to form.
- If blood soaks through, add more layers on top without removing the original dressing.
- Elevate the injured limb above heart level if no fracture is present, while maintaining pressure.
- Apply a tourniquet 2–3 inches above the wound if bleeding is severe and life-threatening.
Spot Life-Threatening Bleeding on the Trail
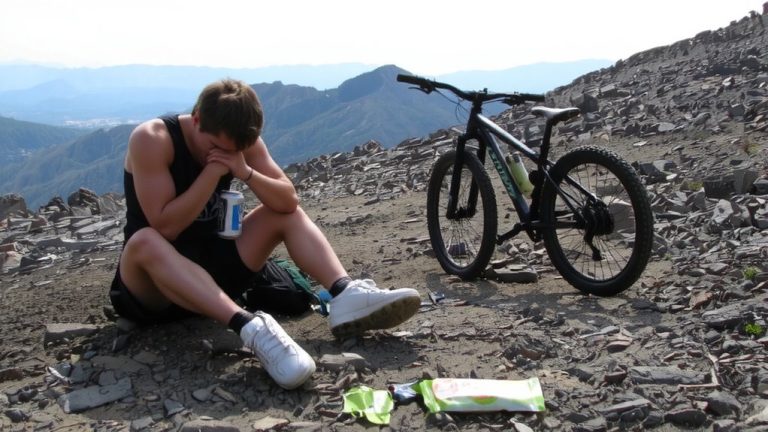
While you’re shredding singletrack, a slip on a rocky descent could leave you with more than just a bruise-knowing how to spot dangerous bleeding can mean the difference between a quick recovery and a life-or-death situation. If you see continuous or pulsing blood flow, especially bright red spurts matching a heartbeat, that’s a sign of arterial bleeding and life-threatening bleeding. Even a puncture from a sharp branch can cause severe bleeding unseen under baggy pants or bike shorts. Blood loss as little as half a soda can (120–150 mL) is a red flag. Unchecked, losing over 750 mL-about 15% of your blood volume-triggers shock. On remote trails, where medevac takes time, your ability to spot life-threatening bleeding fast is critical. Pooling blood, soaked gear, or a wound pumping with each pulse means immediate action’s needed before pressure or a tourniquet.
Apply Pressure Immediately With Any Clean Cloth
You’ve spotted the danger-pulsing blood, soaked clothing, or that telltale pool under your leg on the trail-and now it’s time to act fast. Apply pressure immediately with any clean cloth you have, like your cycling jersey or bandana. Wad it into a thick pad and use your palm to apply firm, steady pressure directly on the wound-this is critical for bleeding control. Even without formal first aid training, you can stop bleeding by maintaining uninterrupted pressure for at least 5 minutes. Arterial bleeds, with dark red blood spurting in rhythm, need this fast response. Never lift to check; just keep pressing. Consider carrying a dedicated trauma pad in your hydration pack for next-level readiness.
| Item | Use | Testers’ Note |
|---|---|---|
| Cycling jersey | Apply pressure | Works well, absorbs fast |
| Bandana | Steady pressure | Always in my saddlebag |
| Trauma pad | Bleeding control | Faster than cotton, worth the pack space |
Add Layers Without Lifting the Wound Cover
If the blood soaks through your first dressing, don’t lift it-add more layers right on top to keep pressure steady and avoid breaking any forming clots. Ongoing pressure is key to stop the bleeding and support clot development. In any trailside First Aid moment, whether you’re using a dedicated emergency gauze pad or a spare buff from your hydration pack, just add layers directly over the wound. Lifting soaked fabric can restart bleeding, so keep the original in place. Most pro riders carry 2–3 extra absorbent pads in their bike toolkits for this reason. Press firmly with your palm, maintaining consistent pressure. This method works whether you’re near the trailhead or 10 miles in. Real testers report that layered fabric, even a clean sock or jersey, effectively controls severe bleeding when applied right. Add layers, maintain pressure, and stay calm-this simple move can make all the difference.
Elevate the Limb After a Mountain Bike Crash
When you’re dealing with a bleeding injury on the trail, elevating the affected limb above heart level can make a meaningful difference in slowing blood flow and supporting clot formation, especially after a fast, technical descent where crashes are common. If you’re mountain biking and come across an injured person, check for fractures first-only elevate the limb if no broken bones are suspected. Combine this step with using a clean trail gauze or bandana to hold pressure directly on the wound. Elevation works best alongside compression, not alone. Keep the limb elevated during transport, even in a backpack litter, to reduce swelling and aid circulation until emergency medical help arrives. Real trail medics confirm: controlling bleeding fast with pressure and elevation buys critical time. Don’t delay holding pressure if elevation isn’t possible right away-prioritize direct compression first, then elevate the limb as soon as you can.
Use a Tourniquet If Blood Squirts or Pools
Blood that spurts with each heartbeat or forms a growing pool on the trail signals severe arterial bleeding, a situation where seconds count and standard pressure won’t cut it-this is where a tourniquet becomes your best tool, stepping in when elevation and compression alone aren’t enough. If you see blood squirts or pools on the ground, don’t wait-apply a tourniquet immediately. Place it 2–3 inches above the wound, tighten until bleeding stops and pulse disappears, even if pressure stops seem sufficient at first.
| Action | Detail |
|---|---|
| Placement | 2–3 in above wound |
| Tightening | Pull, twist, clip until no pulse |
| Reapply | Add second tourniquet above first |
| Timing | Mark application time clearly |
Once applied, never loosen it-keep it on until medics arrive. Apply a tourniquet fast, mark the time, and know you’ve taken the right step.
Call 112 Now and Watch for Shock Signs
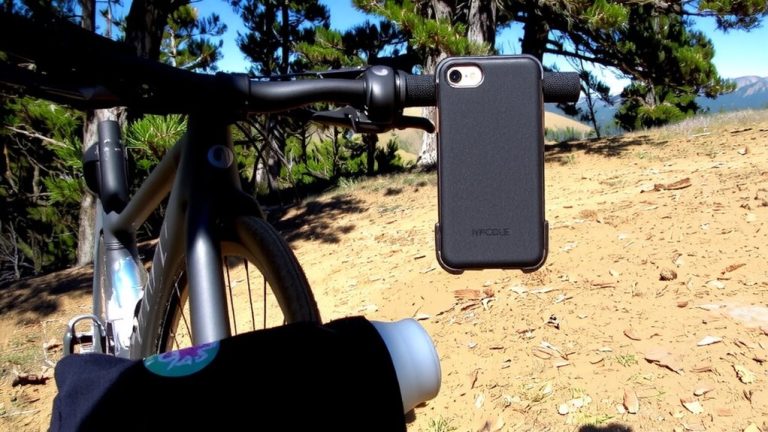
Every second counts when the body starts shutting down, and recognizing the signs early can make all the difference. If you suspect internal bleeding after a high-impact fall-like after hitting a rock garden or dropping a cliff band-you need to use your phone and call 112 immediately, even if the rider is breathing. Look for shock signs: pale skin, cold sweat, dizziness, nausea, or confusion. A 70 kg rider losing over 750 ml of blood-around 15% of their volume-is in life-threatening danger. If they’re unresponsive, place them in the recovery position and call 112. While waiting, continuously monitor breathing and consciousness every 20 seconds. Your trail kit’s not complete unless it supports a STOP THE BLEED response-think tourniquets, gloves, and emergency blankets. Act fast, stay sharp.
On a final note
You’ve got this: carry a lightweight first aid kit with 4-inch gauze, clotting sponge, and a 1.5-inch tourniquet in your hydration pack. Ride trails with cell service in mind, wear MIPS-equipped helmets and knee pads, and know that most bleeds stop with firm pressure, elevated limbs, and calm focus-testers say clean compression for 10 minutes works fast, every time.