Best GoPro Settings for Mountain Biking: 5.3K + HyperSmooth 5.0
Shoot during golden hour for soft, warm light that lifts trail texture and depth, then use 5.3K 60fps with Superview to keep fast action smooth and detailed. Enable HyperSmooth 5.0 with Max Lens Mod 2.0 for ultra-stable, wide footage that captures your full ride. Mount your GoPro Hero 12 or 13 low on a chesty for natural POV shots with less motion jolt. Switch to Pro Mode and set ProTune with 5500K white balance, ISO 100–400, flat profile, and auto shutter-ideal for shifting trail light, plus you’ll access even smarter setups just ahead.
We are supported by our audience. When you purchase through links on our site, we may earn an affiliate commission, at no extra cost for you. Learn more. Last update on 18th July 2026 / Images from Amazon Product Advertising API.
Notable Insights
- Shoot during golden hour for soft, warm light that enhances trail texture and reduces harsh contrasts.
- Use 5.3K 60fps with Superview to capture ultra-smooth, high-resolution footage with maximum scene coverage.
- Enable HyperSmooth 5.0 with Max Lens Mod 2.0 for best stabilization and wider field of view on rough terrain.
- Mount the camera on the chest upside down for stable, immersive POV footage with natural horizon alignment.
- Set Pro Mode with 5500K–6000K white balance, ISO 100–400, and Flat/Log profile for optimal exposure and grading.
Shoot in Golden Hour for Natural Trail Light
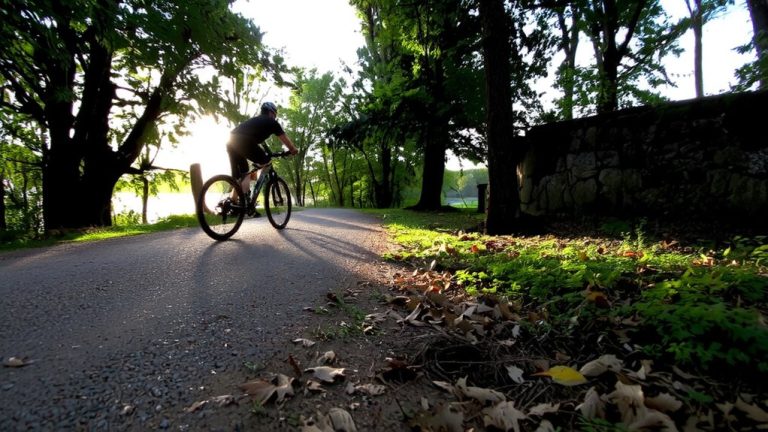
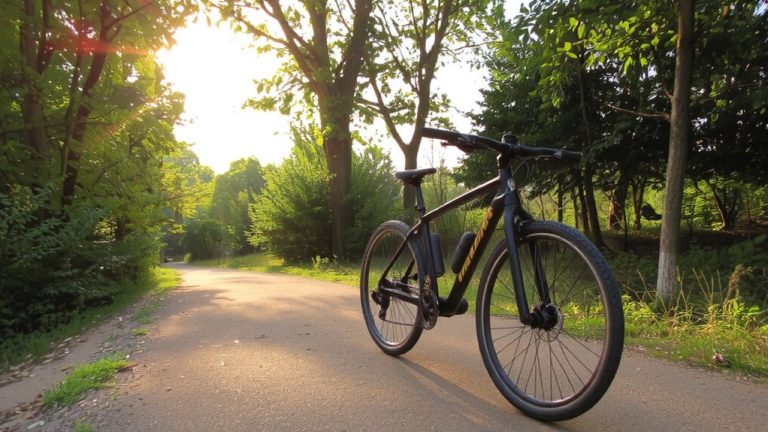
Why risk flat, washed-out footage when the light itself can elevate your mountain biking videos? You’ll want to shoot during mornings or afternoons when lighting conditions are ideal-golden hour brings soft, warm, directional light that enhances trail texture and depth. The low sun improves clarity in shaded areas, especially under tree cover, so your footage stays balanced and detailed. Avoid midday; harsh overhead light creates extreme contrast and blows out highlights. Shooting in golden hour also helps maintain proper exposure across varied terrain, ensuring riders and trail features stay visible. While you adjust your camera’s aspect ratio, remember that great lighting does half the work. Natural light boosts color, contrast, and dimension-no extra gear needed. You’ll get rich, cinematic results straight out of camera, especially when paired with the right GoPro settings. Timing your ride for golden hour is one of the smartest moves for pro-level mountain biking video.
Set 5.3k 60FPS With Superview for Sharp Motion
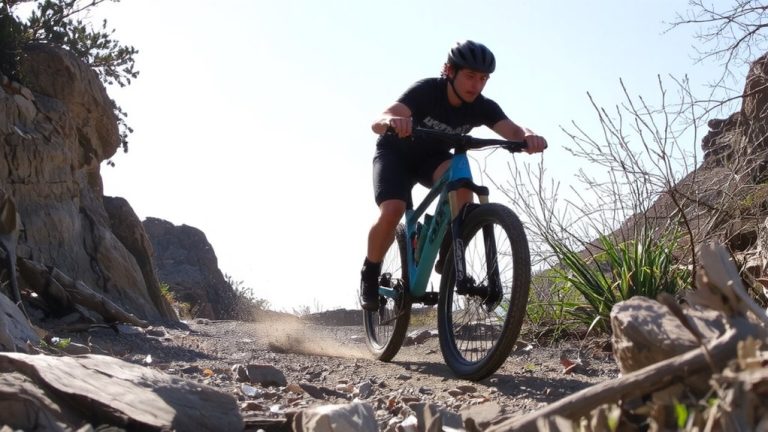
For mountain bikers who want every rock, root, and drop captured in stunning clarity, 5.3K at 60fps with Superview is the sweet spot. You get ultra-high-definition footage with smooth motion, thanks to 60fps minimizing blur during fast descents. Superview delivers the widest field of view, pulling you deeper into the trail by capturing more of your surroundings. Even when you’re moving fast, this combo keeps edges sharp and detail rich. It uses the full sensor, so you lose less quality when stabilizing later. Compared to 3K 60fps, 5.3K offers noticeably finer textures-testers saw better results in shadow detail and playback fluidity. You’ll appreciate the extra resolution when editing or cropping in post. Superview enhances immersion without distorting the action, making it ideal for POV riding clips. This setting handles technical terrain with ease, ensuring rapid movements stay clear, smooth, and true to what you felt on the saddle.
Enable Hypersmooth 5.0 + Max Lens Mod 2.0
You’ve locked in 5.3K60 with Superview for razor-sharp motion and a wide trail perspective, but if you’re tackling chunky descents or rough singletrack, the next step is making that footage truly steady and immersive. Enable HyperSmooth 5.0 with Max Lens Mod 2.0 on your GoPro HERO12 for the best stabilization and widest field of view. The Max Lens Mod 2.0 attaches magnetically and automatically activates enhanced stabilization in-camera, giving you smoother footage with less post-work. It increases horizontal FOV, capturing full handlebar width in vertical 9:16 shots. For peak performance, run 4K60 with HyperSmooth 5.0-this combo delivers maximum motion smoothing while minimizing edge distortion. You’ll get rock-solid video even on rooty, bumpy trails, with no extra effort. It’s a game-changer for clean, wide, and stable mountain biking footage straight out of camera.
Use Chest Mount for Immersive Riding Footage
The Chesty Mount delivers an immersive, first-person riding perspective by positioning your GoPro at chest level, giving you a natural view of the handlebars, front wheel, and trail unfolding ahead-perfect for capturing the flow of technical descents or tight switchbacks. You’ll find the chest mount stabilizes footage better than a helmet, minimizing jerky head movements and reducing viewer motion sickness. For a level horizon while leaning forward, mount your camera upside down on the Chesty Harness-it keeps framing consistent in aggressive positions. Wind noise drops markedly since the chest mount tucks the mic closer to your body, especially effective when you disable Wind Reduction for crisper audio. To maximize vertical framing on Instagram, pair the chest mount with a GoPro Hero 12 or 13 and Max Lens Mod 2.0, capturing full handlebar width in clean 9:16 aspect ratio.
Switch to Pro Mode for Manual Control
When you want full control over your footage’s look and feel, switching to Pro Mode activates the GoPro’s full potential, giving you manual access to key settings that automatically adapt in Easy Mode. Swipe down, then right to Controls, and enable Pro Mode for Highest Quality output and precise adjustments. You can set White Balance to 5500K–6000K for natural tones, lock ISO Min at 100, ISO Max at 400 (only bump higher in low light), and keep Shutter on Auto-no ND filters needed. Use Pro Mode to pick Log profile for maximum color grading later or Standard for ready-to-share shots. On the Hero 12, you’ll get 5.3K 10-bit video, offering Highest Quality detail and strong cropping flexibility. Adjust EV Compensation from -1 to +0.5 to fine-tune exposure, preserving highlight detail while keeping your ride properly lit.
Set ProTune for Mountain Light
Now that you’re in Pro Mode and ready to fine-tune, it’s time to optimize ProTune specifically for the changing light you’ll face on the trail, from shaded forest singletrack to wide-open alpine ridges. Set your GoPro Hero’s White Balance to 5500K–6000K to match natural daylight and keep colors true. Use Auto Shutter so the camera adjusts speed dynamically, which eliminates the need for ND filters as light shifts. Limit ISO to 100–400 for clean footage, only increasing when absolutely necessary in dark stretches. Set EV Compensation between -1 and +0.5-start at -1 in dense woods to handle dappled light. Choose the Flat color profile to preserve dynamic range across your field of view, giving you maximum flexibility when color grading later. These settings guarantee consistent exposure and rich detail no matter the terrain.
Capture B-Roll With Reverse and Off-The-Bike Shots
While carving through singletrack gets the adrenaline pumping, don’t overlook the storytelling power of well-shot B-roll-flip your Chesty Mount backward and wear it upside down to film the rider behind you, capturing immersive, over-the-shoulder perspectives that pull viewers right into the action. Use the Max Lens Mod 2.0 with the L+ digital lens to maximize field of view, especially in vertical 9:16 framing. Mount the camera on a 3-Way 2.0 Grip Arm or Boom + Bar Mount for stable, adjustable off-the-bike angles. For static shots, use a tripod or Jaws Grip Mount with HyperSmooth enabled. Set frame rate to 100fps in Pro Mode for smooth slow-mo.
| Setup | Mount Type | Lens & Frame Rate |
|---|---|---|
| Reverse POV | Chesty Mount | Max Lens Mod 2.0, 100fps |
| Off-the-bike static | Jaws Grip + Tripod | L+, HyperSmooth, 100fps |
| Adjustable boom | Boom + Bar Mount | Max Lens Mod 2.0, 100fps |
| Over-shoulder | Upside-down Chesty | L+, 100fps |
On a final note
You’ve got this: shoot at golden hour for soft, even trail light, use 5.3K 60fps with Superview to capture fast motion clearly, and lock in Hypersmooth 5.0 with Max Lens Mod 2.0 for buttery stabilization. A chest mount keeps footage immersive and steady, while Pro Mode and ProTune let you tweak exposure for changing mountain light. Always grab B-roll off the bike-reverse shots add depth, and real testers confirm these settings nail clarity, color, and action every time.