Avoiding Mold Growth in Reused Hydration Bladders
Clean your hydration bladder after every use with a tablespoon of baking soda in hot water, then flush with vinegar to break down biofilm in the tubing and reservoir. Disassemble the bite valve, scrub with a dedicated brush, and air-dry upside-down for 24–48 hours to prevent moisture traps. For storage, freeze the empty, rinsed bladder at –18°C to pause microbial growth. Porous plastics and tight crevices breed mold fast-so consistent cleaning and full drying are key. You’ll find smarter routines and long-term fixes just ahead.
We are supported by our audience. When you purchase through links on our site, we may earn an affiliate commission, at no extra cost for you. Learn more. Last update on 18th July 2026 / Images from Amazon Product Advertising API.
Notable Insights
- Clean your hydration bladder after every use with baking soda or denture tablets to prevent mold and biofilm buildup.
- Disassemble all components, including the bite valve and hose, to ensure thorough cleaning and drying.
- Rinse with vinegar or hydrogen peroxide to kill bacteria and deter mold with their antimicrobial properties.
- Air-dry the bladder upside down for 24–48 hours in a well-ventilated area to eliminate residual moisture.
- Freeze the clean, dry bladder only for long-term storage, but never rely on freezing alone to prevent mold.
Clean Naturally to Prevent Bladder Mold
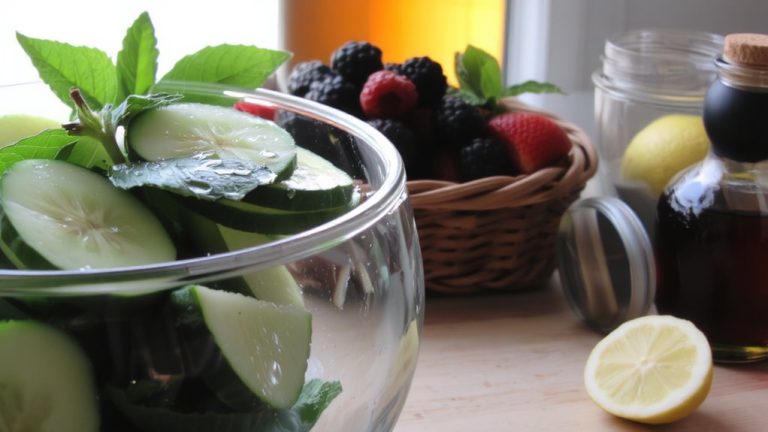
While you’re out on the trail, the last thing you want is a funky taste or worse-mold-lurking in your hydration bladder, so cleaning it naturally makes total sense. For effective cleaning, mix one tablespoon of baking soda with hot water, run it through the system, then follow with a vinegar rinse to break down biofilm and deter mold. Vinegar’s acidity creates an inhospitable environment for microbial growth, though you’ll need to rinse well to ditch the smell. Add a capful of food-grade 3% hydrogen peroxide to water for safe sanitizing that won’t harm your hydration bladder. Lemon juice works wonders on the bite valve and hose, using its natural acidity to deodorize and clean without harsh chemicals. Testers report less residue and better-tasting sips when alternating baking soda, vinegar, and lemon juice monthly. It’s a simple routine that keeps your system fresh, reliable, and mold-free over time.
Dry Every Part Thoroughly in the Open Air
After you’ve rinsed with baking soda, vinegar, or lemon juice, the next step is just as important-getting every piece fully dry. To prevent mold, hang your hydration bladder upside-down with the filler cap wide open so water drains completely and air drying happens faster. Disassemble the bite valve and hose after each use-make sure each part is separated so you can dry every part thoroughly. Moisture hides in crevices, so let it dry fully over 24 to 48 hours in a well-ventilated space. Use a reservoir drying rack or tuck a half-sheet of paper towel near the bladder’s opening to wick away lingering dampness. Never store bladders sealed or compressed; always keep them open and unfolded. Proper air drying means your hydration system stays fresh, clean, and ready for the next ride or hike.
Freeze Your Empty Bladder Between Uses
If you’re looking for a simple, no-cost way to keep mold at bay between adventures, freeze your empty hydration bladder-it’s a trick that takes just about 30 seconds and works like a charm. After rinsing with fresh water and fully draining, roll it tight and stash it in a freezer-safe bag. At -18°C, freezing halts microbial growth inside the bladder, keeping your water bladders clean and ready. Always rinse before reuse to remove freezer contaminants. Ideal for infrequent riders or long-term storage, this method is recommended by outdoor expert Andrew Frost.
| Step | Action |
|---|---|
| 1 | Empty all water, including from cleaning the bite |
| 2 | Rinse with fresh water, not hot water or boiling water |
| 3 | Drain and air-dry briefly |
| 4 | Roll bladder and seal in freezer bag |
| 5 | Freeze at -18°C until next use |
Why Hydration Bladders Get Moldy (And How to Stop It)
You just froze your bladder and wiped the mold issue off your radar-for now-but here’s the reality: freezing only pauses the problem, it doesn’t fix why your hydration bladder grows mold in the first place. Those porous plastics and tight crevices in valves and tubes trap water every time you use a hydration pack, letting mold and bacteria thrive in under 48 hours. Biofilm builds fast, even when the bladder looks clean. Preventing Mold means cleaning after each use-don’t skip it. Fill the bladder with warm water and add one tablespoon of baking soda plus a teaspoon of bleach, or try a denture cleaning tablet for convenience. Use a dedicated cleaning kit with a long cleaning brush to scrub the interior and tubing. Always disassemble the bite valve and let every piece air-dry completely before storing.
On a final note
Keep your hydration bladder mold-free by rinsing it with water and a drop of vinegar after every ride, then air-dry it completely-inside and out-with the hose unclipped and the cap off, ideally over a bottle drying rack. Freeze it overnight monthly to kill spores, and always store it fully dry. Testers using CamelBak and Platypus bladders report zero mold after six months using this routine, even on humid trail rides.