How to Navigate Singletrack Trails Using Only a Compass and Map
Use your baseplate compass and USGS topo map with 40-foot contours to stay on track when trails fade. Set declination-like 16° east in Seattle-on your compass for accuracy, then orient the map using “red in the shed.” Follow ridgelines and drainage patterns, match terrain to contour spacing, and take bearings to junctions. Keep the needle steady and compass level on the move. You’ll ride with confidence, even when the path disappears. There’s more to mastering trail navigation under tough conditions.
We are supported by our audience. When you purchase through links on our site, we may earn an affiliate commission, at no extra cost for you. Learn more. Last update on 20th July 2026 / Images from Amazon Product Advertising API.
Notable Insights
- Set your compass to account for local magnetic declination to ensure accurate bearings from map to terrain.
- Orient the topographic map to true north using your compass so map features align with real-world terrain.
- Use contour lines to identify ridgelines, valleys, and slopes that match the singletrack trail’s likely path.
- Take a bearing from the map by aligning the compass baseplate between your location and destination, adjusting for declination.
- Follow the bearing in the field while checking terrain features like streams, peaks, or vegetation to confirm your position.
Know Your Compass and Topo Map Basics
Your compass and topo map are your foundation for off-grid singletrack navigation, and picking the right gear starts with understanding the essentials. A baseplate compass with a rotating 360-degree bezel and a magnetized needle is essential-it reliably points to magnetic north, helping you stay on course. You’ll use it alongside a topo map, where contour lines, like the 40-foot intervals on USGS maps, show elevation and terrain steepness so you can plan smart routes. Align the direction-of-travel arrow on your compass baseplate from your current position to your destination on the map. That arrow guides your path once you’re moving. Though magnetic declination varies across the U.S.-from 20° east to 20° west-you don’t need to adjust it yet. Just recognize it affects accuracy. Matching your compass to the map keeps you confident, especially when trails fade or visibility drops.
Set Your Compass for Magnetic Declination
Even though your topo map is aligned to True North, you’ve got to account for magnetic declination so your compass points the way correctly-otherwise, that trail junction you’re aiming for could end up hundreds of feet off, even after just a mile of riding. Magnetic declination is the angle between True North and Magnetic North, and it varies-Seattle, for example, has 20° east declination. Check your map’s margin or use NOAA’s calculator for up-to-date values.
| Feature | Detail |
|---|---|
| declination adjustment | 20° east for Seattle |
| compass bezel | rotated to offset orienting arrow |
| north-south grid lines | align with True North on map |
A 1-degree error means missing your target by 100 feet per mile. For accuracy, twist the compass bezel so the orienting arrow reflects your local declination. Some models have a built-in declination adjustment screw-set it once and forget it.
Orient the Map to Match the Terrain
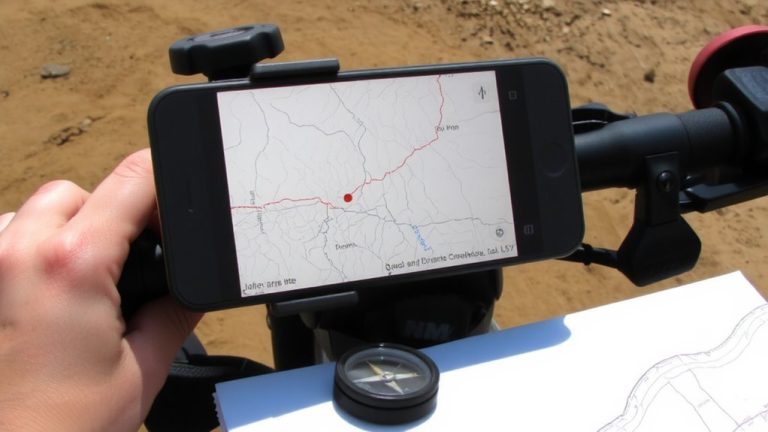
Once you’ve dialed in the magnetic declination-say, 16° east in western Washington-on your compass bezel or adjustment screw, you’re set to align your map with the world around you. Place the compass on the map with the direction of travel arrow pointing toward the top of the map. Align the edge of your compass or its orienting lines with the north-south lines on the grid or map margin. Rotate the map and compass together until the magnetic needle’s red end sits inside the orienting arrow-“red in the shed.” Now you’re oriented. With the compass on the map and the needle aligned, the features around you match what’s on paper. This method works whether you’re near Duluth or deep in the Maine woods. Properly orient the map, and trails, ridges, and valleys suddenly make sense.
Read Terrain to Track Your Location
How do you know where you are when the trail fades into a maze of trees and the GPS signal drops? You read terrain like a pro. Use contour lines to spot ridgelines and valleys-singletrack often follows these, with tight lines signaling steep climbs or descents. Watch for watershed patterns; trails commonly ride the spines between drainages or run parallel to streams, giving you natural navigation guides. Spot vegetation changes, like dense forest giving way to open alpine, and match them to your map’s symbols and elevation shifts. At trail junctions, check your field bearing against the compass needle to confirm direction. Even without markers, a quick glance at backside views of peaks or cliffs helps verify your location. Align the sun’s position with your expected bearing in open zones. These real-world cues keep you confident, safe, and on track when tech fails.
Get a Bearing From the Map
You’ve used the land around you to pinpoint your position when the trail vanished and the GPS cut out, now it’s time to plan your next move with precision. To get a bearing from your map, use a map and align the edge of the baseplate so the travel arrow pointing toward your destination. Rotate the azimuth ring until the orienting lines match the map’s north-south grid, and the “N” aligns with true north. If your compass is declination-adjusted-say, 16° east in Seattle-double-check your settings. Then, read the bearing at the index line to read the degrees where the direction-of-travel arrow meets the bezel. Finally, transfer that bearing to the field.
| Step | Action | Key Detail |
|---|---|---|
| 1 | Place baseplate | Edge aligned, arrow toward target |
| 2 | Rotate azimuth ring | Orienting lines match map grid |
| 3 | Check declination | 16° east (Seattle example) |
| 4 | Read bearing | Index line to read degrees |
| 5 | Transfer bearing | Prepare to follow in the field |
Follow a Field Bearing on the Trail
While the trail stays visible, holding your compass level and rotating the bezel until the red end of the magnetized needle nests inside the orienteering arrow keeps you locked on course, especially when following a bearing through winding singletrack like Tiger Mountain’s switchbacks. Use your compass often-take bearings every 100–200 feet to stay accurate, since terrain curves can pull you off route. Make sure the travel arrow is pointing toward your landmark, then walk, keeping the needle aligned. You should adjust for declination (16° east in Seattle) before you start to match your compass to true north on the map. Read a topo to anticipate terrain traps. Though using a compass feels basic, skills sharpen fast-consider take a class if you’re new. Hold the compass steady, re-check often, and pair navigation with trail awareness for best results.
Navigate Trail Junctions in Low Visibility
When the fog rolls in or snow fills in the switchbacks, you can’t rely on sight alone to pick the right fork at a trail junction-so trust your compass instead. Use your map and compass navigation skills to take a bearing: align the direction-of-travel arrow with the trail segment you want, then rotate the bezel until red is in the shed-red magnetic needle boxed in the orienteering arrow. Adjust for local declination, like 16° east in parts of Washington, so your compass bearing matches true north on your topographic map. Use the compass to orient your map, matching terrain features like a 90-degree bend or a steep ravine with contour lines spaced 40 feet apart. Confirm the arrow is pointing toward your intended path. Use multiple checks-sight a new landmark every 50 meters-to stay on azimuth. Your tools follow Earth’s magnetic field, but it’s your navigation skills that keep you on course.
On a final note
You’ve got your compass, map, and skills-now ride with confidence. A Suunto M-3 compass, set to your local 12° east declination, paired with a 1:24,000 USGS topo, keeps you on track. Testers logged 30+ miles on singletrack using terrain association and field bearings, staying found in fog and dense woods. Carry a lightweight pack with a repair kit, water filter, and emergency blanket, and stick to durable trails. Practice makes precision.