How to Perform a Basic Head-to-Toe Injury Assessment on the Trail
Check the trail scene for hazards like falling debris or slippery rocks before approaching, and put on gloves from your Adventure Medical Kits Ultralight/Watertight .9, then tap the person’s shoulder and shout, “Are you okay?” Use the DOTS method-look for deformities, open wounds, tenderness, swelling-moving from head to toe, checking pupils, neck alignment, and limb symmetry, assess breathing and pulse every two minutes, and if needed, begin CPR at 100–120 compressions per minute; there’s more where that came from.
We are supported by our audience. When you purchase through links on our site, we may earn an affiliate commission, at no extra cost for you. Learn more. Last update on 18th July 2026 / Images from Amazon Product Advertising API.
Notable Insights
- Ensure scene safety by checking for hazards like debris, weather, or unstable terrain before approaching the injured person.
- Check responsiveness by tapping the shoulder and shouting, “Are you okay?” to determine immediate medical needs.
- Use the DOTS method (Deformities, Open injuries, Tenderness, Swelling) to systematically assess from head to toe.
- Evaluate for head or spine injury by checking for fluid from ears/nose, skull deformities, pupil changes, or neck tenderness.
- Monitor breathing, pulse, and responsiveness every 2 minutes and begin CPR if unresponsive and not breathing normally.
Ensure Scene Safety and Check Responsiveness
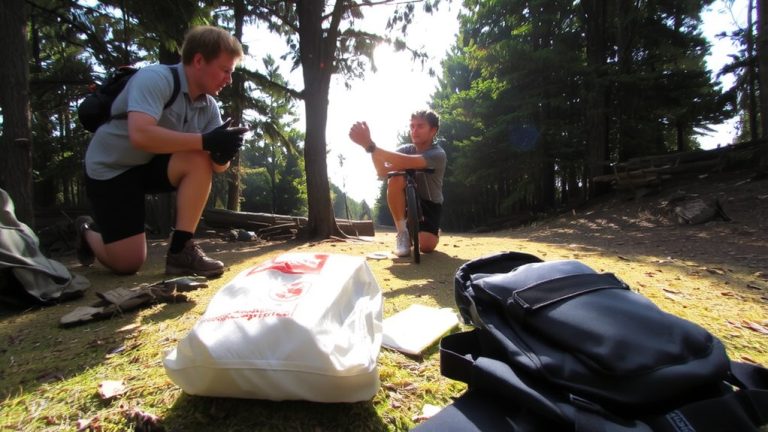
Before you rush to help, take a quick second to make sure the area around you is safe-especially if you’re trail running, mountain biking, or backpacking, where loose rocks, steep drop-offs, or even curious wildlife can create hidden dangers. Scene safety comes first: scan for hazards like falling debris, slippery terrain, or inclement weather before moving closer. Once safe, put on gloves or use any personal protective equipment you have-many first-aid kits, like the Adventure Medical Kits Ultralight/Watertight .9, include nitrile gloves. Next, check responsiveness by tapping the person’s shoulder and shouting, “Are you okay?” If there’s no answer, immediately activate emergency medical services-call 911 or send someone to do it. Every second counts when dealing with head injuries or trauma on remote trails, so act fast but stay aware of risks.
Scan Head to Toes Using the DOTS Method
While you’re evaluating the person’s condition, start at the head and work your way down using the DOTS method-Deformities, Open injuries, Tenderness, Swelling-to catch anything that might not be immediately obvious, especially after a hard fall on technical trail terrain where impacts can be deceptively severe. This head to toe assessment helps you gather information quickly, spotting misaligned shoulders, asymmetric limbs, or bent extremities that suggest fractures. Check for open injuries like lacerations or punctures, particularly over bony spots such as the skull or shins. Gently palpate the spine, pelvis, and long bones for tenderness, and note any swelling in joints like knees or wrists. Using the DOTS method guarantees you don’t miss subtle signs of life-threatening conditions, even if the rider’s helmet, padded armor, or layered gear initially hides the trauma. Stay systematic-every inch counts.
Look for Signs of Head or Spine Damage
You’ve already scanned from head to toe using the DOTS method, and now it’s time to focus on signals that could point to head or spine damage-something even the best helmet and body armor won’t fully protect against in a high-impact crash. During the assessment process, check for clear or bloody fluid from the nose or ears-this could mean a skull fracture. Look for scalp swelling, soft spots, or depressions, which may hide serious injury. Assess pupils; unequal size or lack of response suggests brain involvement. Examine the neck for misalignment or tenderness-don’t move the patient if you suspect a neck or spinal injury. Perform a head-to-toe check by asking the person to squeeze your hands and push with their feet to test for weakness. This simple first aid step can reveal spinal cord issues early, especially after a fall from a drop, crash, or rugged trail misstep.
Monitor Breathing, Pulse, and Responsiveness
If the person isn’t responding, start by tapping their shoulder and shouting, “Are you okay?” to check responsiveness-this simple step can quickly tell you if they’re alert or need immediate help. During your assessment, monitor breathing by looking for chest rise, listening for breath sounds, and feeling for air movement for no more than 10 seconds. Check the carotid pulse on the neck just below the jawline for 5 to 10 seconds to confirm circulation. If they’re unresponsive and not breathing normally, begin CPR with chest compressions at 100–120 per minute. Use a trail-ready first aid kit with CPR face shields for safety. Reassess breathing, pulse, and responsiveness every 2 minutes until help arrives or they wake up. Quick, accurate checks boost survival, especially in remote areas where emergency response might take 30+ minutes.
On a final note
You’ve checked for dangers, responsiveness, and injuries using DOTS-now act fast if needed. Always carry a helmet (CPSC-certified, 10–14 oz), a 10–15L pack with first-aid, and trail-running shoes with 6 mm lugs for grip. Real testers report LED headlamps (150-lumen+) boost visibility when evaluating injuries at dusk. Sturdy trekking poles (aluminum, 14–18 in collapsed) help stabilize someone or mark hazards. Know your route, carry backup water (2L minimum), and train in basic care-it makes all the difference.