What to Do If You Suspect a Broken Bone During a Solo Ride
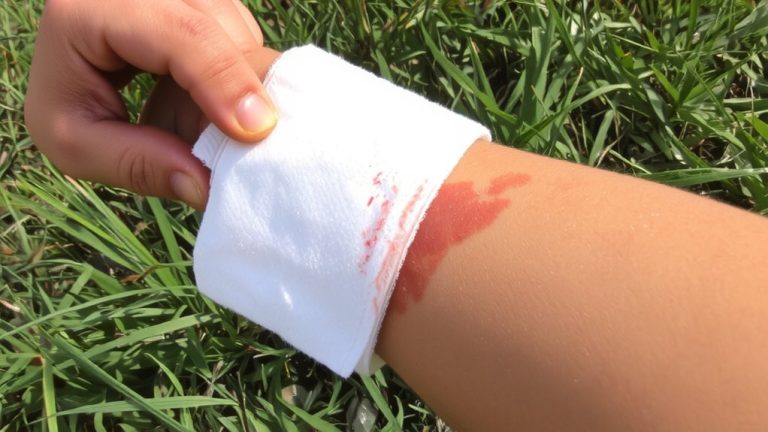
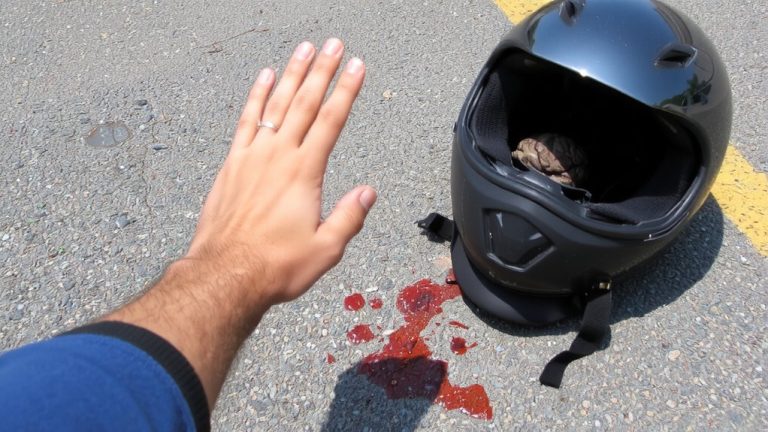
Stop riding immediately and keep your injured limb completely still-assume it’s broken if you heard a pop or can’t bear weight. Don’t move it; assess gently without touching the bone. Use rigid gear like your trekking poles or sturdy branches for a splint, extending above and below the joint, padded with your jacket or sleeping pad, secured with straps or a belt, but not too tight-check capillary refill every 15 minutes. Transmit your GPS coordinates and condition via satellite communicator, like a Garmin inReach or SPOT, or activate your PLB for reliable rescue alert; if no tech, create a large ground X with rocks. Immobilize the limb exactly as found-never realign-elevate slightly to reduce swelling, and apply cold therapy using a stream-soaked bandana or cloth-wrapped water bottle, avoiding direct skin contact to prevent frostbite. Watch for pale, clammy skin, rapid breathing, or weak pulse-signs of shock-keep yourself calm, insulated, and still. Even if pain seems manageable, professional care is essential; every minute counts with potential nerve or circulation compromise. What comes next could make all the difference.
We are supported by our audience. When you purchase through links on our site, we may earn an affiliate commission, at no extra cost for you. Learn more. Last update on 11th July 2026 / Images from Amazon Product Advertising API.
Notable Insights
- Stop immediately and keep the injured limb completely still to prevent further damage.
- Assume a fracture if you hear a pop or lose weight-bearing ability; do not move the area.
- Immobilize the limb with a padded splint extending above and below the joint using available gear.
- Use a satellite communicator to send your location and condition to emergency services right away.
- Check for shock signs like pale skin or rapid breathing, and insulate the body while awaiting rescue.
Assess the Injury Without Moving the Limb
A snapped bone or severe sprain can sideline your ride fast, so the first move is to stop, stay calm, and keep the injured limb completely still-especially if you’re miles from help. You might’ve heard a pop, or your leg just won’t hold weight-either way, assume it’s broken. Don’t move the injured area; even a small shift can worsen a fracture or damage nerves. Gently assess without touching the bone itself. Check circulation below the injury: press on a toenail, watch for capillary refill under 2 seconds, and test for feeling in your toes. If pulses are weak or sensation’s off, vascular compromise could be looming. In NOLS data, 53% of evacuations stem from ankle injuries-common on rocky trails or root-packed singletrack. With 70% of wilderness injuries involving sprains or broken limbs, you won’t always know which is which. Keep that limb still, monitor closely, and stay ready to act.
Immobilize the Broken Bone With a Field Splint
You’ve stopped, stayed still, and assessed-now it’s time to lock that limb down before swelling spikes or movement turns a clean break into a messier problem. To immobilize the injured limb, create a splint using rigid gear like trekking poles, ski poles, or sturdy branches. Make sure the splint extends above and below the joint to prevent movement at both ends. Pad it with your jacket or sleeping pad, then secure with straps, webbing, or a belt-check capillary refill to make sure circulation stays intact. Don’t try to realign the limb; splint it as found. Elevate the injury and use a stream-soaked bandana to reduce swelling, avoiding frostbite. Even if you feel okay, a broken bone needs professional care-call for help.
| Item | Role in Splinting | Real-World Tip |
|---|---|---|
| Trekking poles | Create a splint | Lock length to 120 cm for stability |
| Puffy jacket | Pad the splint | Use zipped pockets as cushion zones |
| Compression bandage | Secure splint | Wrap snug, not tight-check pinky nail refill |
| Water bottle | Cold therapy | Wrap in cloth, apply 20 mins to reduce swelling |
Signal for Rescue: Even If You’re Alone
How do you call for help when no one’s around and every minute counts? First, use your satellite communicator-like a Garmin inReach or SPOT device-to send a signal for rescue. Don’t wait, because even minor mobility can hide nerve damage that worsens fast. As the injured person, you’re responsible for alerting Search and Rescue early, especially since 70% of non-fatal wilderness injuries involve fractures from mountain biking crashes. Ankle injuries alone cause over half of backcountry evacuations, so transmit your name, GPS coordinates, and condition clearly. A PLB (personal locator beacon) is the first tool tested by NOLS groups for reliability. If no tech works, move minimally to an open area and create a large X with rocks-this ground signal boosts aerial detection. Always carry a satellite communicator; it’s essential first aid gear that helps prevent further injury by speeding up professional care.
Monitor for Shock and Prevent Further Injury
| Sign of Shock | Action |
|---|---|
| Pale, clammy skin | Monitor and insulate |
| Rapid breathing | Keep calm and still |
| Weak pulse | Reassess circulation |
| Immobilizing limb | Splint in place found |
On a final note
If you suspect a broken bone on a solo ride, stop, assess without moving the limb, and stabilize it with a field splint using trekking poles or a rolled sleeping pad, 2–3 inches wider than the joint, strapped securely with Voile elastic straps. Signal for help via a Garmin inReach Mini 2, even off-grid. Watch for shock-keep warm with an ultralight insulated jacket, hydrate, and stay calm, breathing slowly to stabilize heart rate while awaiting rescue.