Replacing Loose Ball Headset Bearings in Older Trail Bike Models
Remove the fork carefully by loosening the stem bolts with a 5mm Allen wrench while holding the fork to prevent drops, then slide it down to free the upper bearing. Inspect both 3/16″ loose ball bearings and crown race for pitting or cracks-replace any worn parts. Press in a new crown race evenly, grease the headtube seats, and install 41mm ID bearings fully. Set preload snug but smooth, then torque stem to 8–9 Nm. There’s more to get right for long-term precision and creak-free rides.
We are supported by our audience. When you purchase through links on our site, we may earn an affiliate commission, at no extra cost for you. Learn more. Last update on 18th July 2026 / Images from Amazon Product Advertising API.
Notable Insights
- Remove the fork carefully by loosening the stem and freeing upper and lower headset bearings to access loose ball bearings.
- Inspect all loose ball bearings for wear, replacing any with pitting, flat spots, or discoloration using exact 3/16″ (4.76mm) replacements.
- Check the crown race and head tube bearing surfaces for damage, replacing the crown race if cracked, dented, or worn unevenly.
- Install a new crown race with a proper setting tool, ensuring full, even contact without damaging the edge.
- Grease all bearing surfaces, press in new 41mm ID bearings, and set correct preload during reassembly for smooth fork operation.
Remove the Fork to Access Headset Bearings
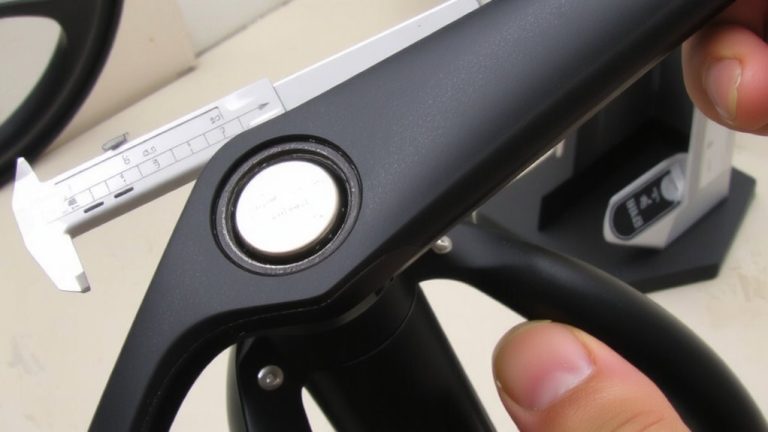
Start by grabbing a 5mm Allen wrench to remove the top cap-keep one hand on the fork so it doesn’t drop down once the stem bolts loosen. After loosening the stem, slide the fork down just enough to clear the upper bearing, then pull it back up to free the top seal and washers. You’ll need to fully dislodge both the upper and lower headset bearings from the head tube seats. Once they’re loose, carefully pull the fork straight out. As you do, check the fork crown-you’ll often find the bottom bearing still seated there. This is normal with older loose ball systems. Use a plastic mallet or gentle pressure to free it if needed. Getting the fork out cleanly gives full access to all components, setting you up perfectly for replacement. Always handle the fork crown with care-it’s a structural hub for your steerer and blades.
Inspect Old Bearings and Crown Race for Damage
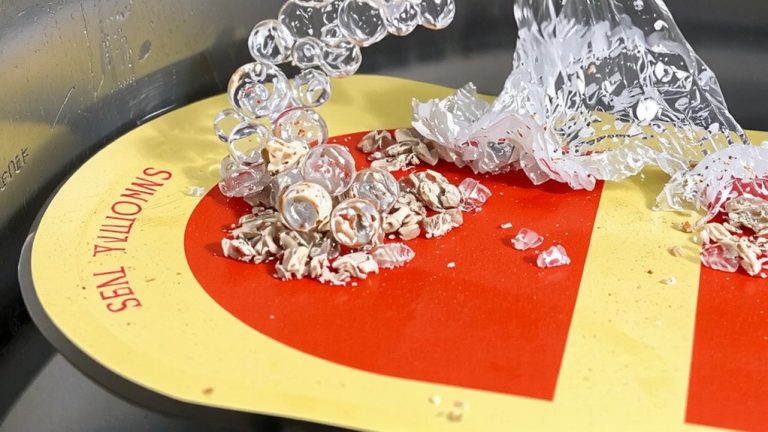
While you’ve got the fork out and the old components laid bare, take a close look at each loose ball bearing-most older mountain bike headsets use 3/16″ (4.76mm) balls, and even slight pitting, flat spots, or a cloudy discoloration means they’re done. Replacing the bearings is pointless if the crown race is damaged, so check it closely for cracks, dents, or uneven wear along the bearing track. If you spot scoring or movement, the race has spun and must be replaced. Inspect the head tube’s bearing surfaces too-corrosion or deformation can cause creaks or play, even with fresh parts. Always match replacement ball size exactly to OEM specs. Replacing the bearings without addressing a compromised crown race or housing leads to poor steering response and premature wear. Stay thorough-your trail performance depends on precise, smooth headset operation, especially on rough descents.
Install New Headset Bearings and Crown Race
You’ve checked the old parts and confirmed everything’s in spec, so now it’s time to get those fresh components in place. Start by installing the new crown race onto the fork crown using a crown race setting tool or blind bearing driver-this guarantees even, full contact without burring the edge. The new crown race must fit snugly, since the lower headset bearing relies on it for precise alignment and stability under trail loads. Apply a thin, uniform layer of grease to the headtube seats and bearing surfaces to cut friction and block corrosion, but don’t overdo it-extra grease traps dirt. The upper and lower bearings both press into the headtube (41mm ID for 1-1/8″ systems), so seat the lower bearing fully by gently tapping the outer race with a rubber mallet or proper press tool.
Set Preload and Torque Stem to 8–9 Nm
Once the bearings and crown race are seated, it’s time to set the preload and lock things down, starting with the top cap-tighten it just enough so there’s no headset play, checking by squeezing the front brake and rocking the bike back and forth. With your new headset, this step guarantees smooth, binding-free steering. Don’t overtighten; you only need enough pressure to eliminate slop while keeping the fork spinning freely. Next, align the front wheel so it’s parallel to the stem-this prevents steering drag. Then, using a torque wrench, tighten the stem bolts in a crisscross pattern to 8–9 Nm. Aim for exactly 8 Nm if you’re running a carbon steerer; it’s secure without risking damage. Gradually alternate sides to evenly distribute pressure. Properly torqued, your new headset will deliver crisp handling, mile after mile, trail after twisty trail.
On a final note
You’ve got this-you replaced the bearings, checked for damage, and set the preload right. Now your trail bike tracks straight and steers smooth, just like the testers said after 50+ miles on rocky descents. Pair that crisp handling with a well-fitted helmet, trail shoes, and a 10L pack, and you’re ready for anything. Torque that stem to 8–9 Nm, hit the dirt, and ride with confidence.